Let’s start with a simple fact, purists will cringe. The liberties I am taking are considered blasphemy by many, but it’s my car and I don’t care.
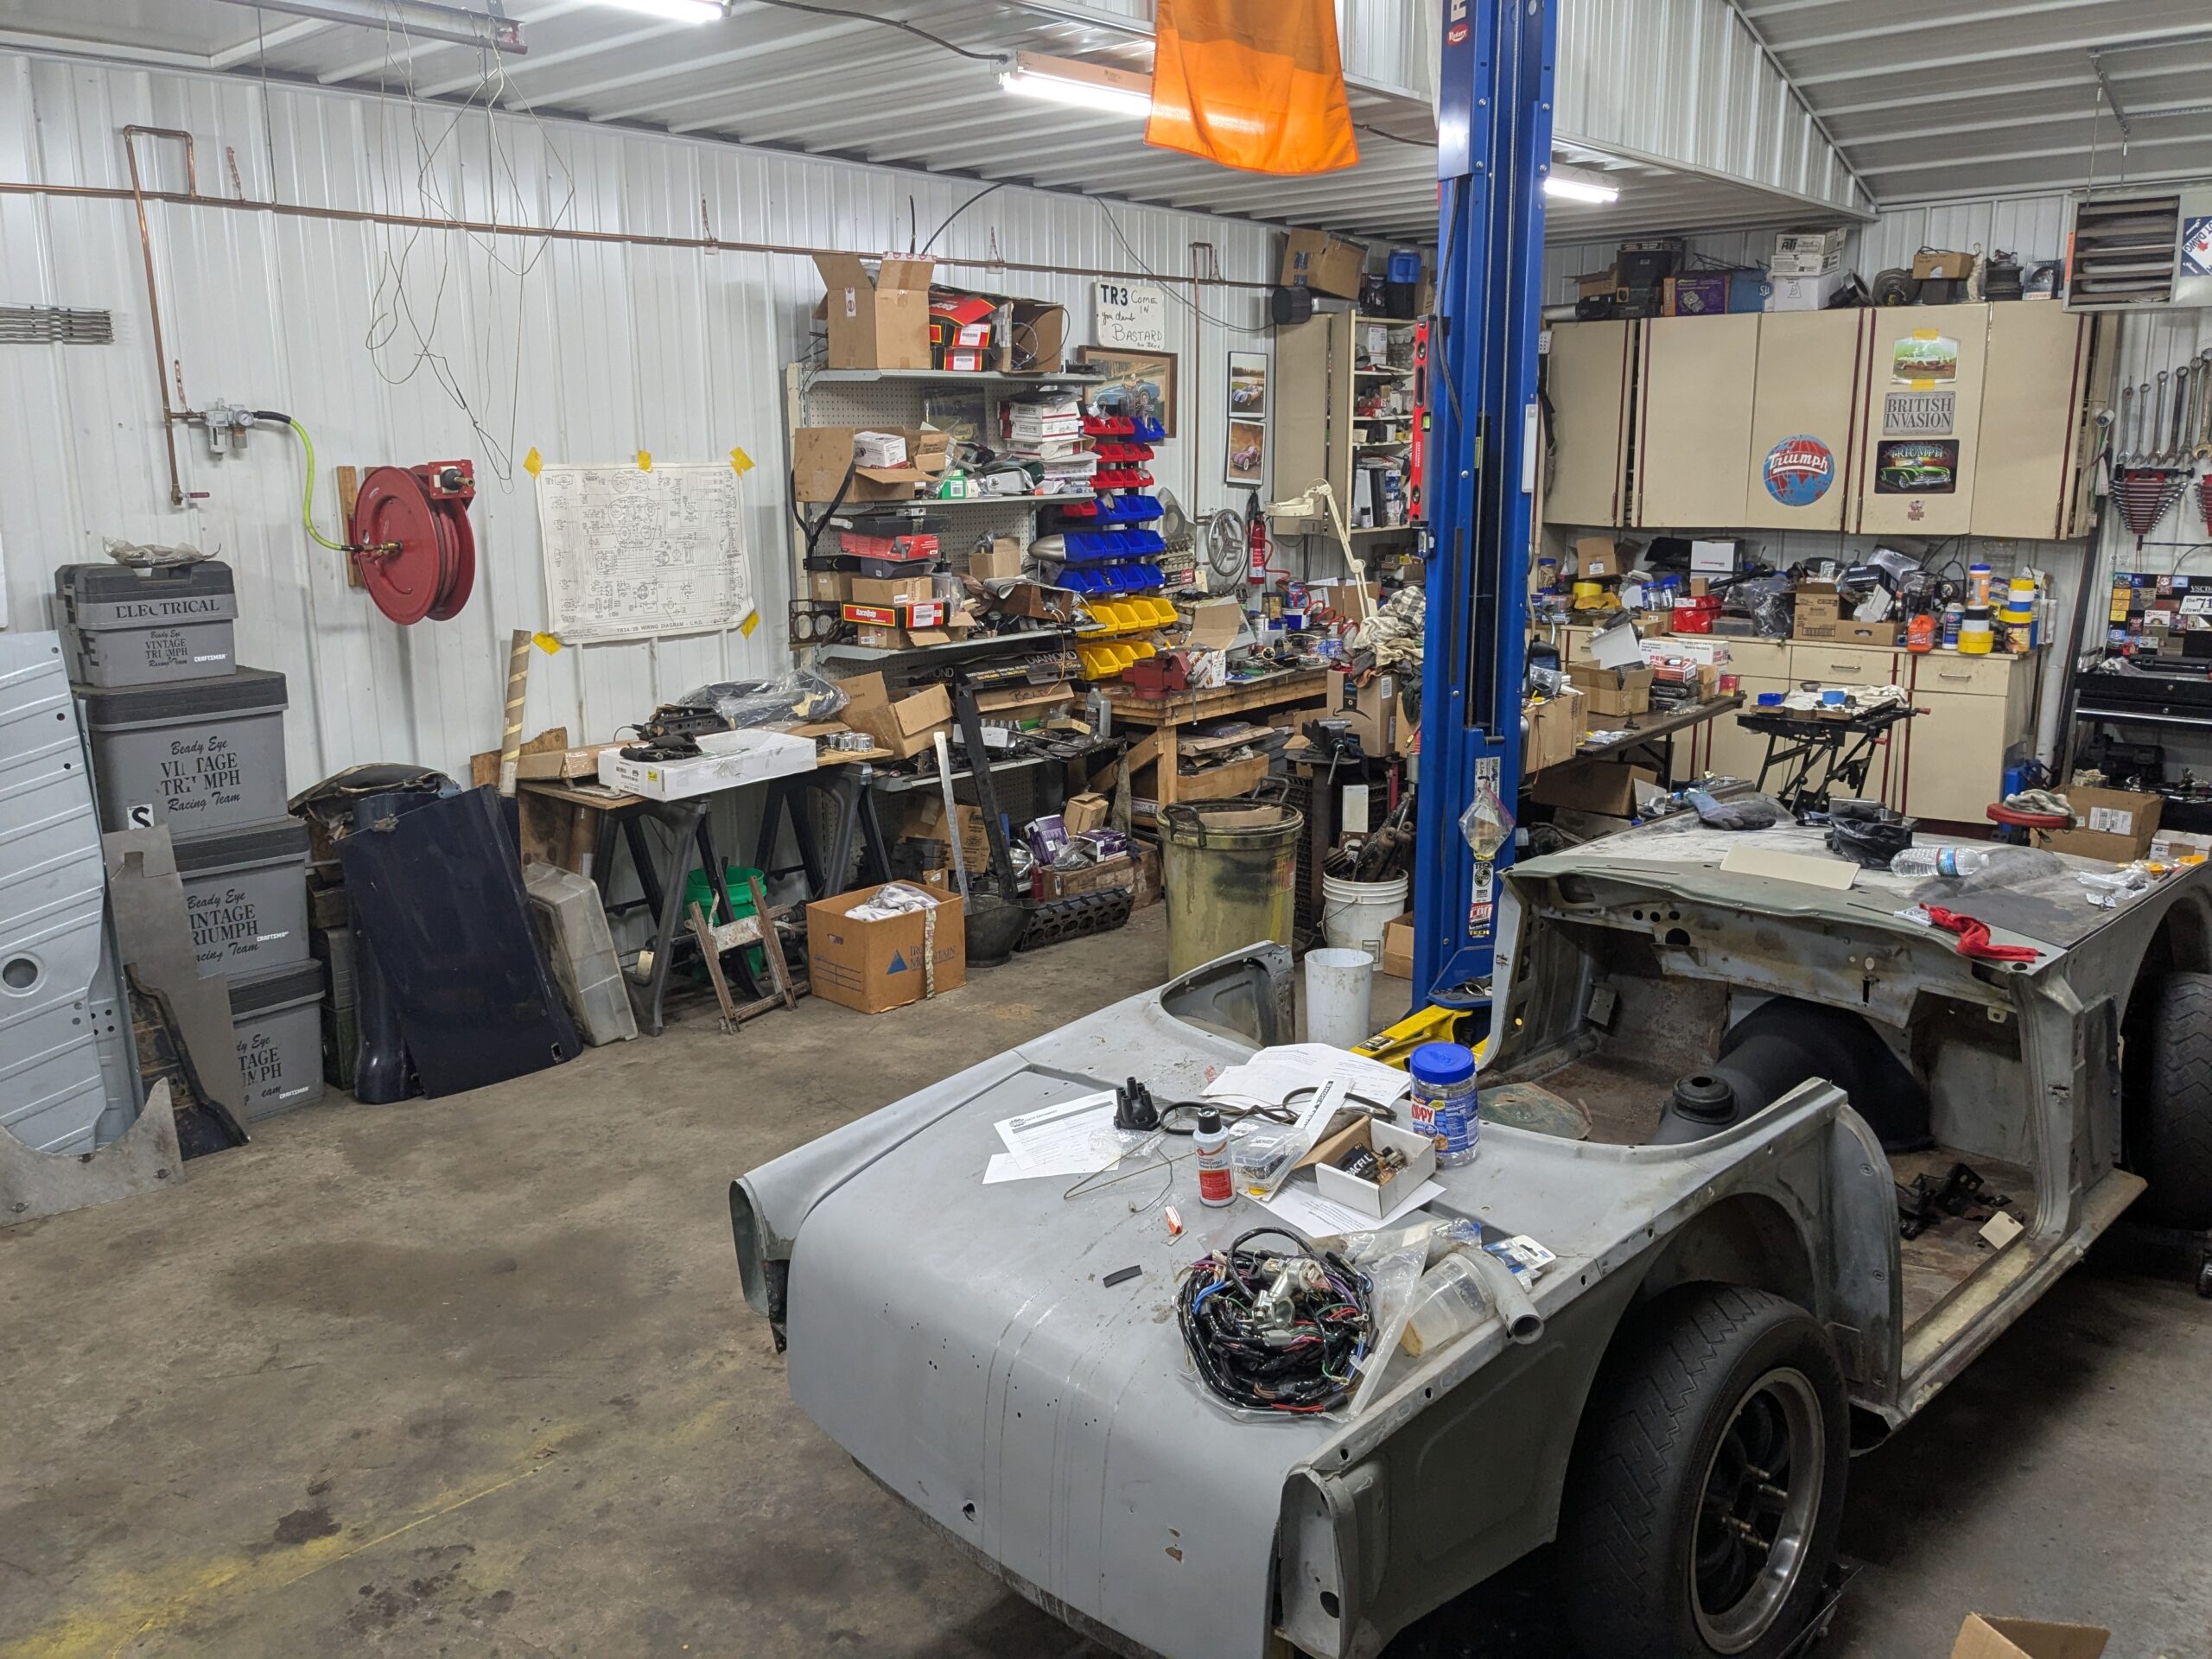
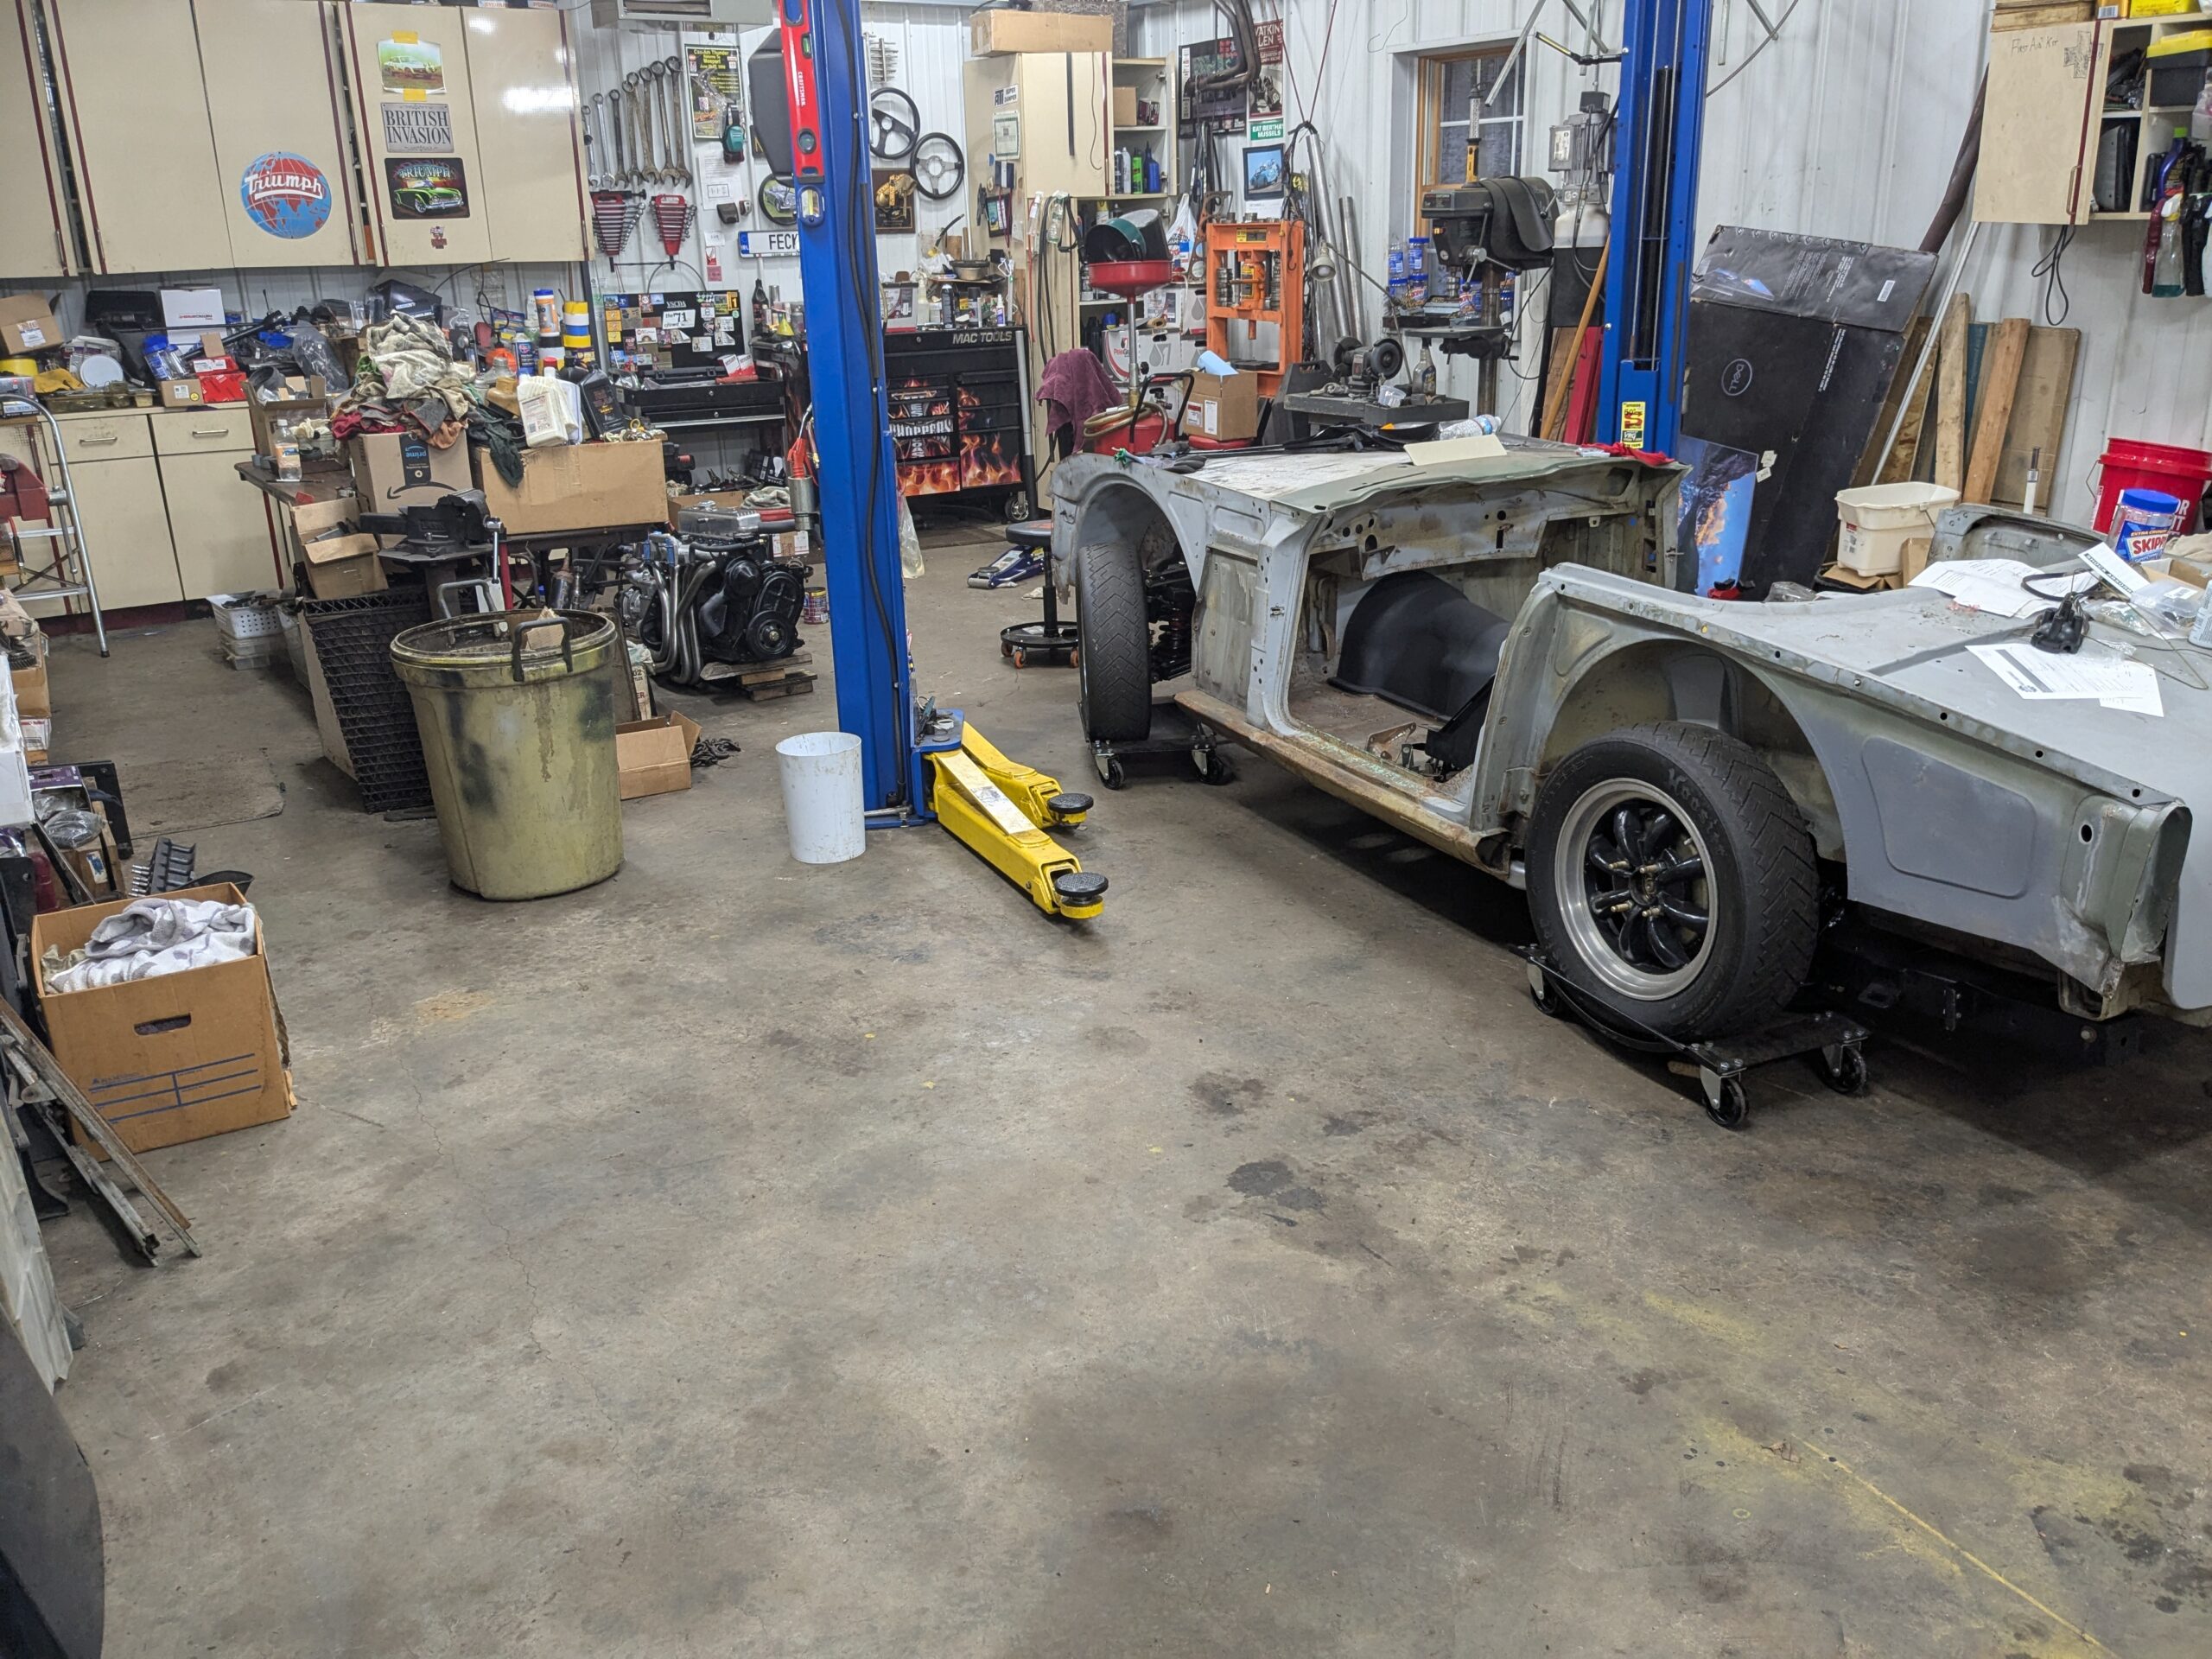
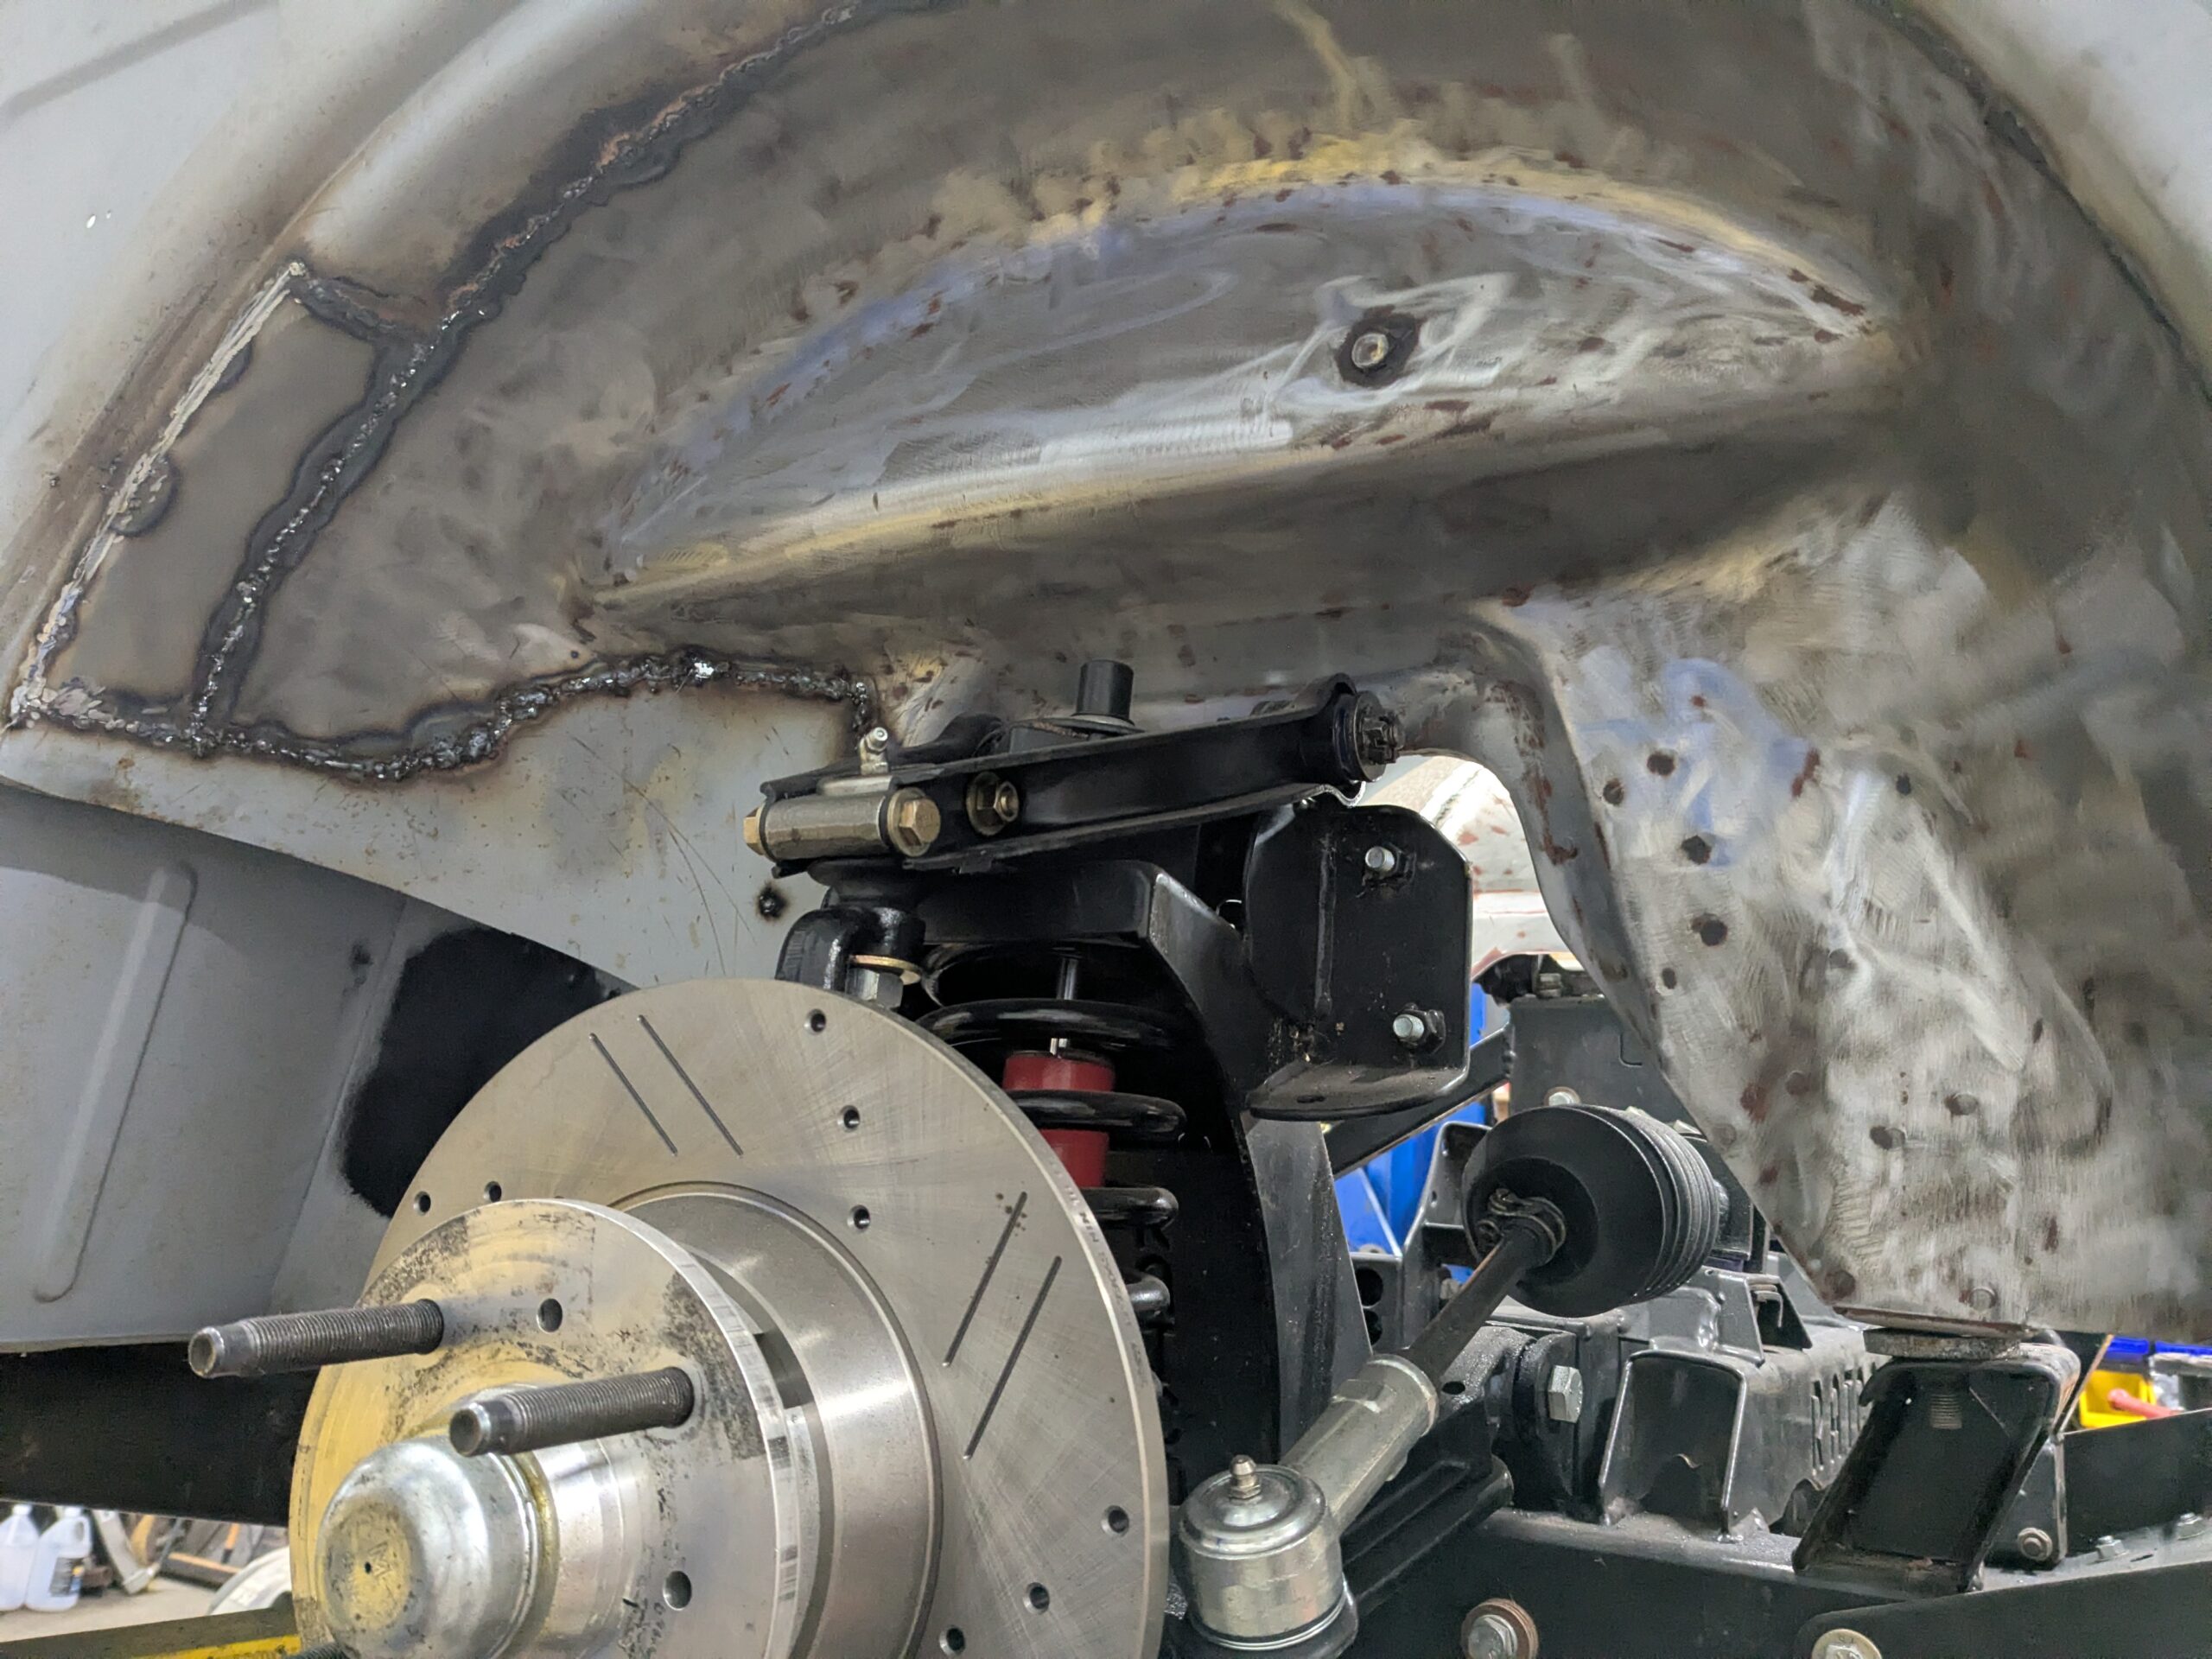
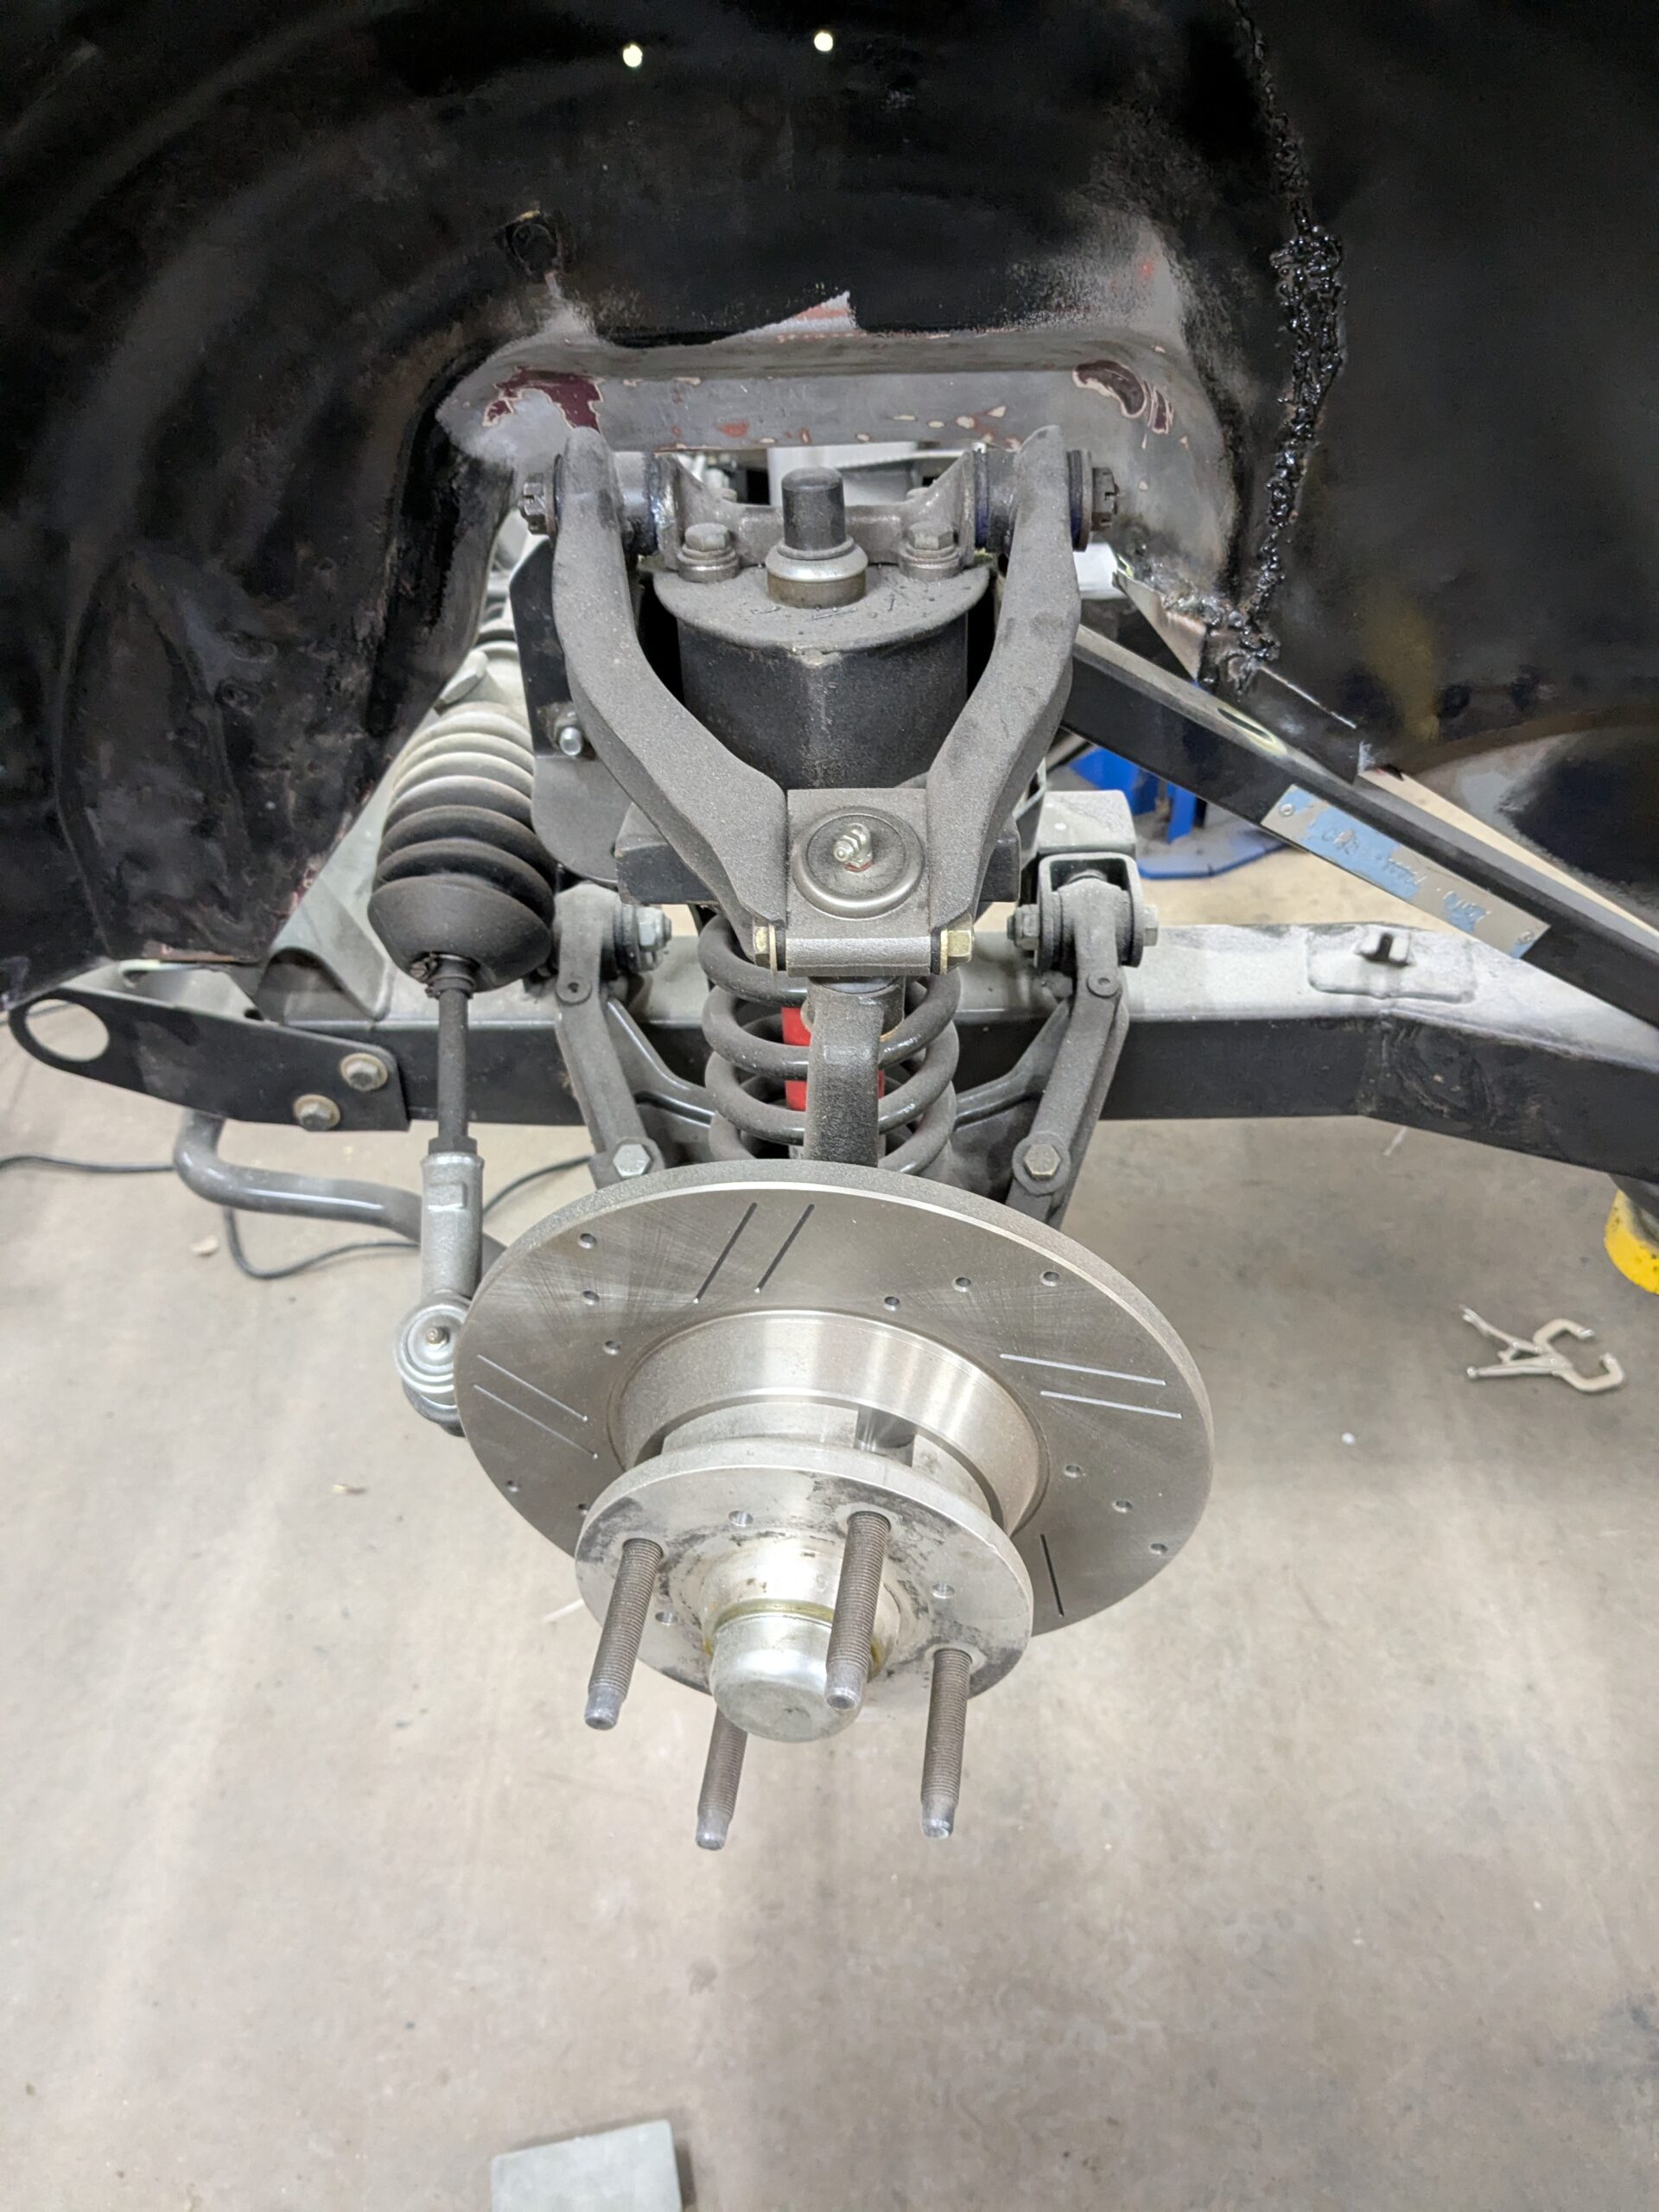
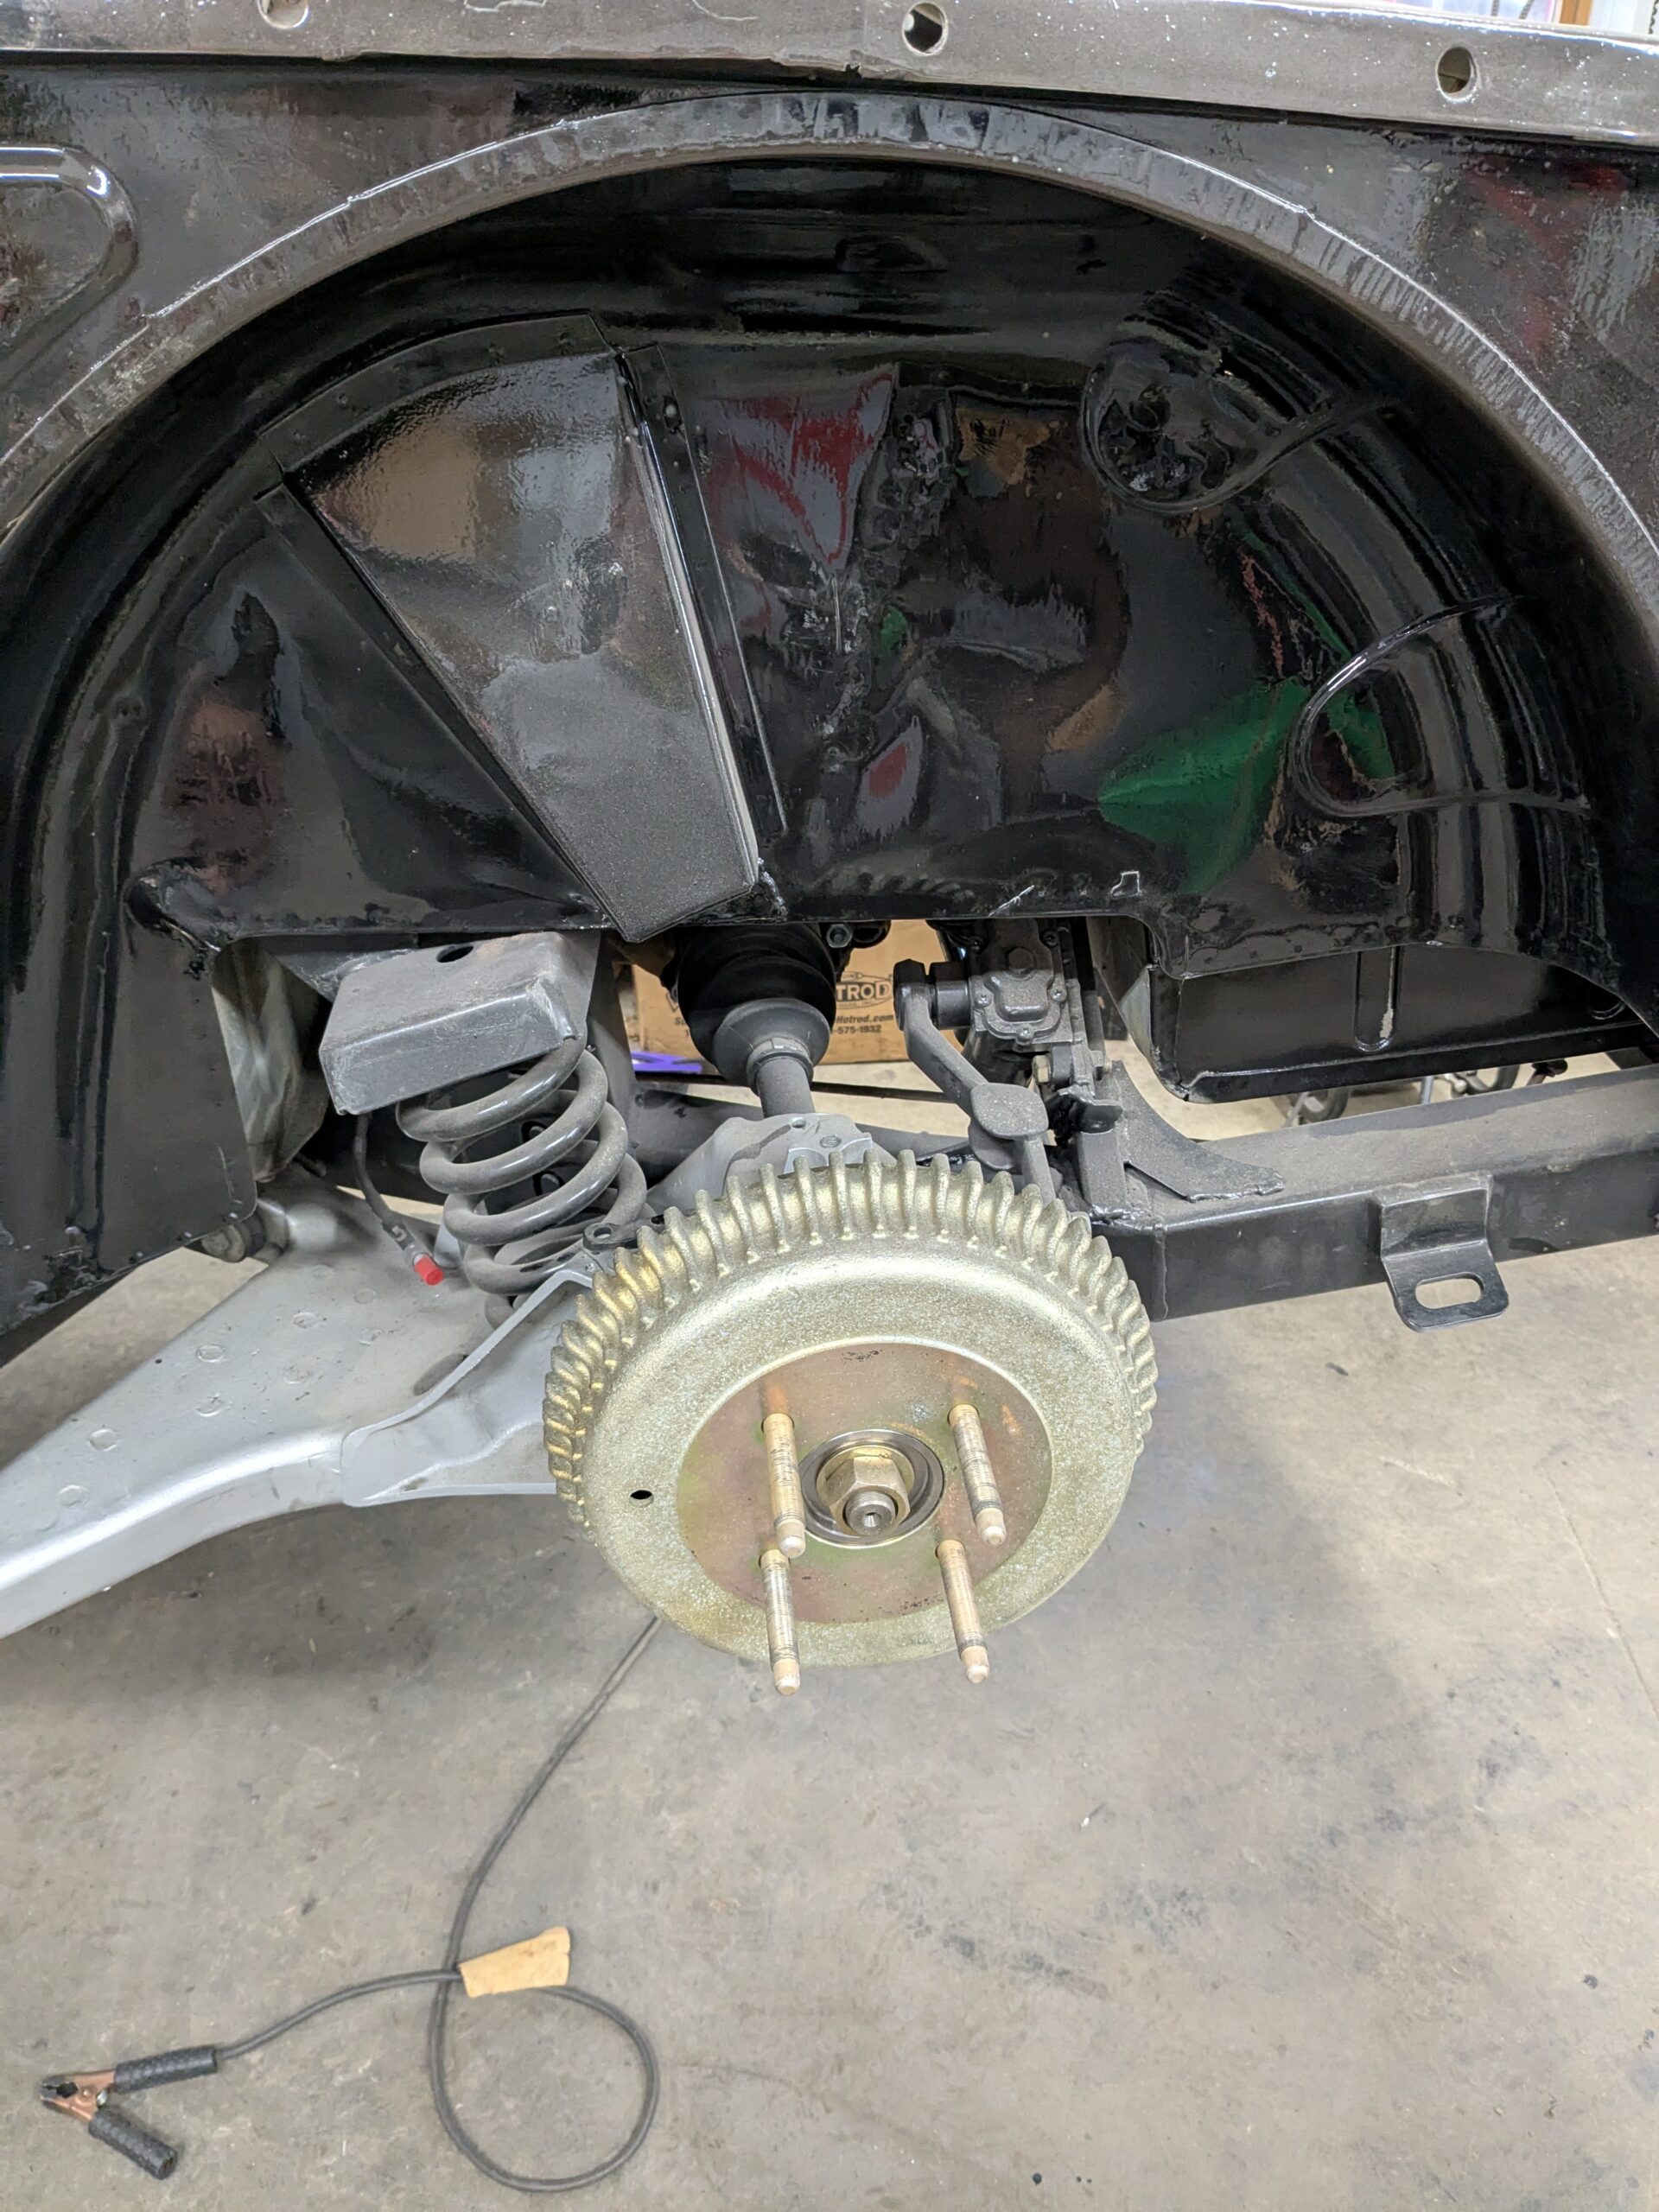
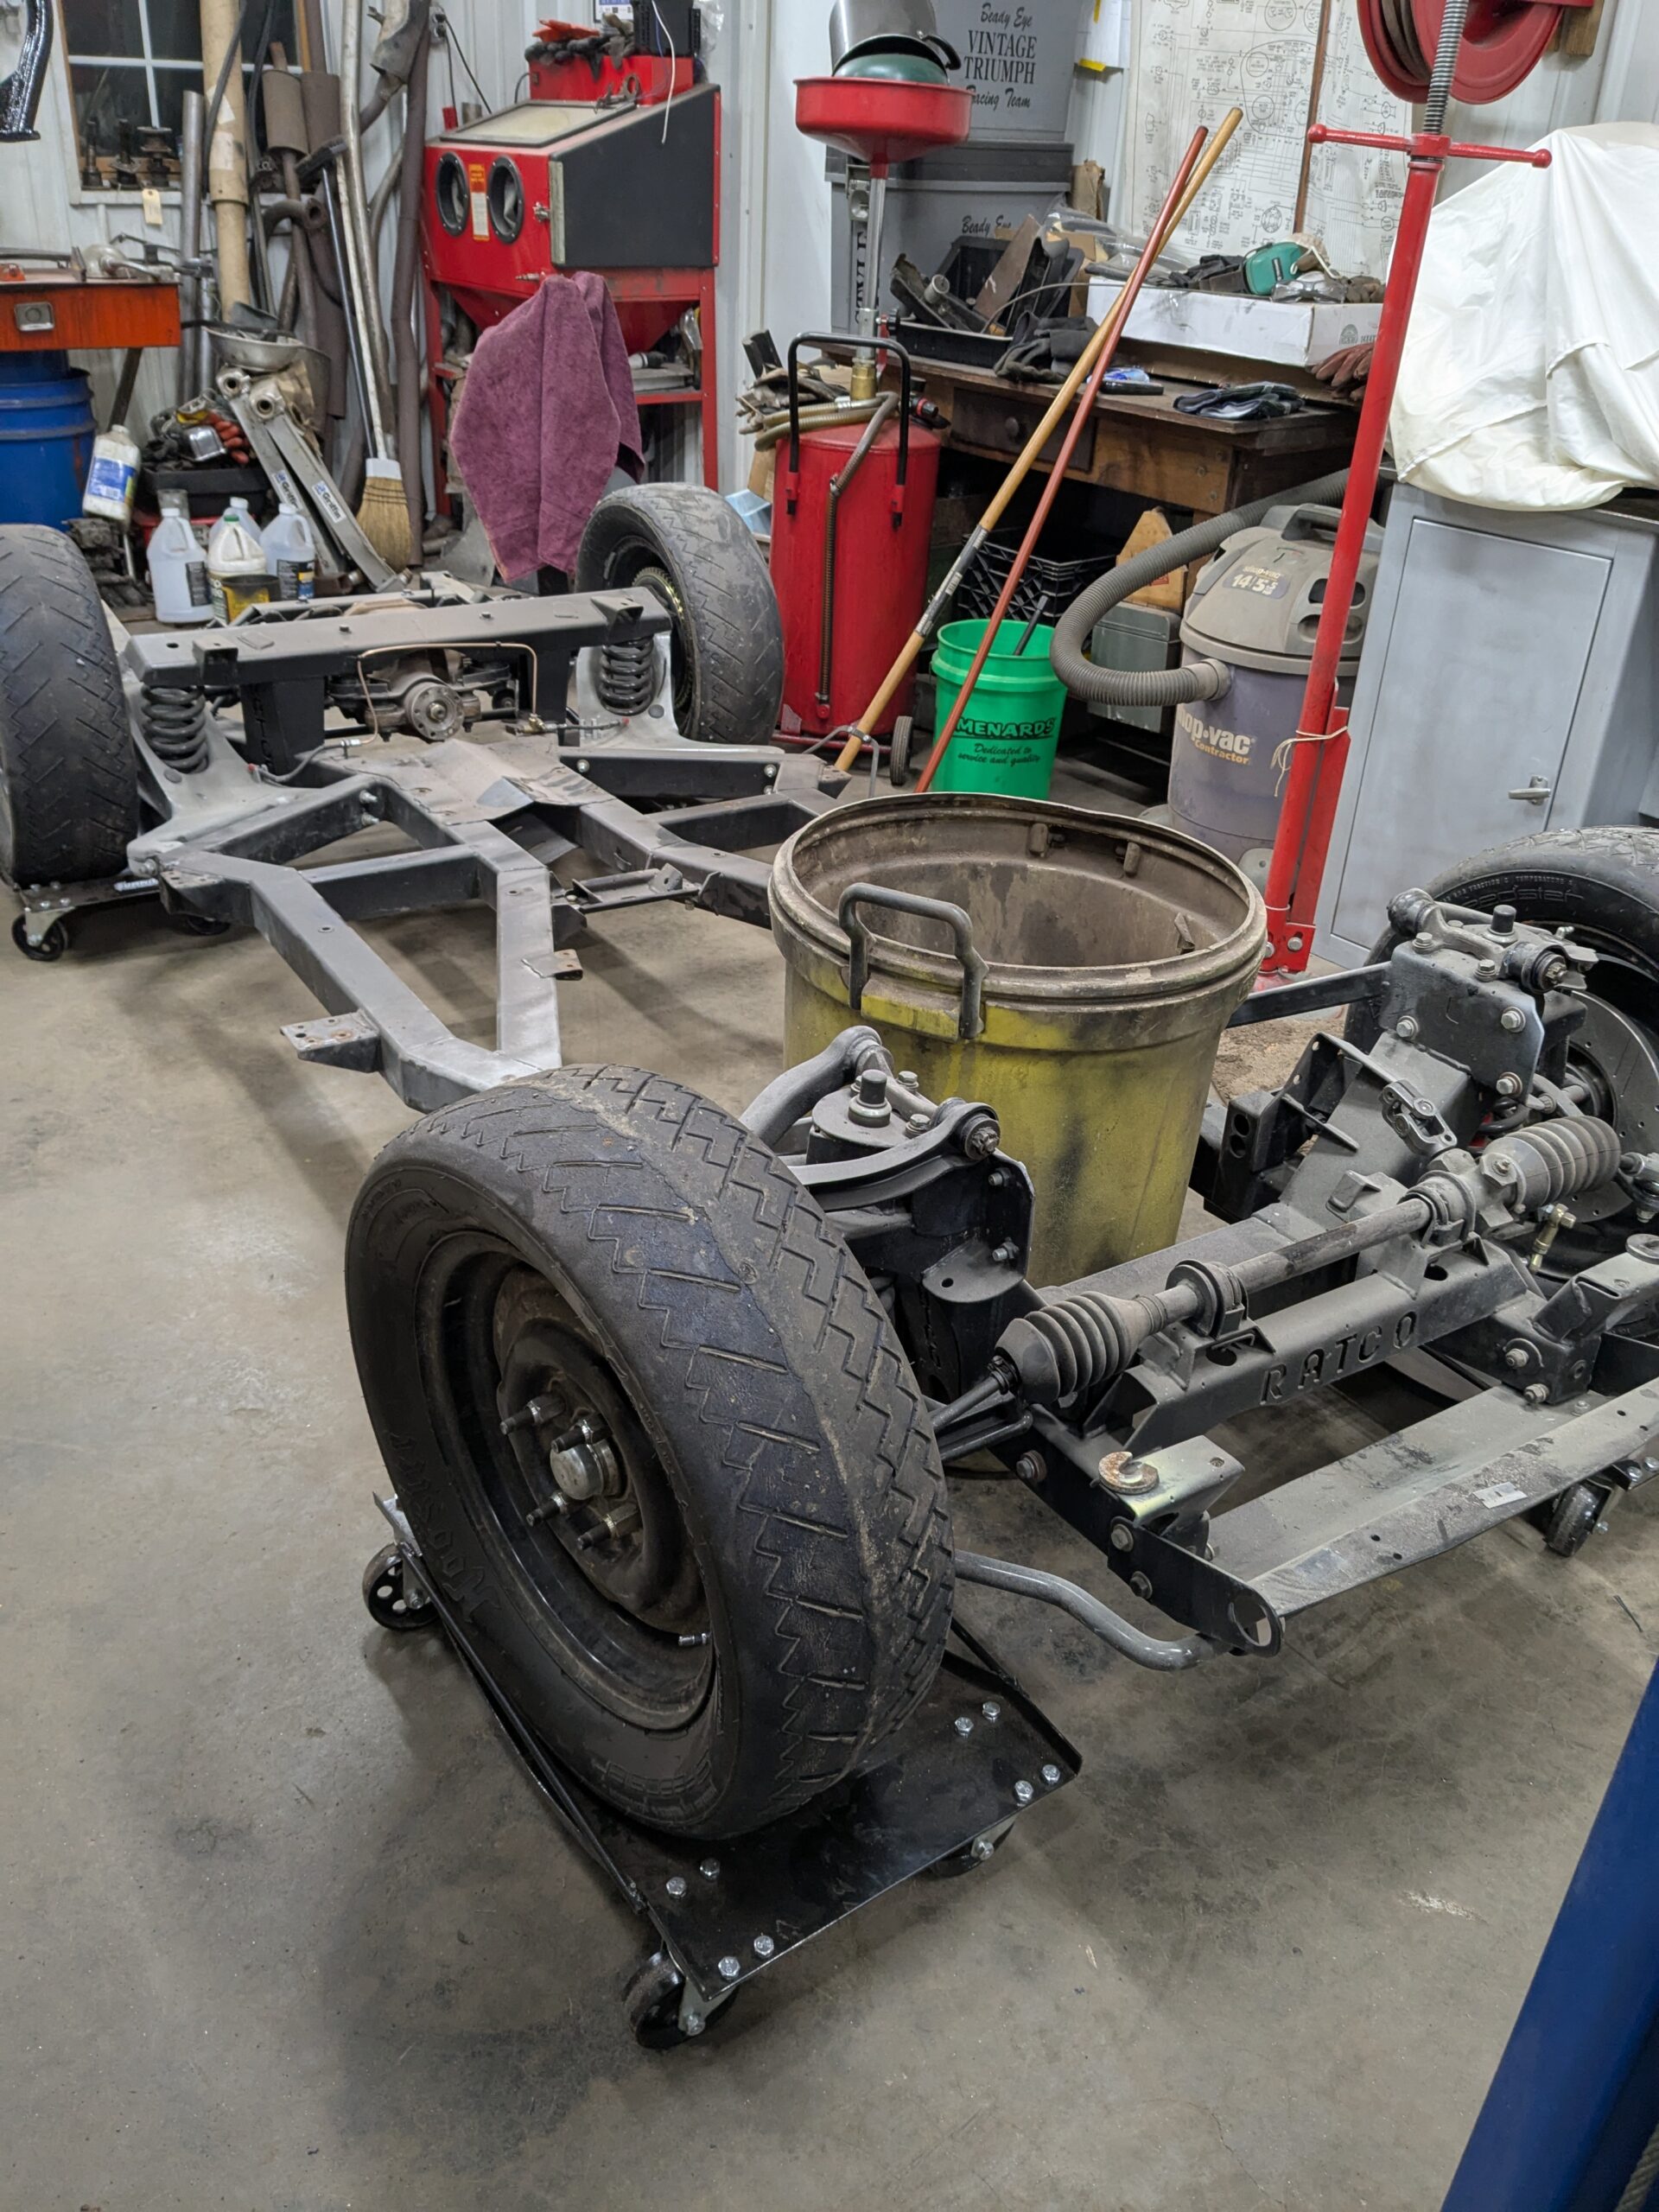
Jasmine will be the road going version of my TR250 racer. I am not trying to pull the wool over anybody’s eyes, I am not building trying to build a TR250. The car will look like a TR4A, but have TR6 running gear. My intent is to use as many good parts as I can that have been in my shop for far too long. Over the years I accumulated lots of race car bits, and I will be using as many of the extra spares I can. Built off a late TR6 2011 Ratco frame I bought in 2022 from the daughter of the guy who bought it and passed away having never put a bolt in it. Starting with a TR4A tub, the car will be powered by a rebuilt later TR6 engine, a rebuilt stock TR gearbox with a J-type overdrive, Goodparts rear end bits, and run on a set of Koenig 15X7 wheels in graphite. Koni’s up front, reworked lever shocks in the rear. TR6 pedal box with the booster and dual circuit brakes. HD front spindle kit with spacers to set wheel bearing preload, aluminum hubs. The dash will be TR4A with the large air vents. Seats to be determined, I am hoping I can make the Suffolk seats I have in stock fit. A late TR6 black interior kit, because I have one on the shelf. Soundproofing throughout, black carpet.
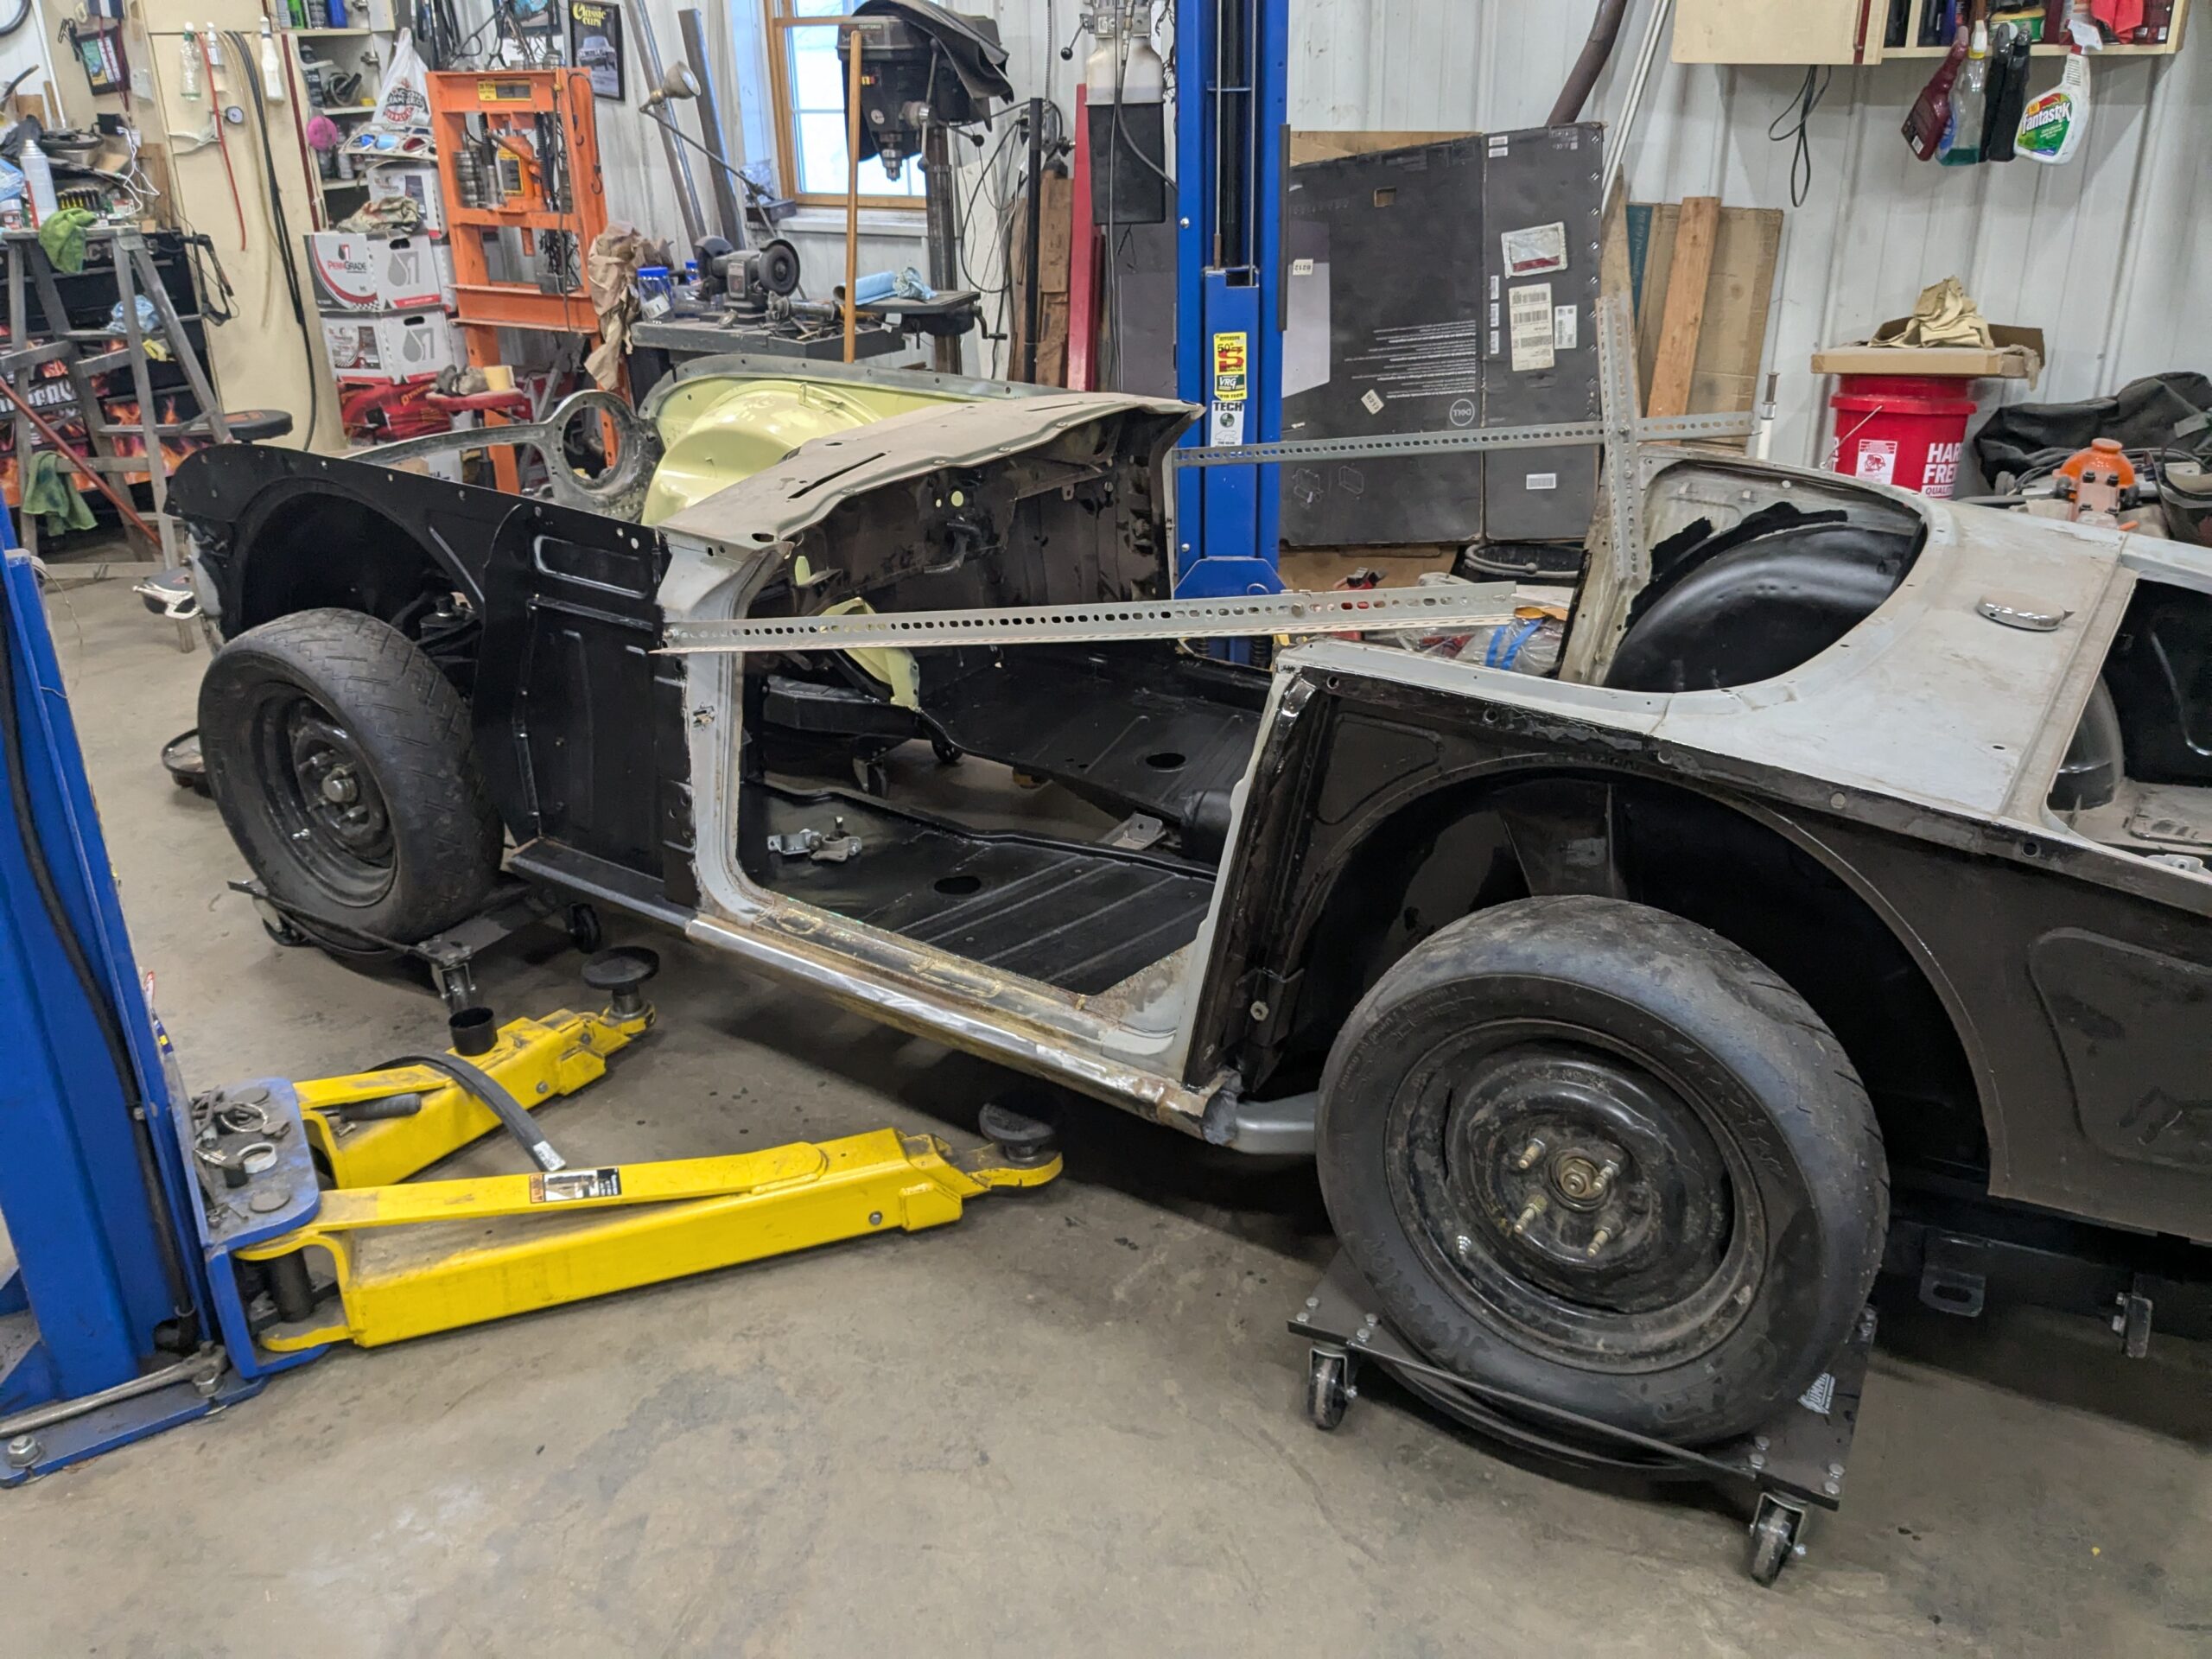
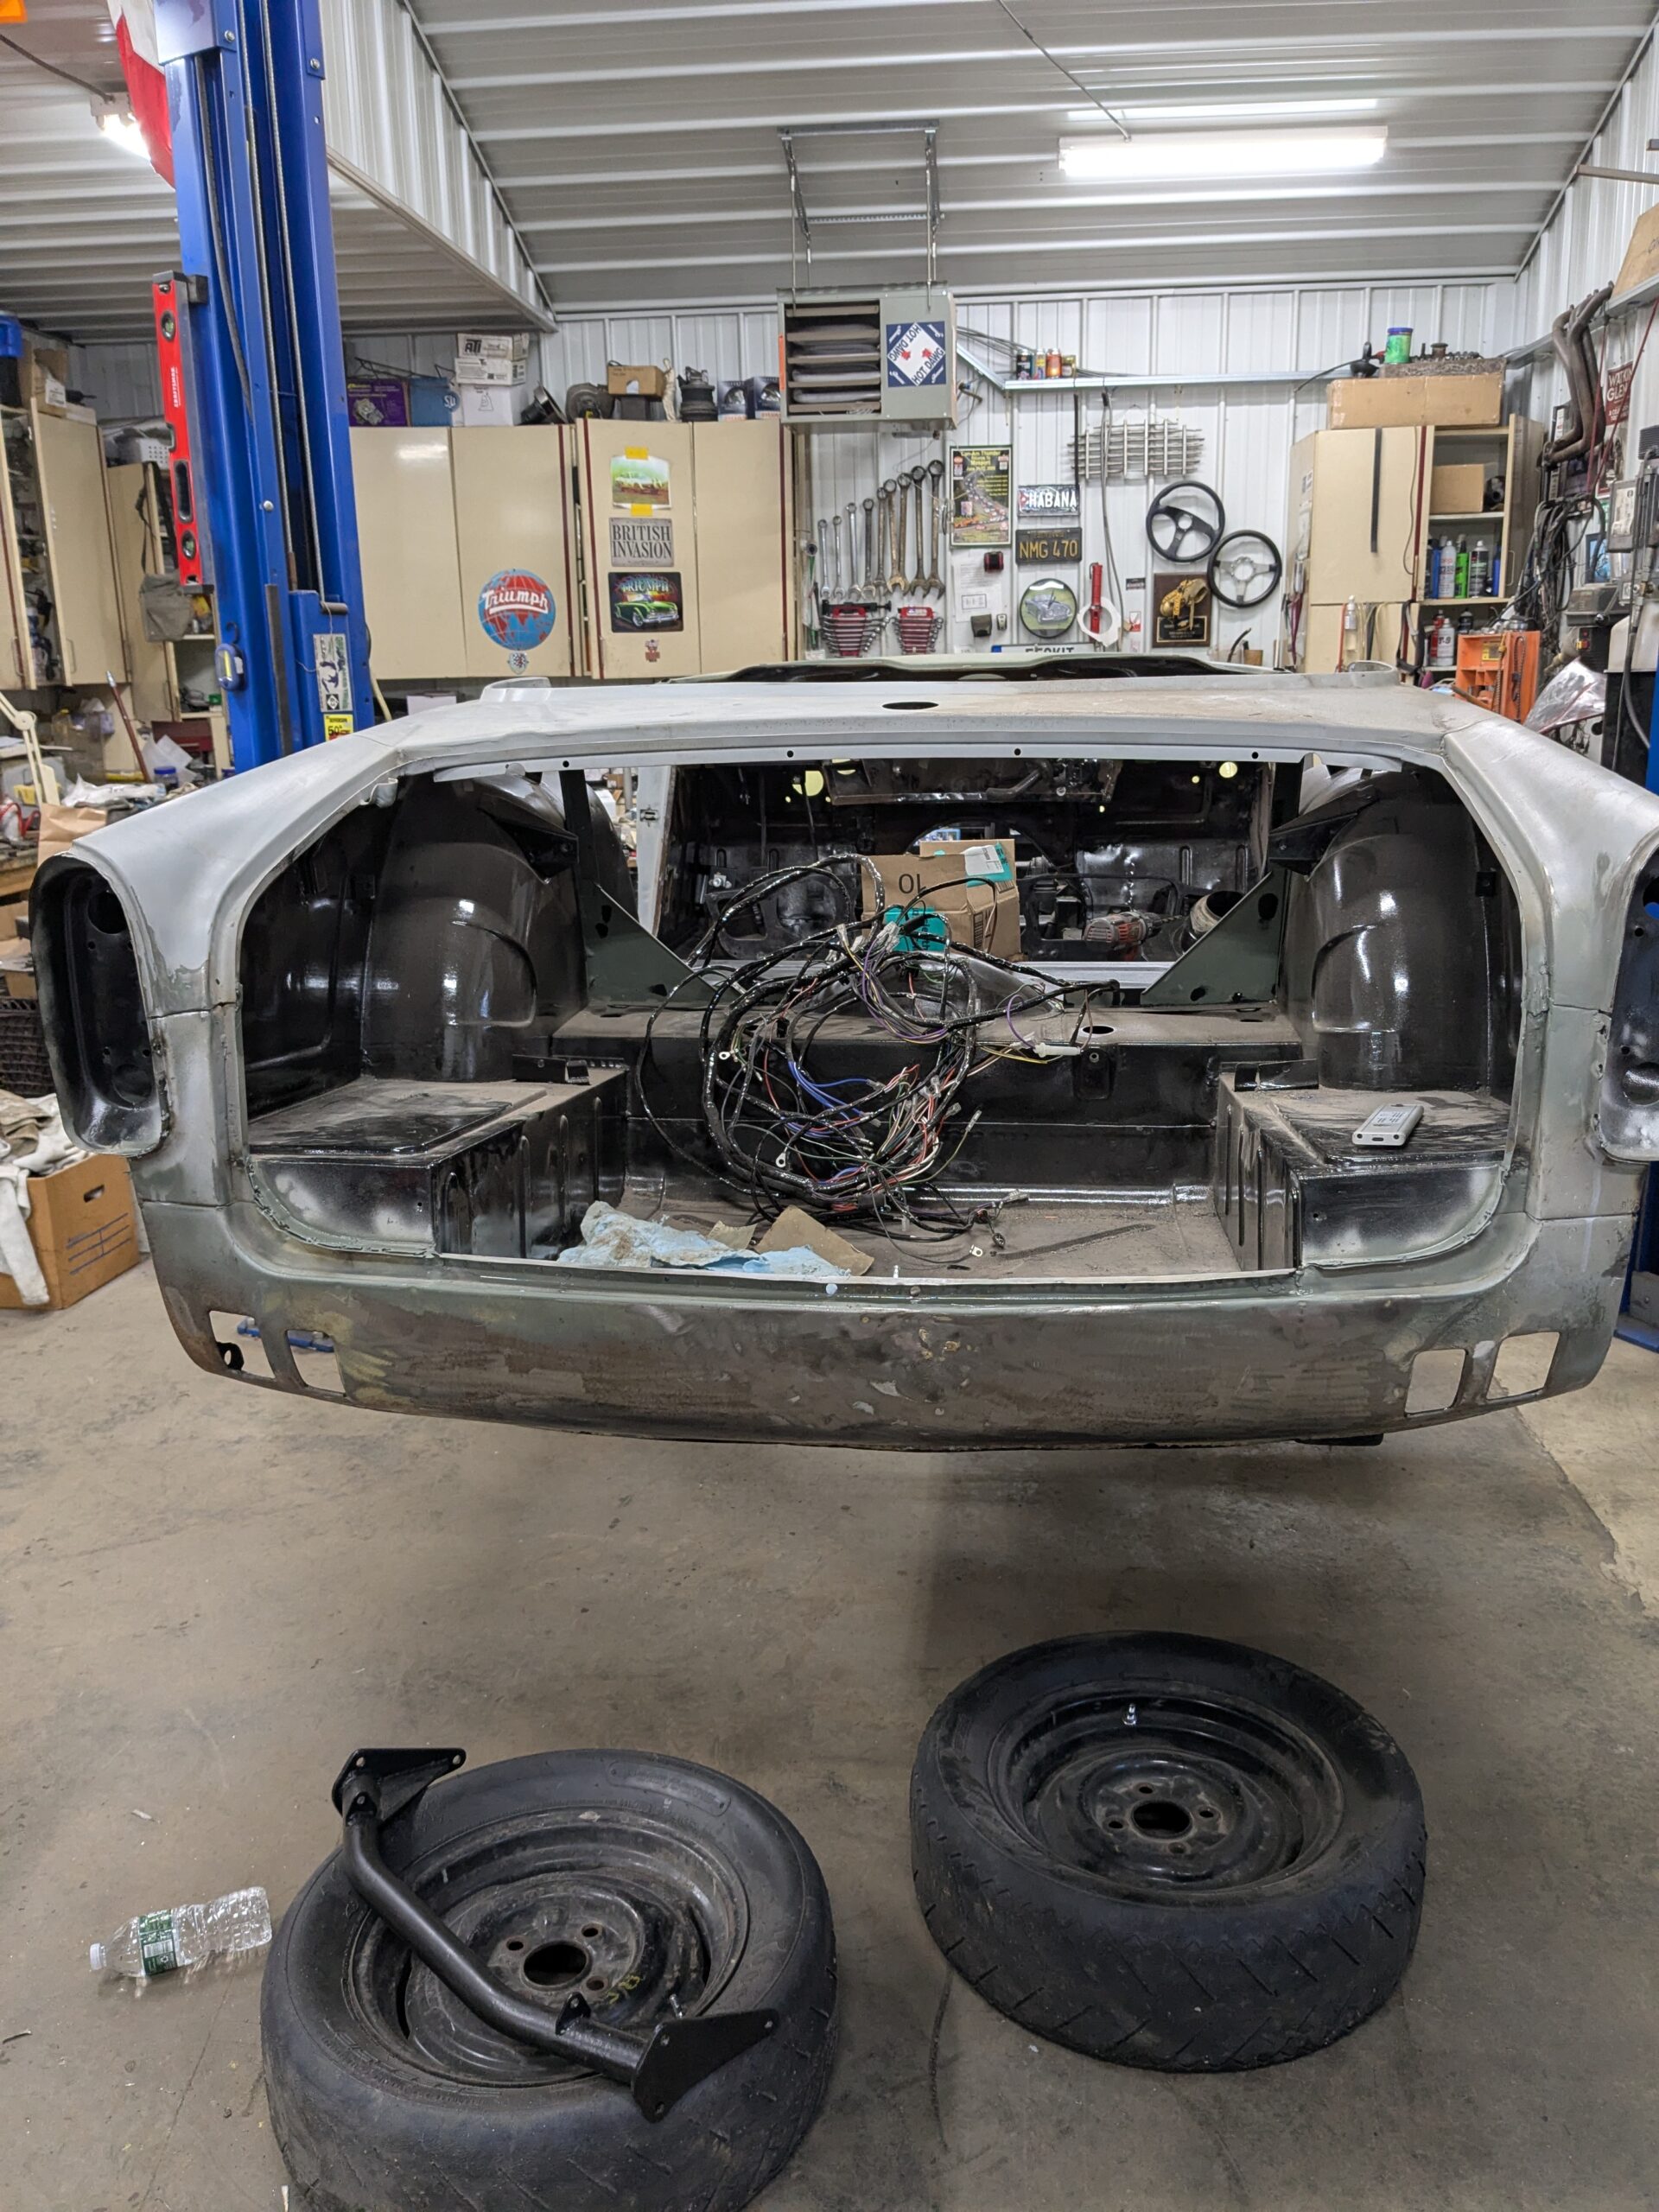
The donor tub came from Maine, it was sitting in a barn for many years. Someone had put a lot of effort into it, but the story goes they found a better one way back when and abandoned this one. Much work was done to it, but as I get deeper into it, I have found issues that may have prompted moving on to another tub. Still, at this point these cars are quickly approaching 60 years old, so finding a better one is not going to happen!
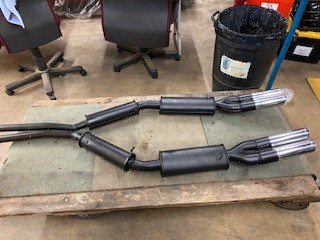
Drivetrain build – later TR6 engine with wide port head. Rebuilt using MaxSpeeding rods, stock crank, NOS AE .030 pistons, Total Seal rings, head lightly massaged (call it Stage 1 prep) and skimmed to 9.75:1 compression ratio, GP2 cam, 1.65 roller rockers. Fresh rebuilt J-type overdrive. Will run two SU HS6 carbs, a Group 44 type two-piece stainless steel header, NOS Ansa exhaust. Goodparts Nissan viscous limited slip diff, Goodparts CV axles and hubs.

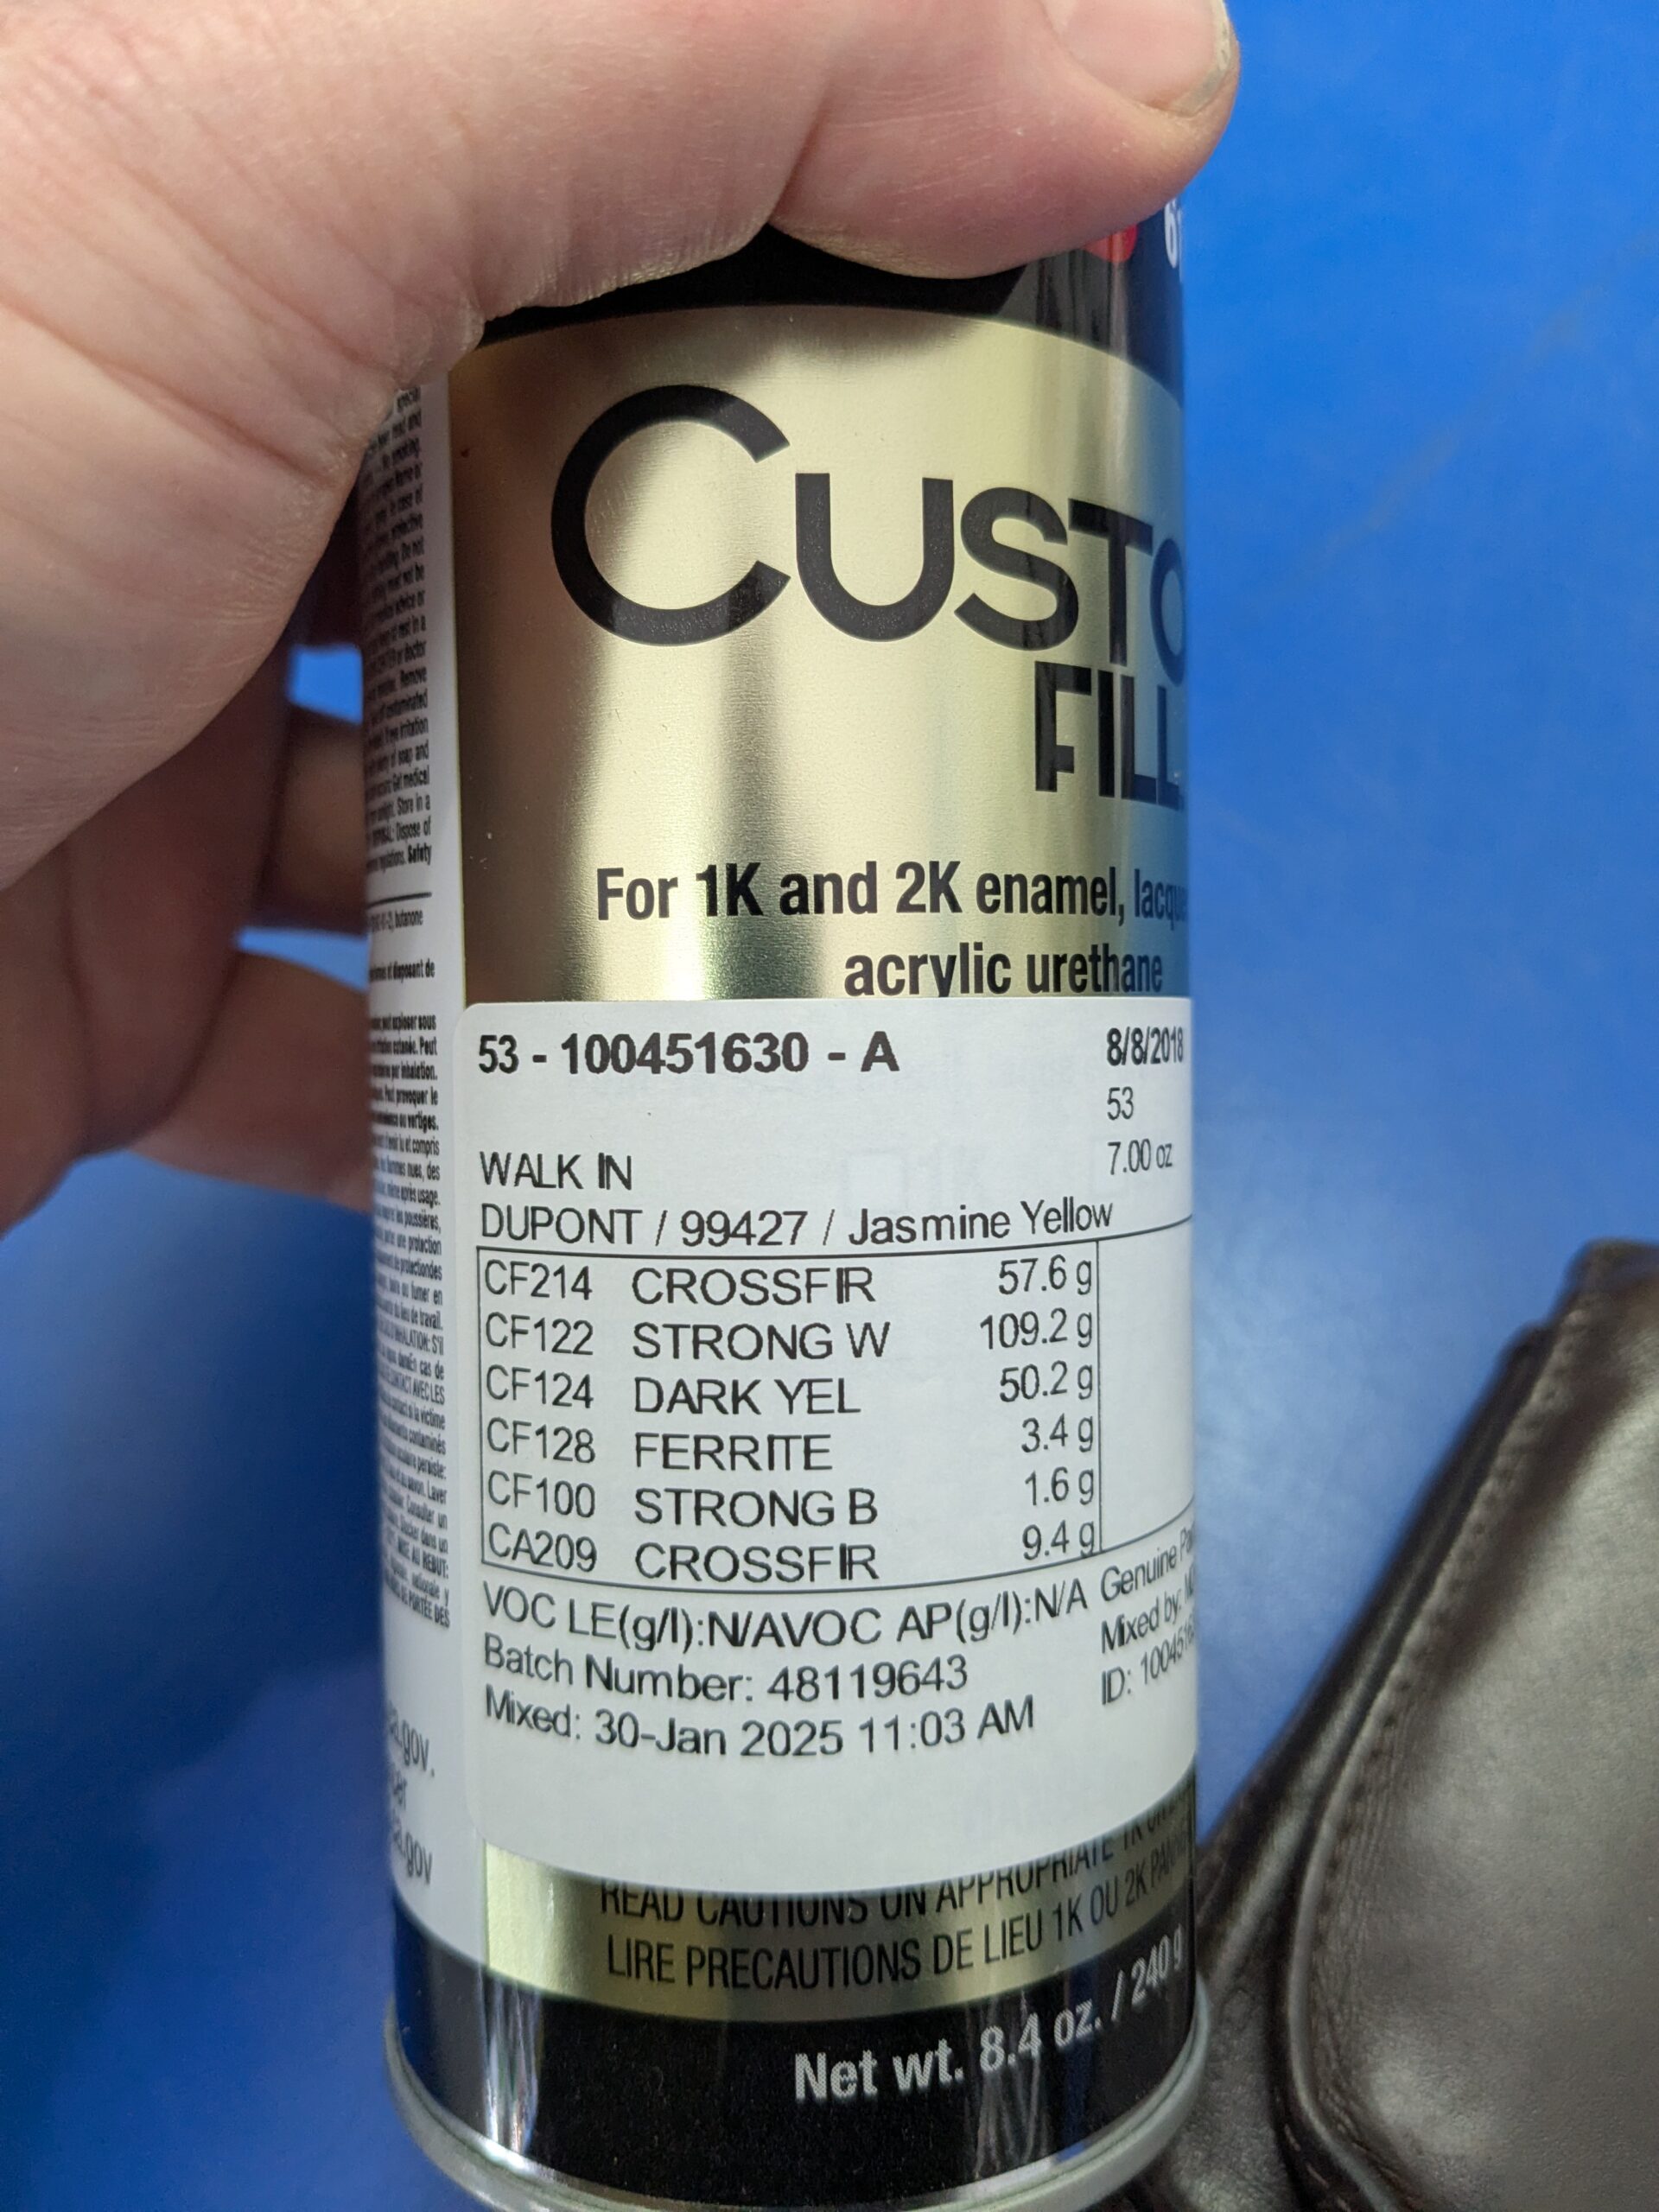
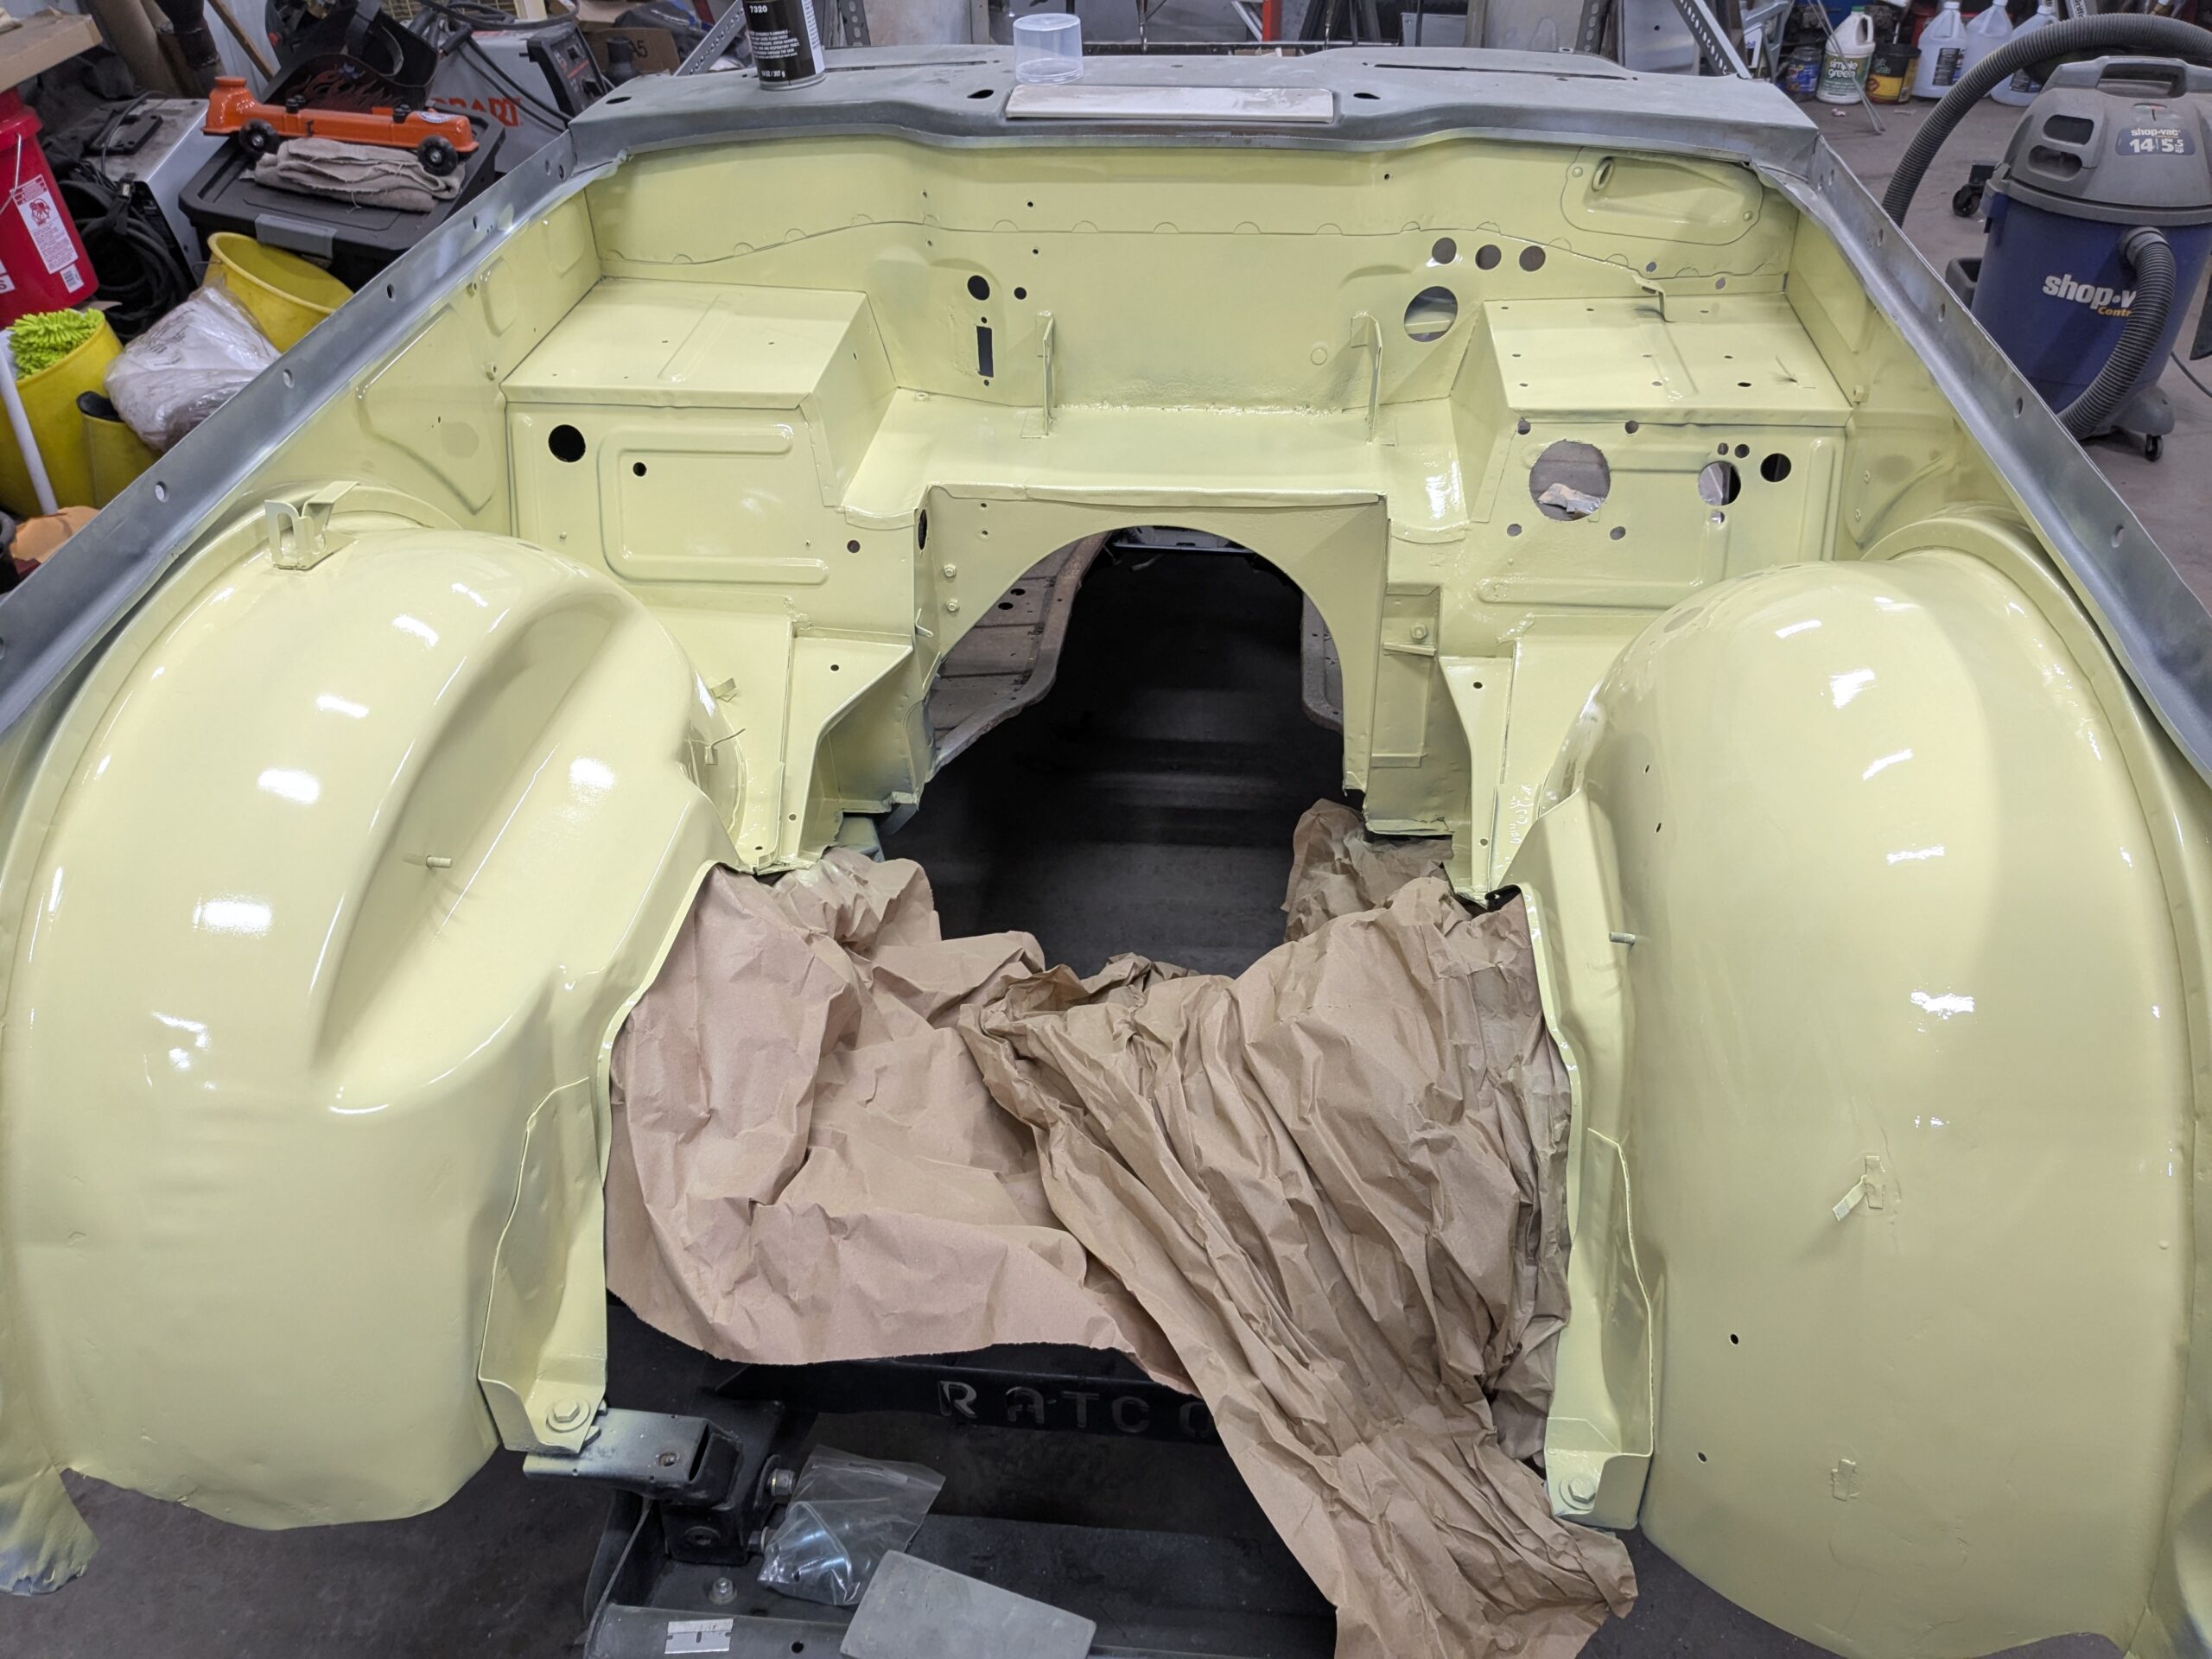
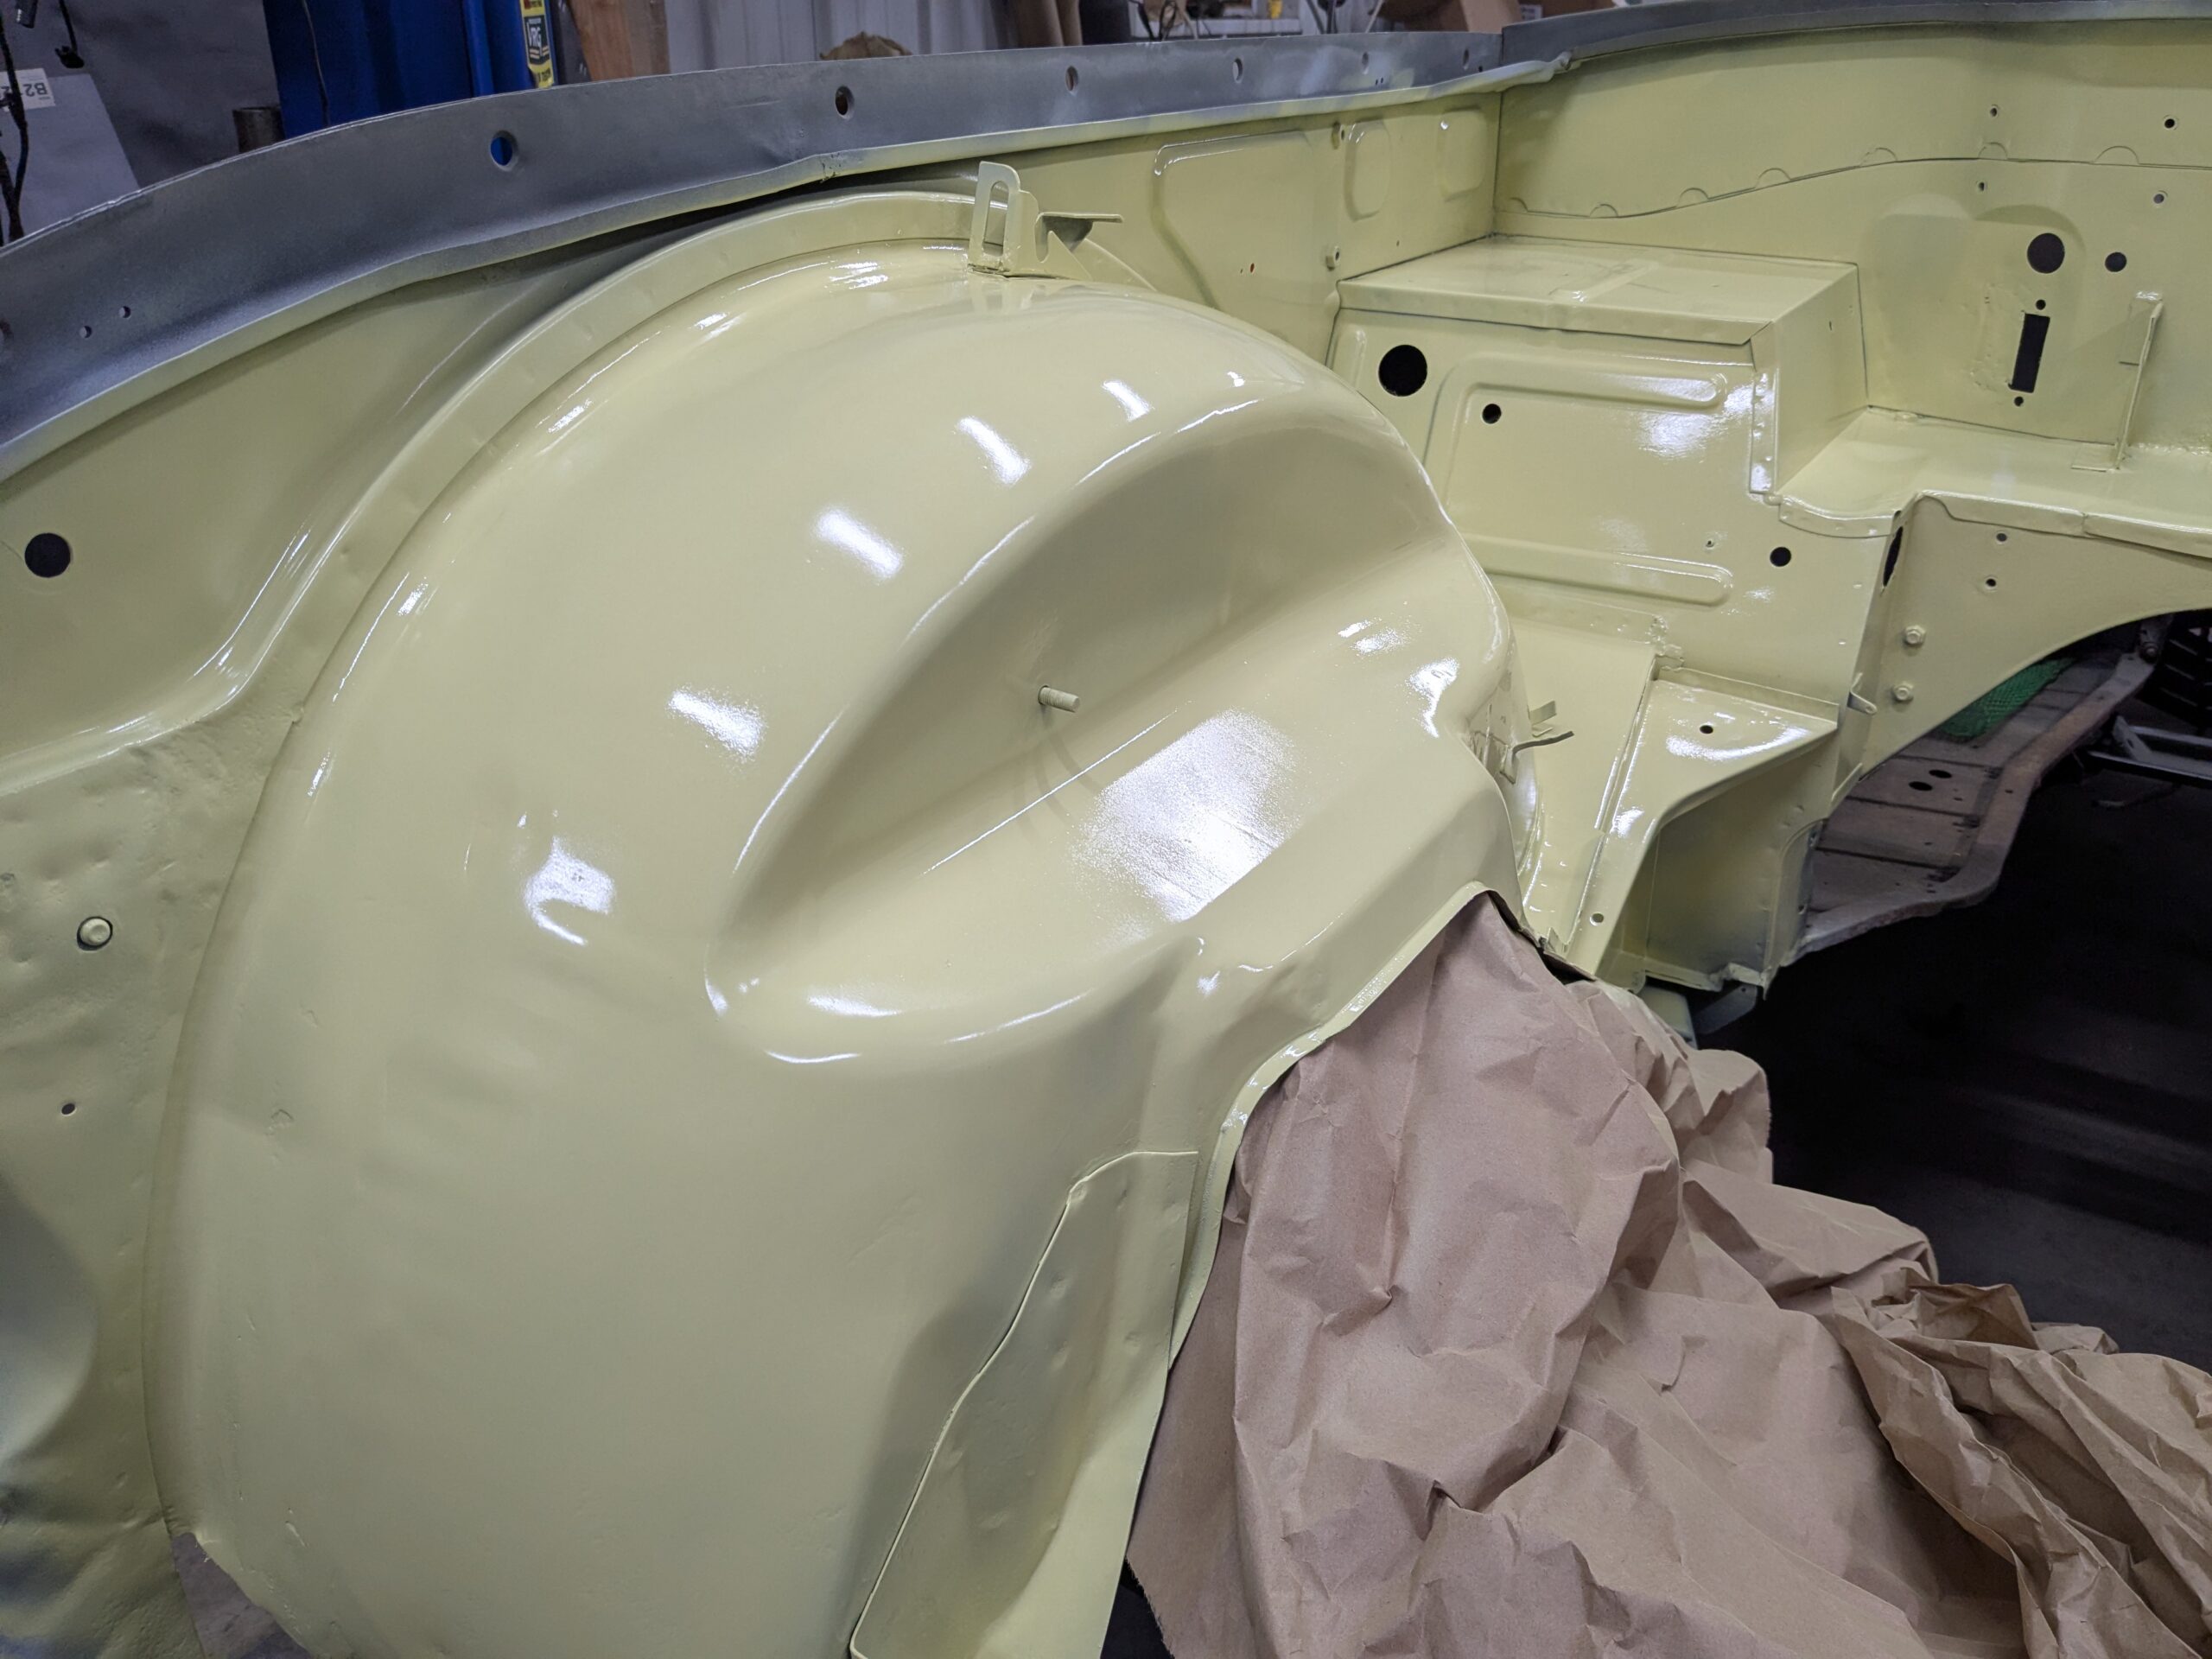
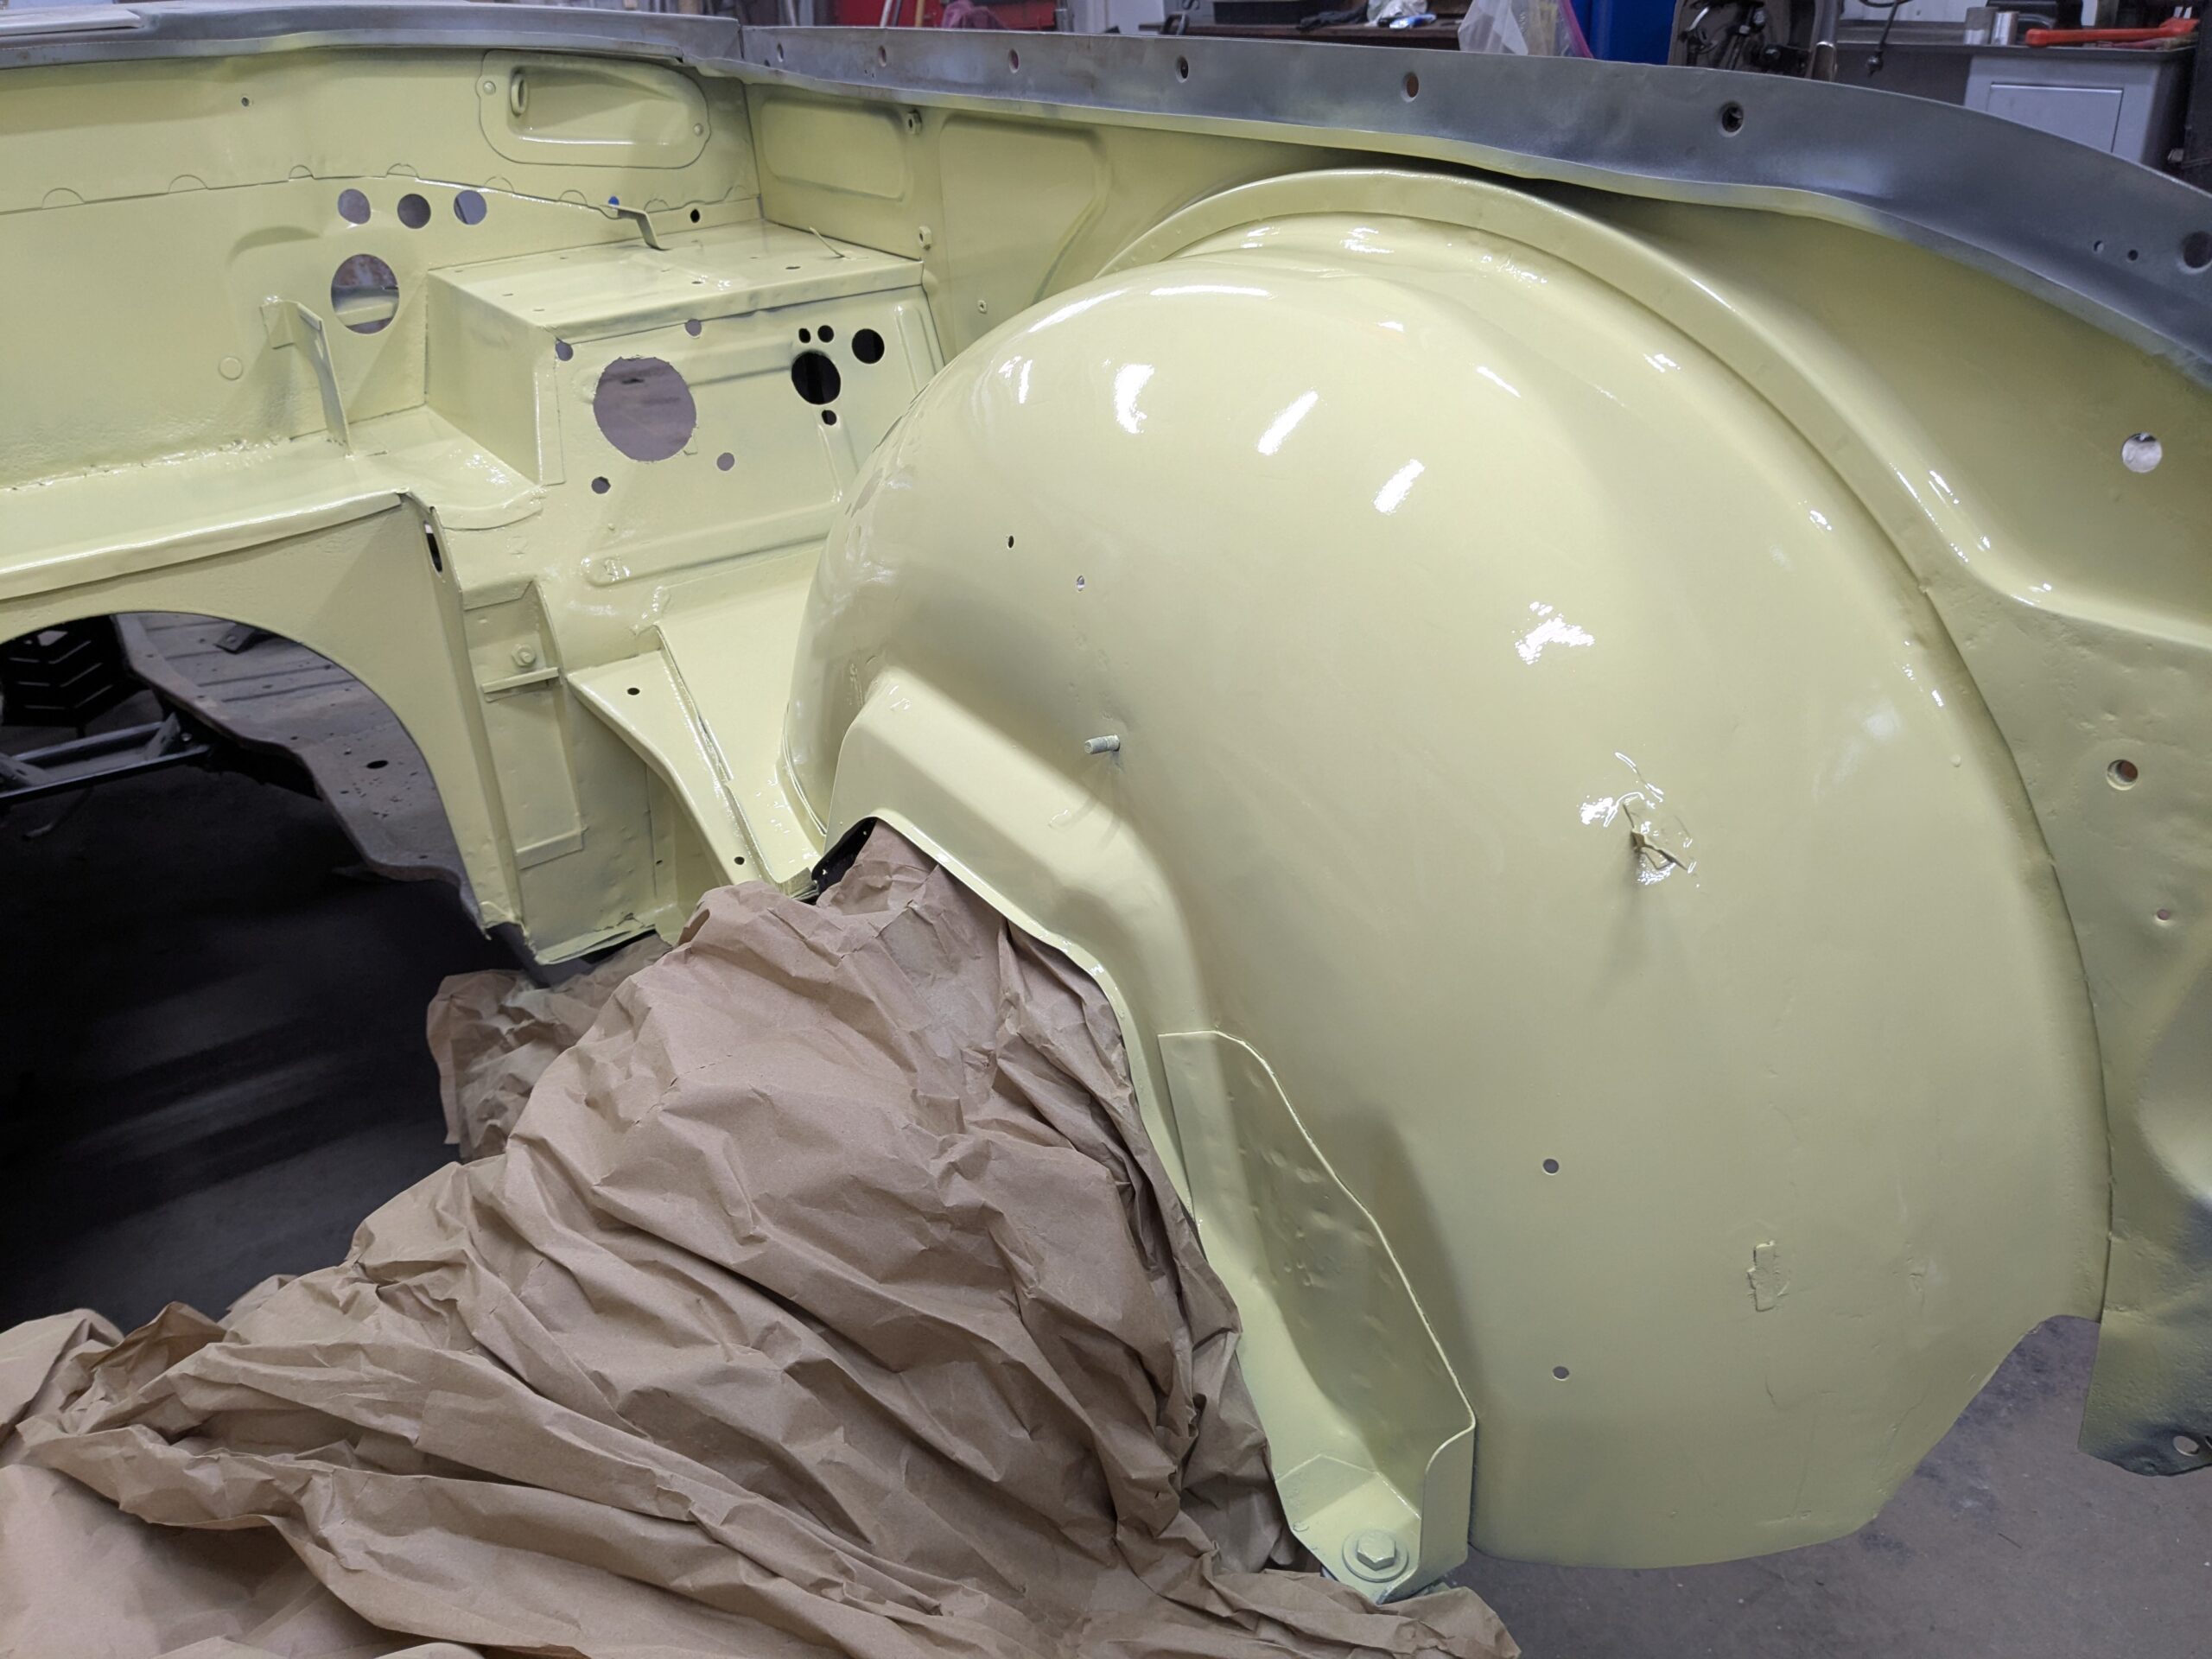
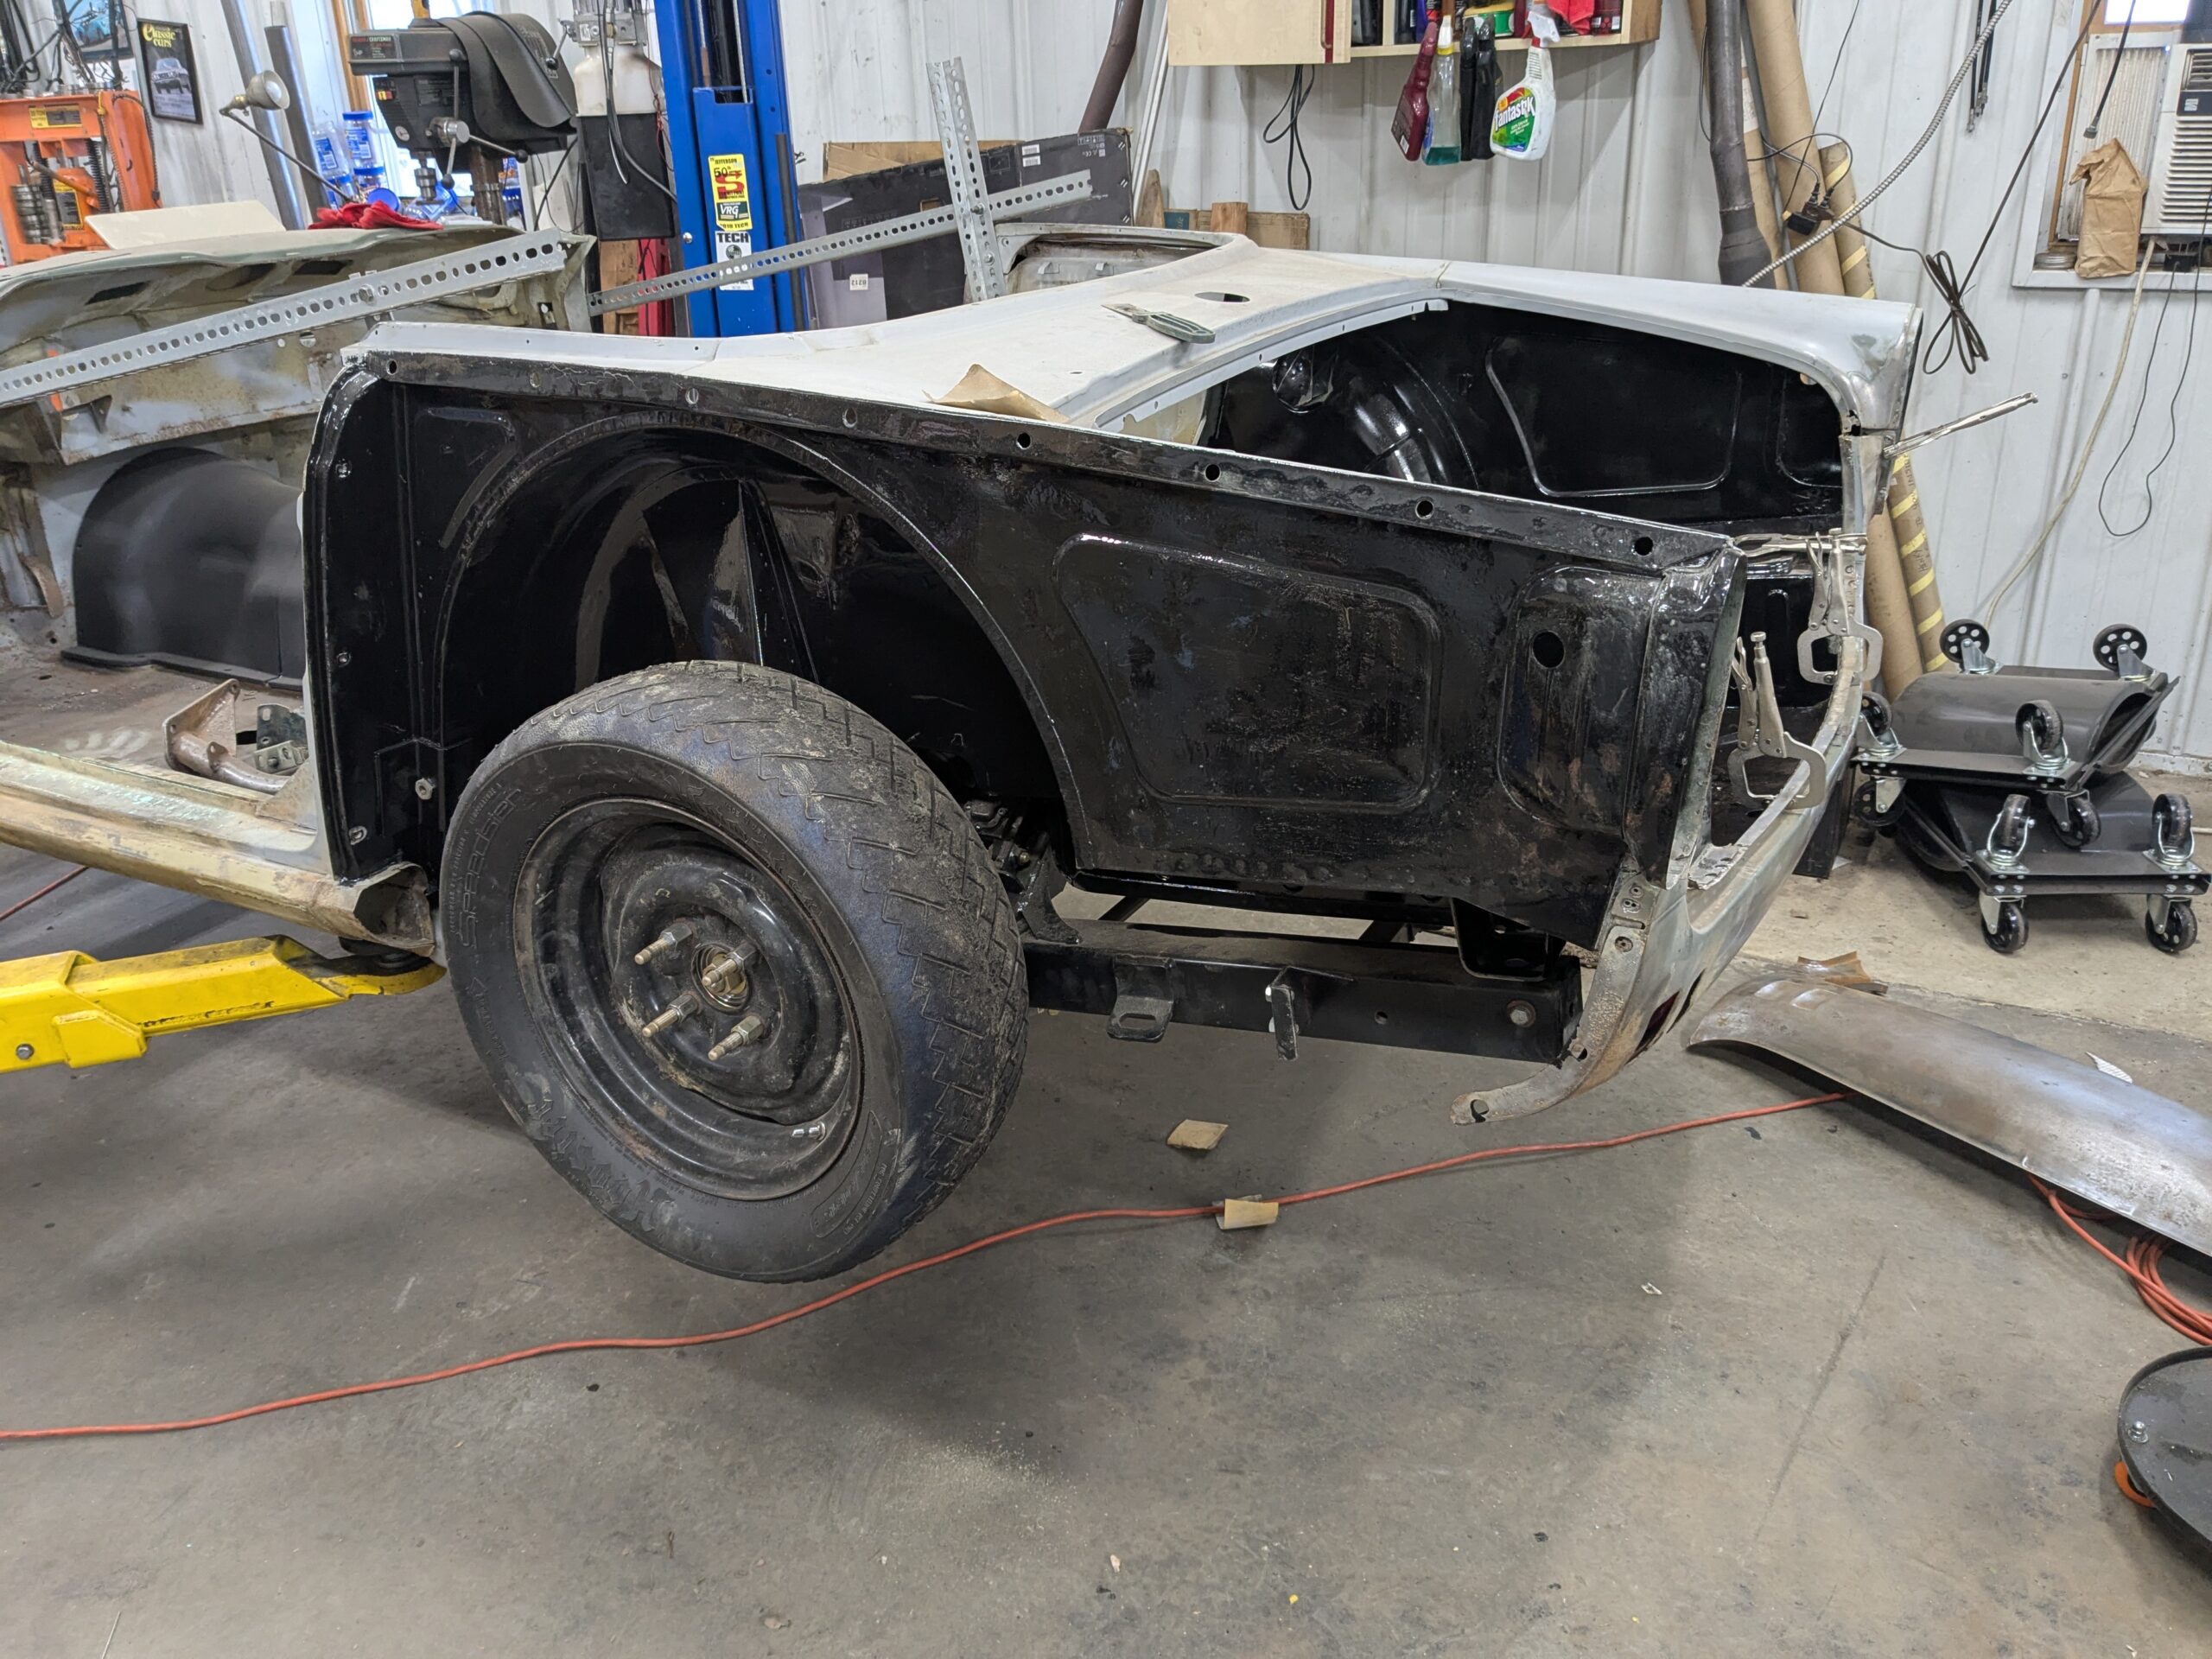
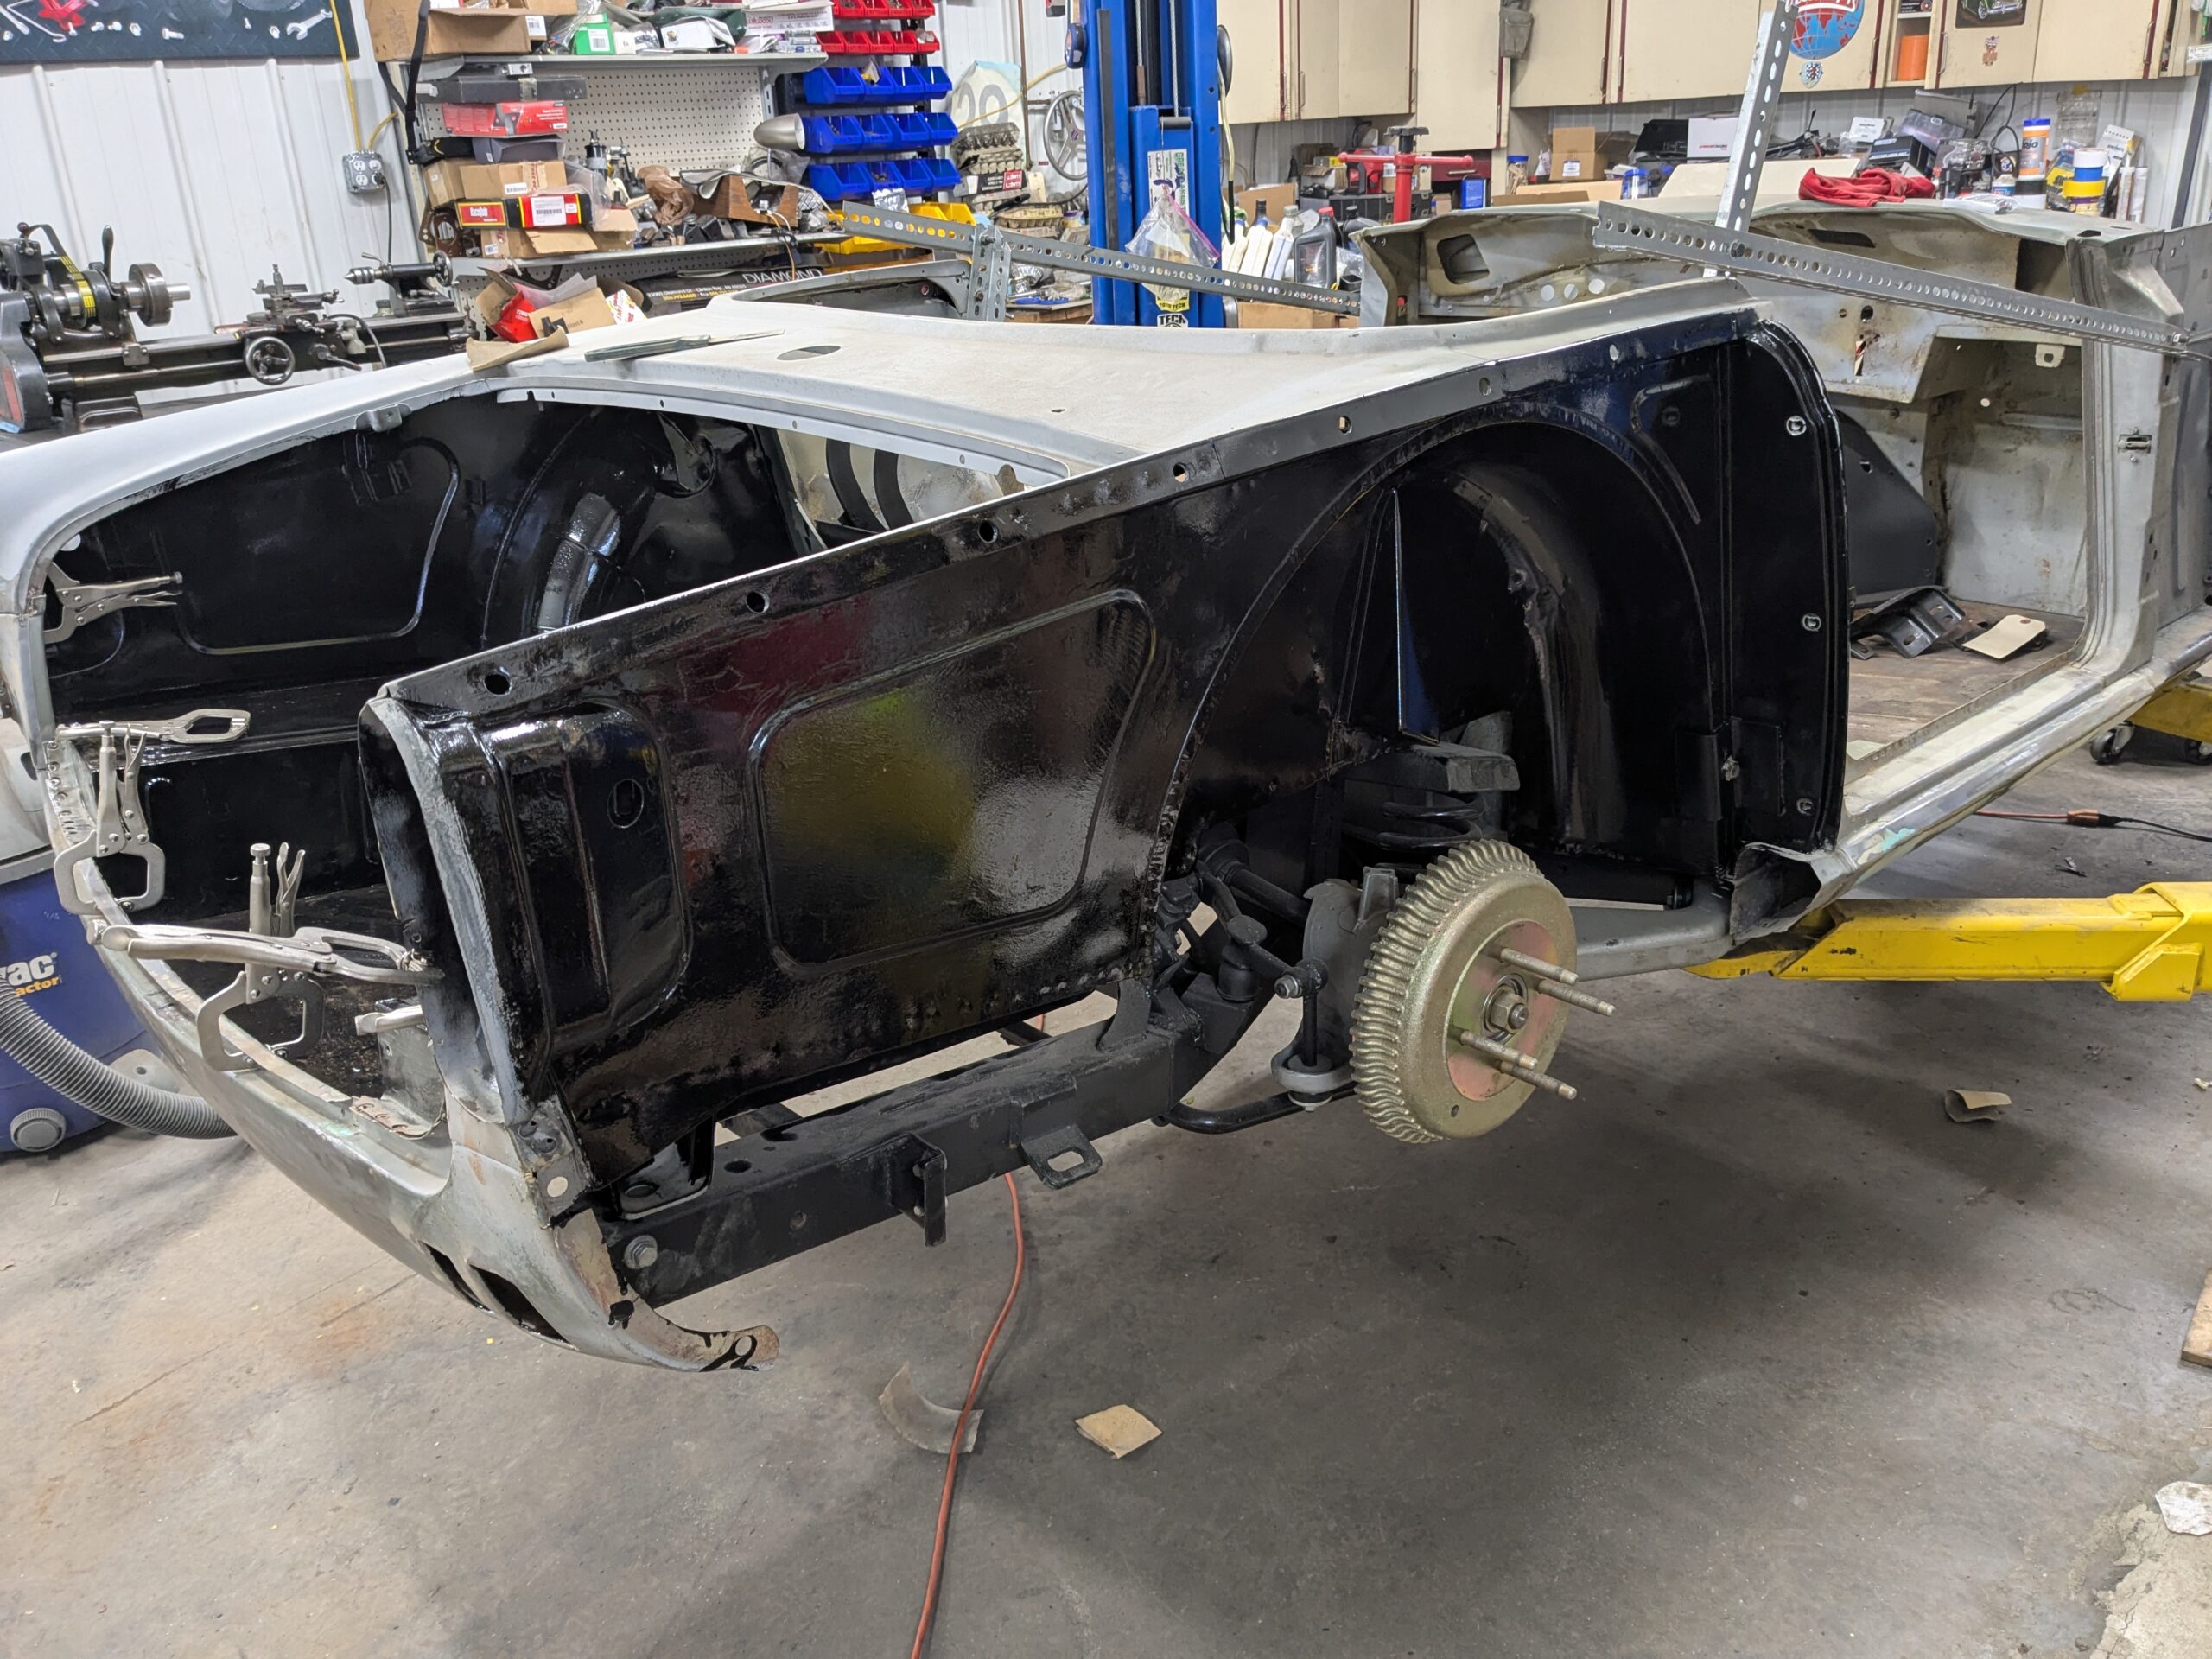
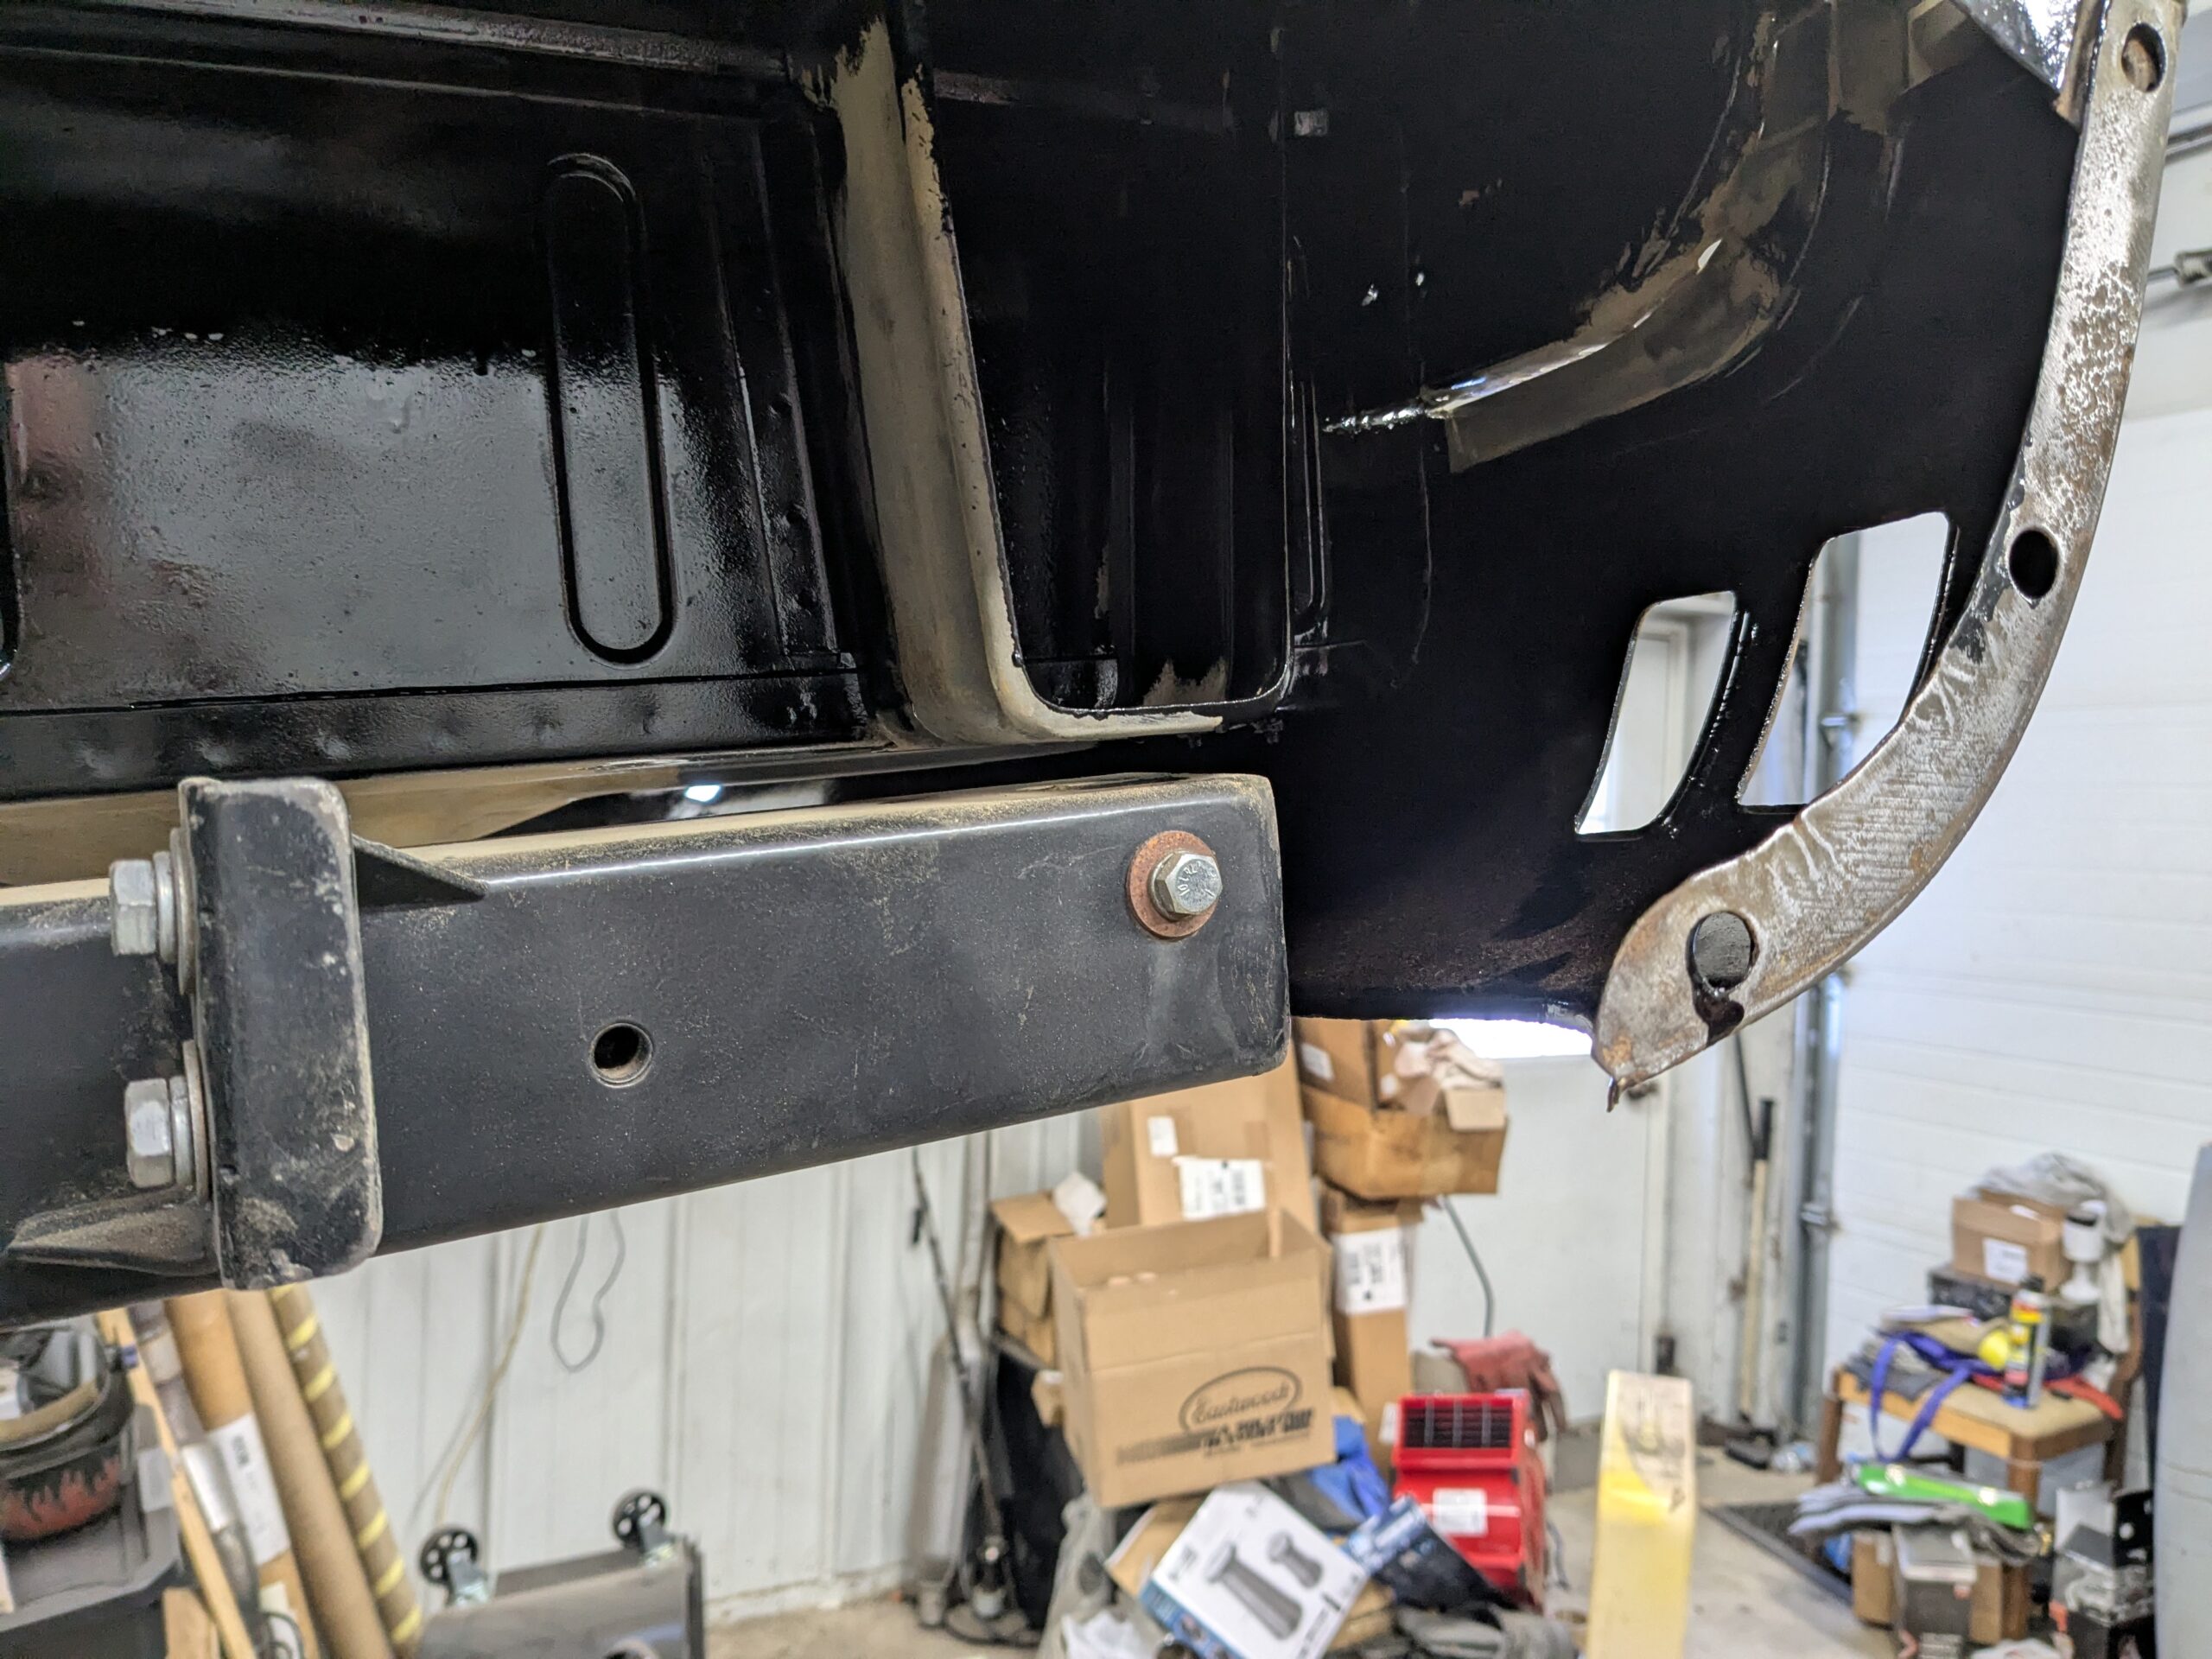
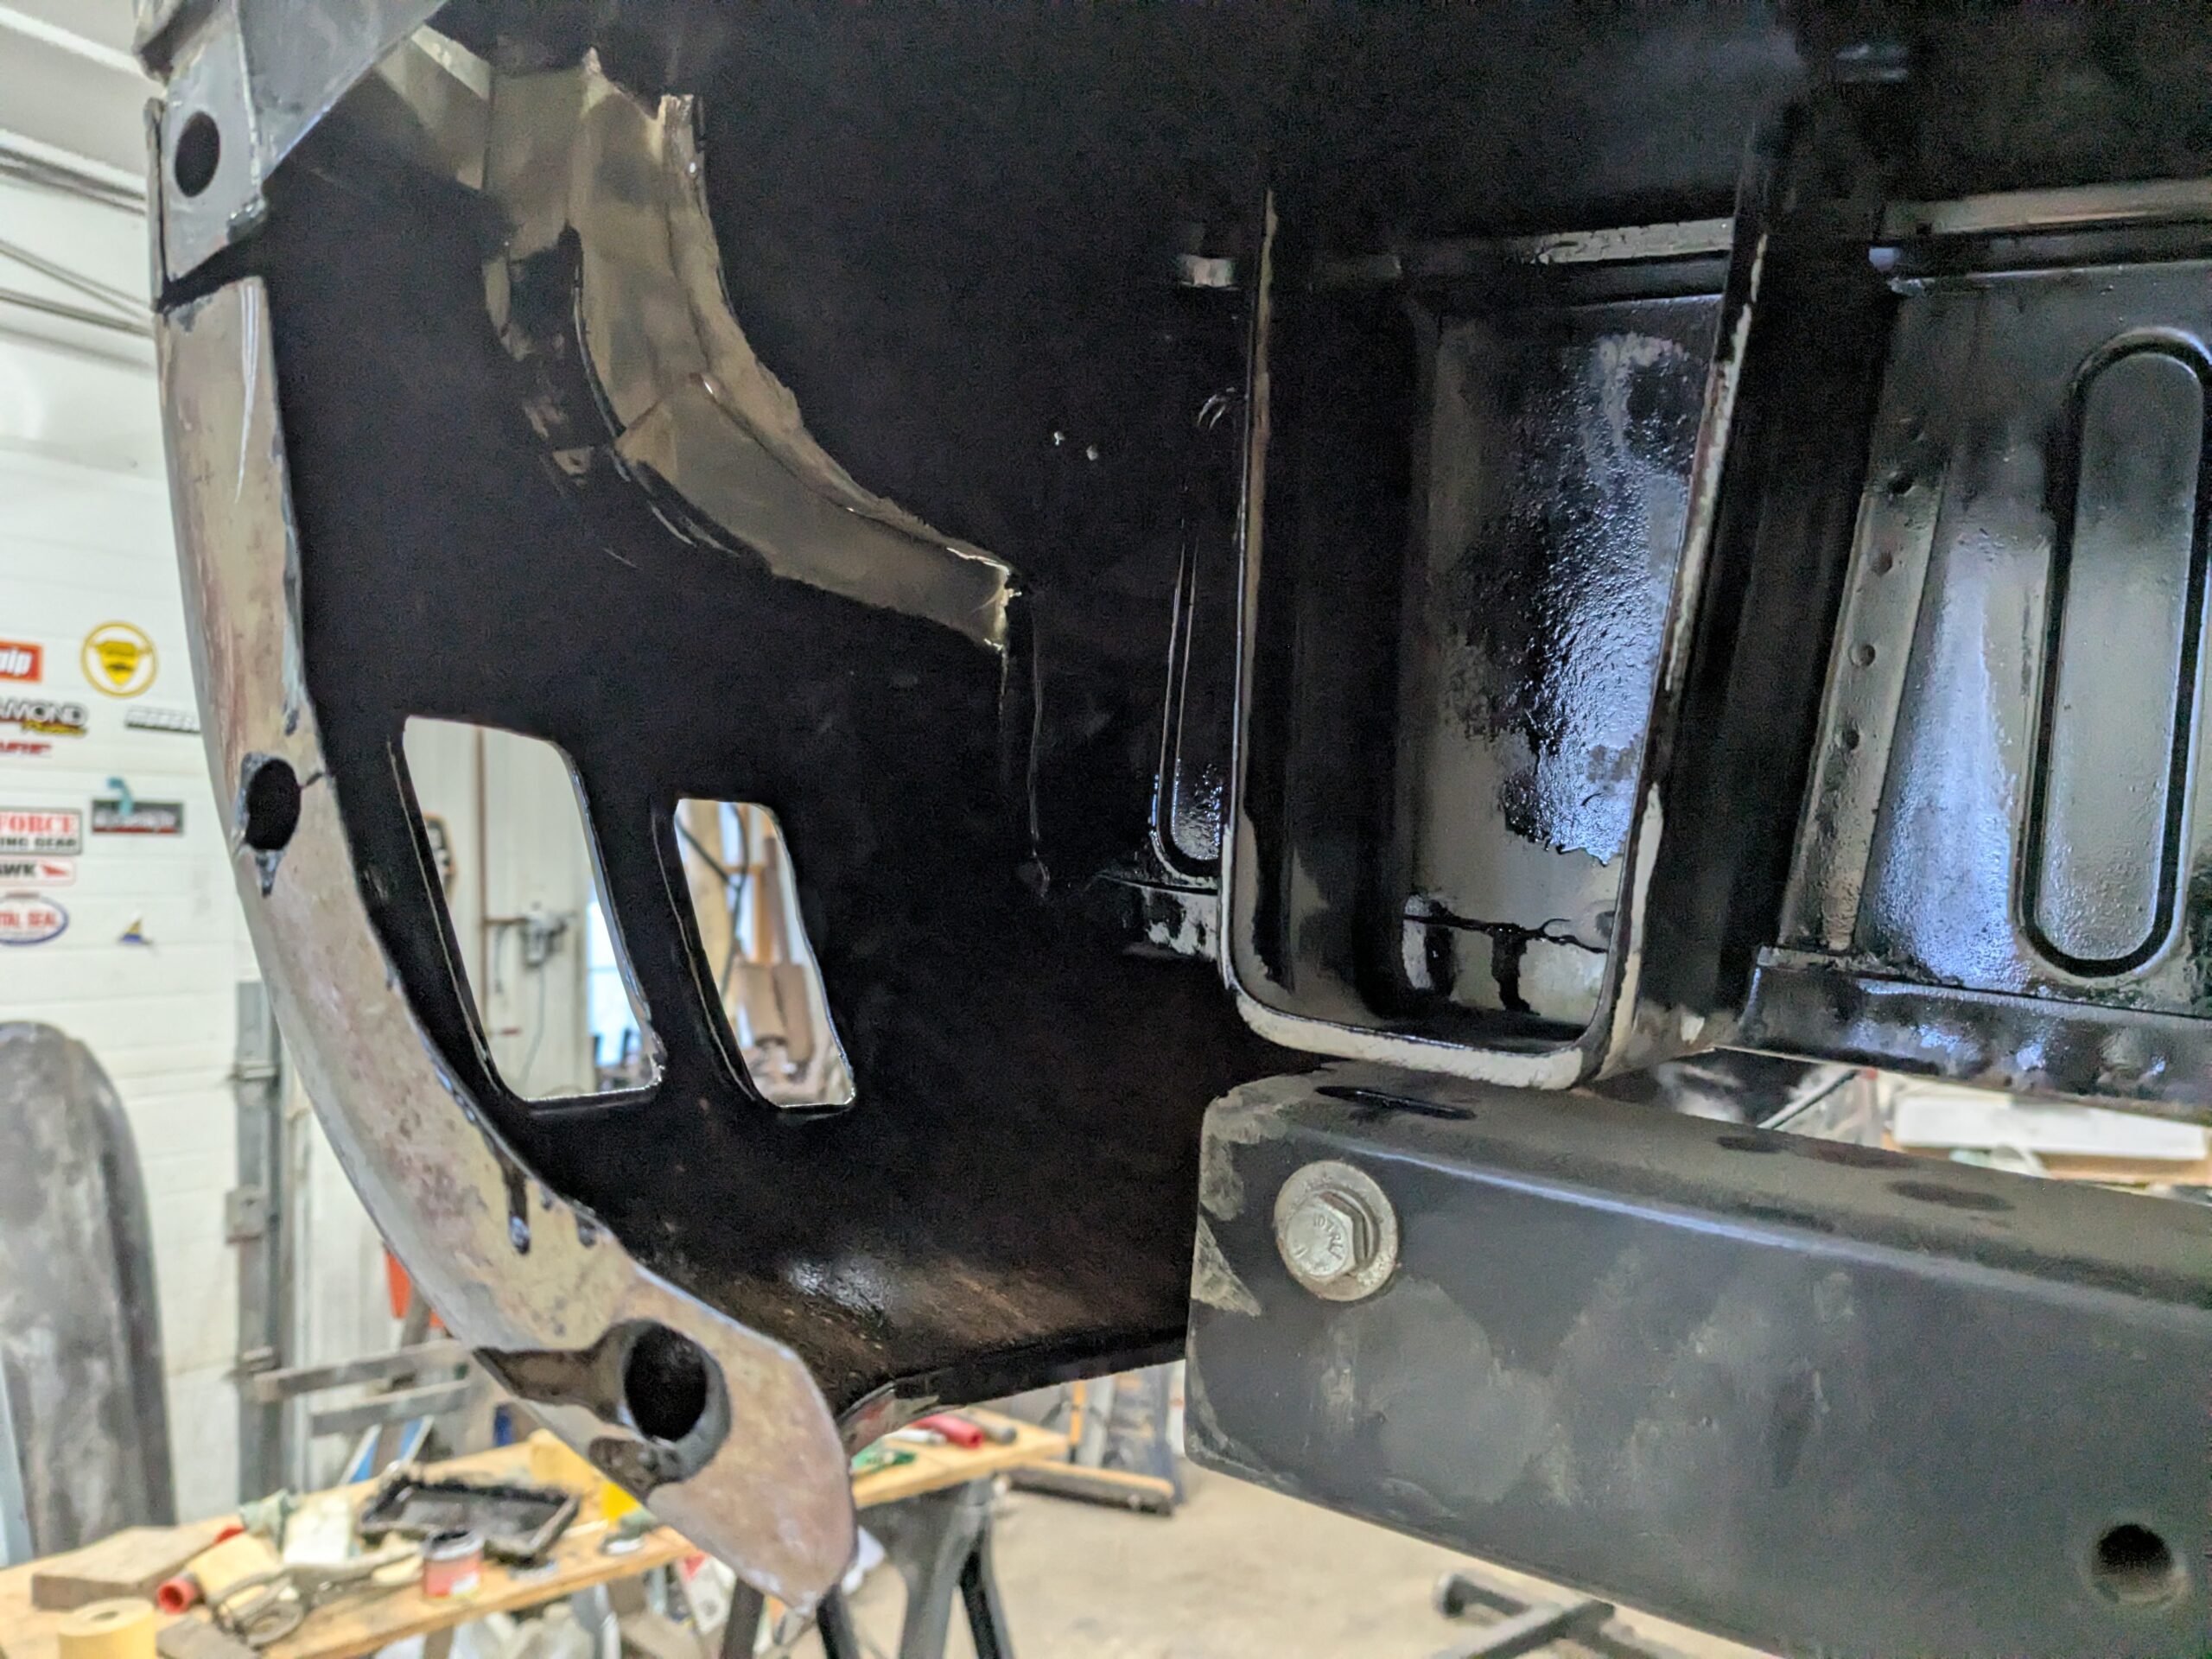
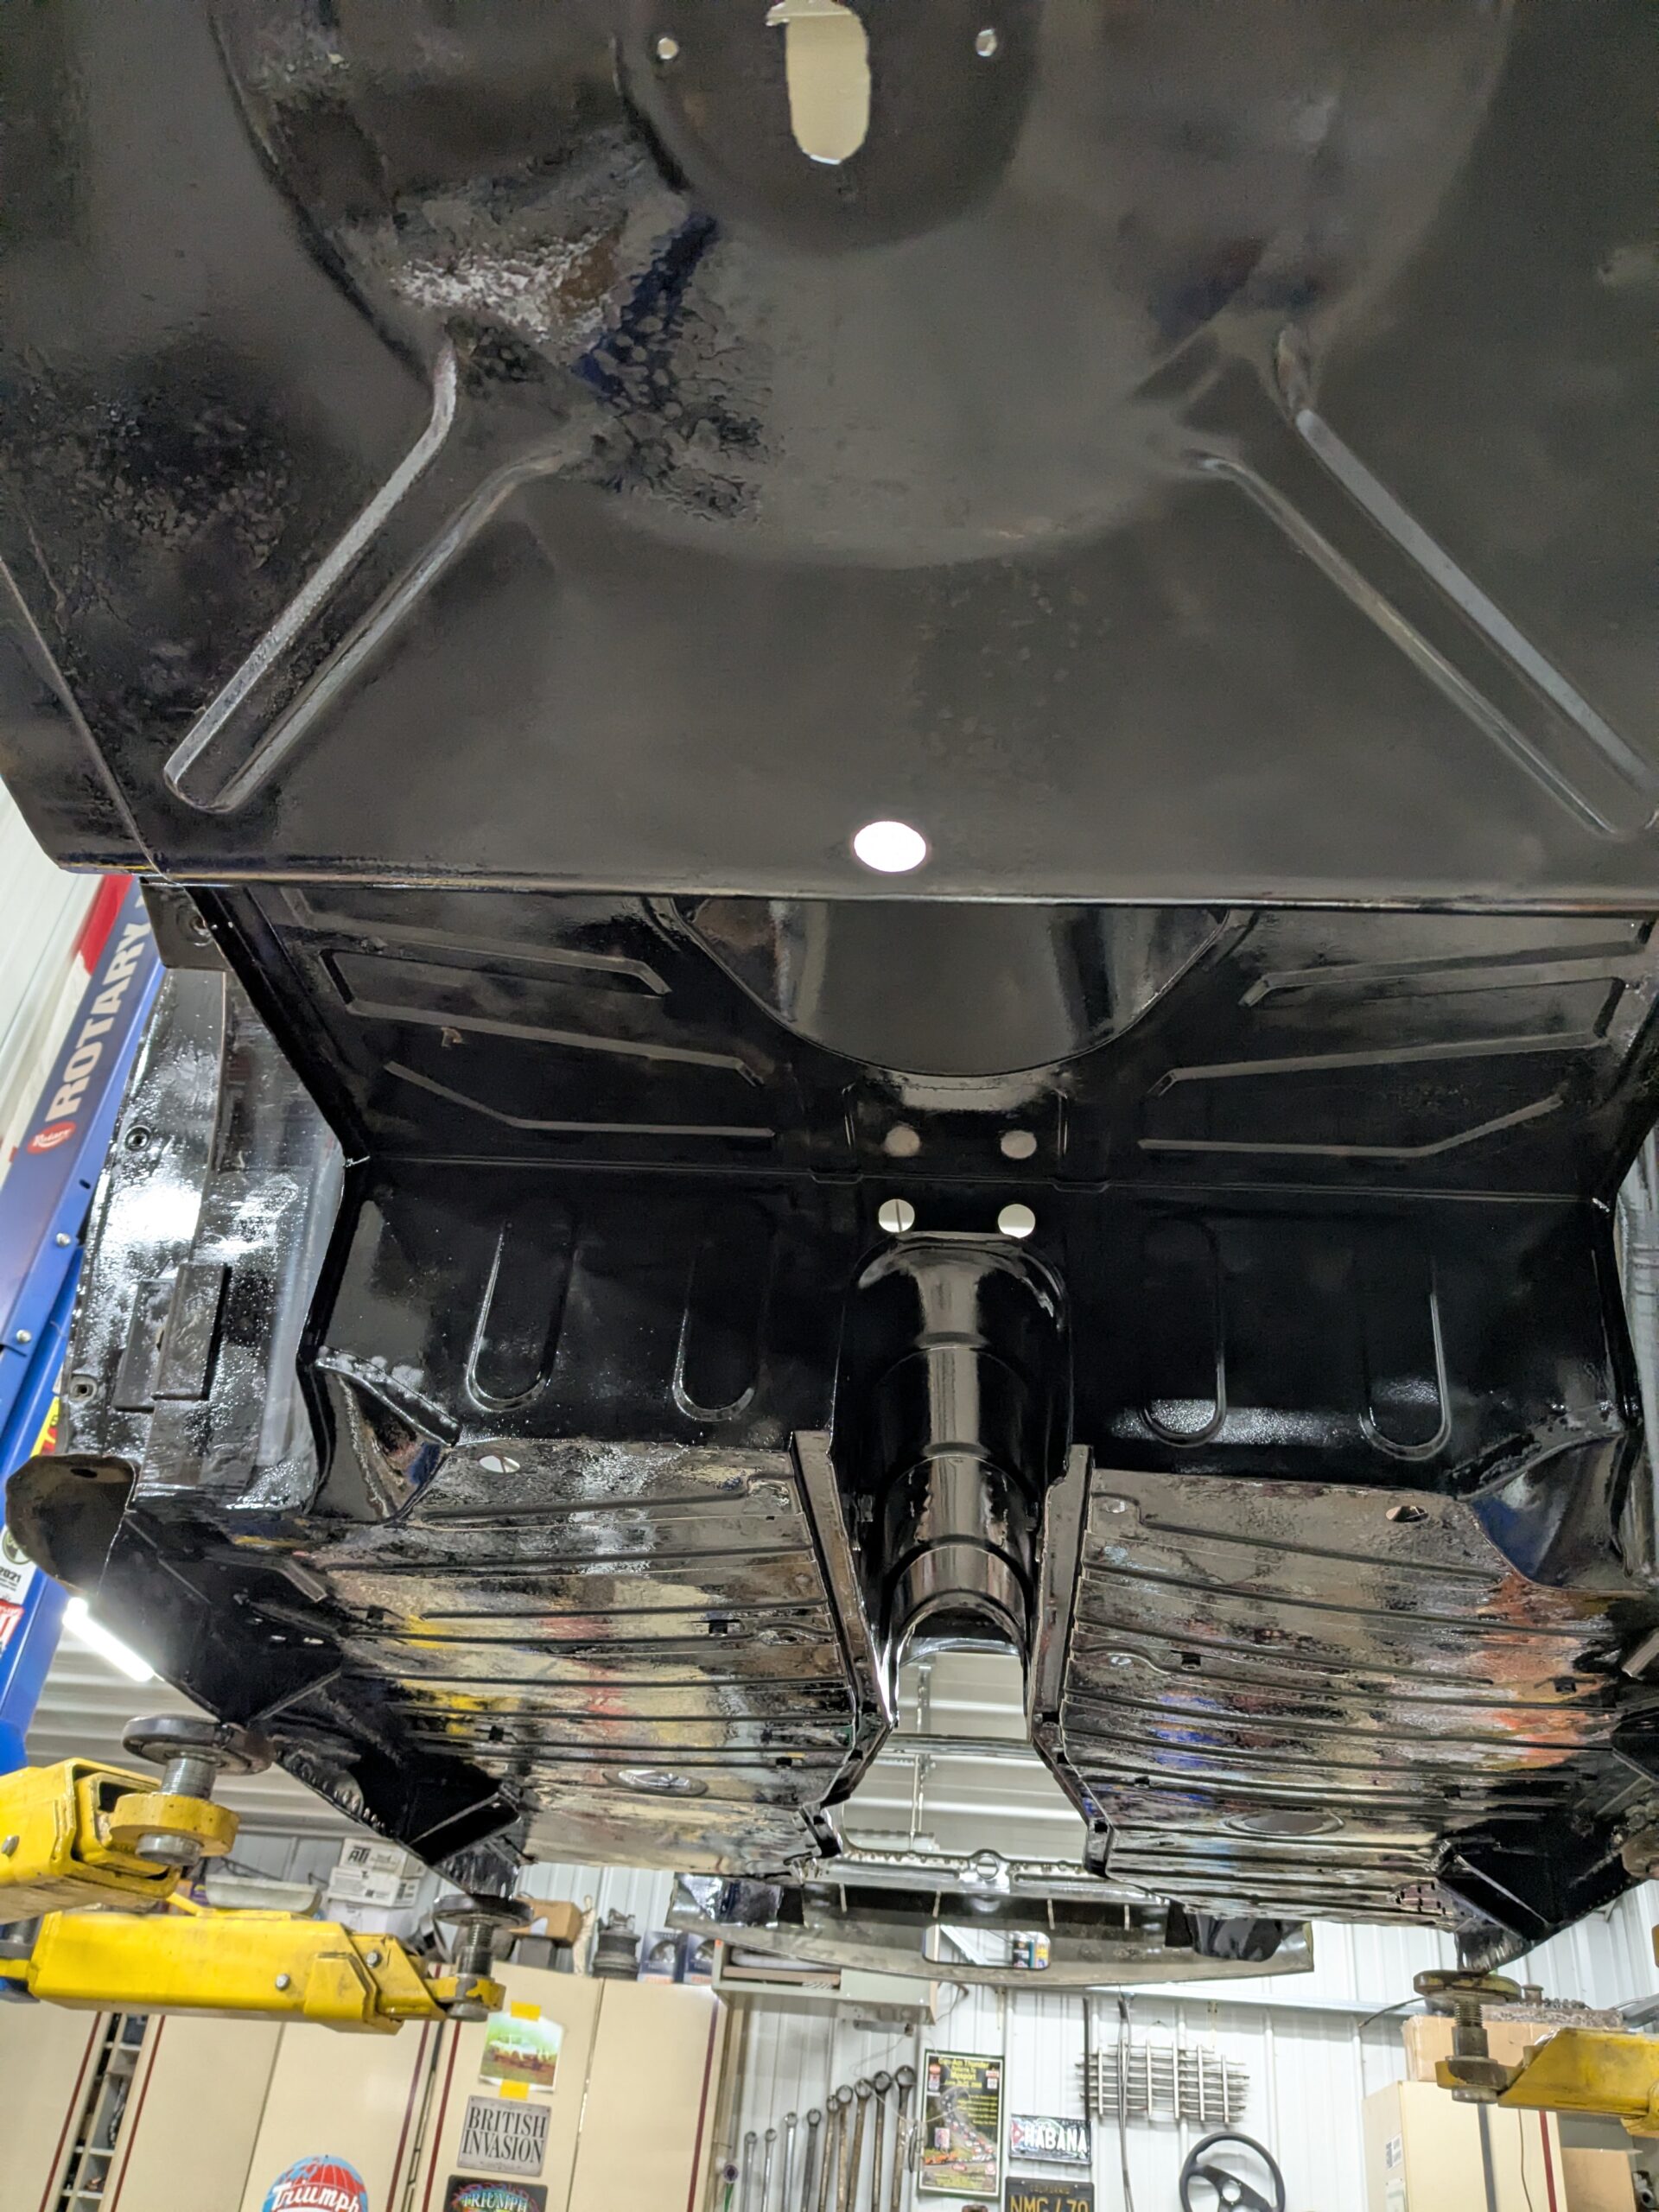
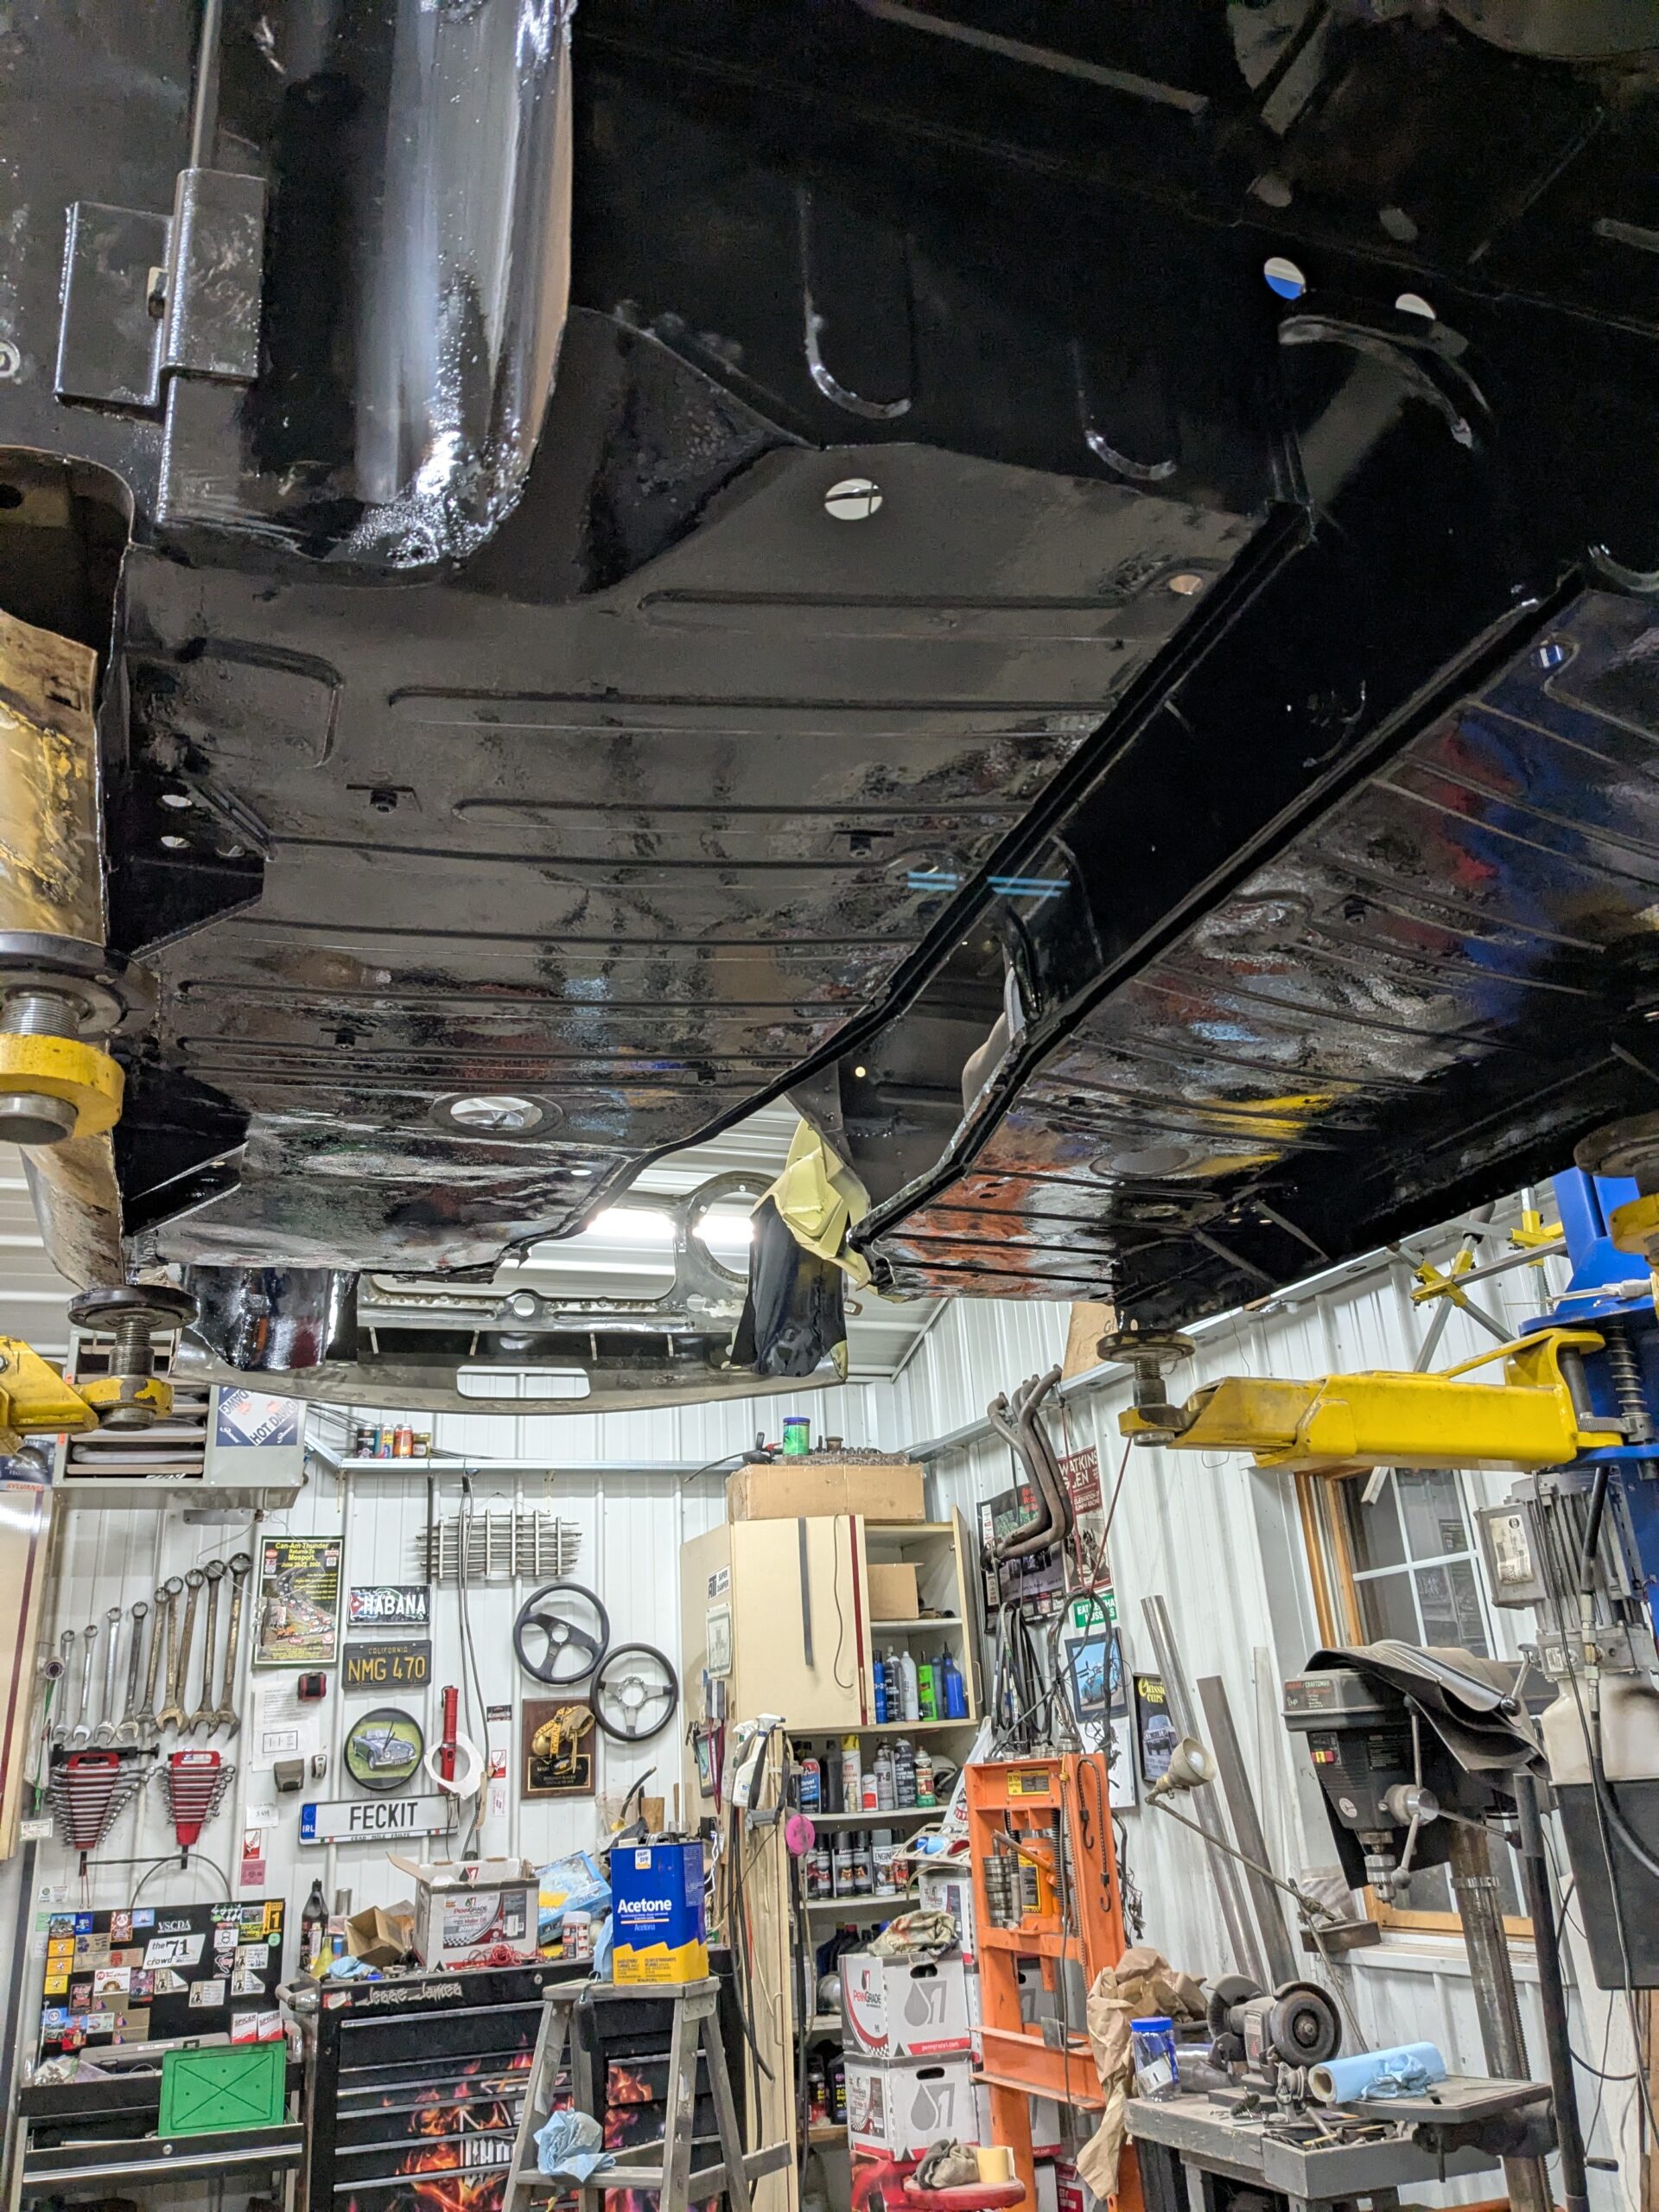
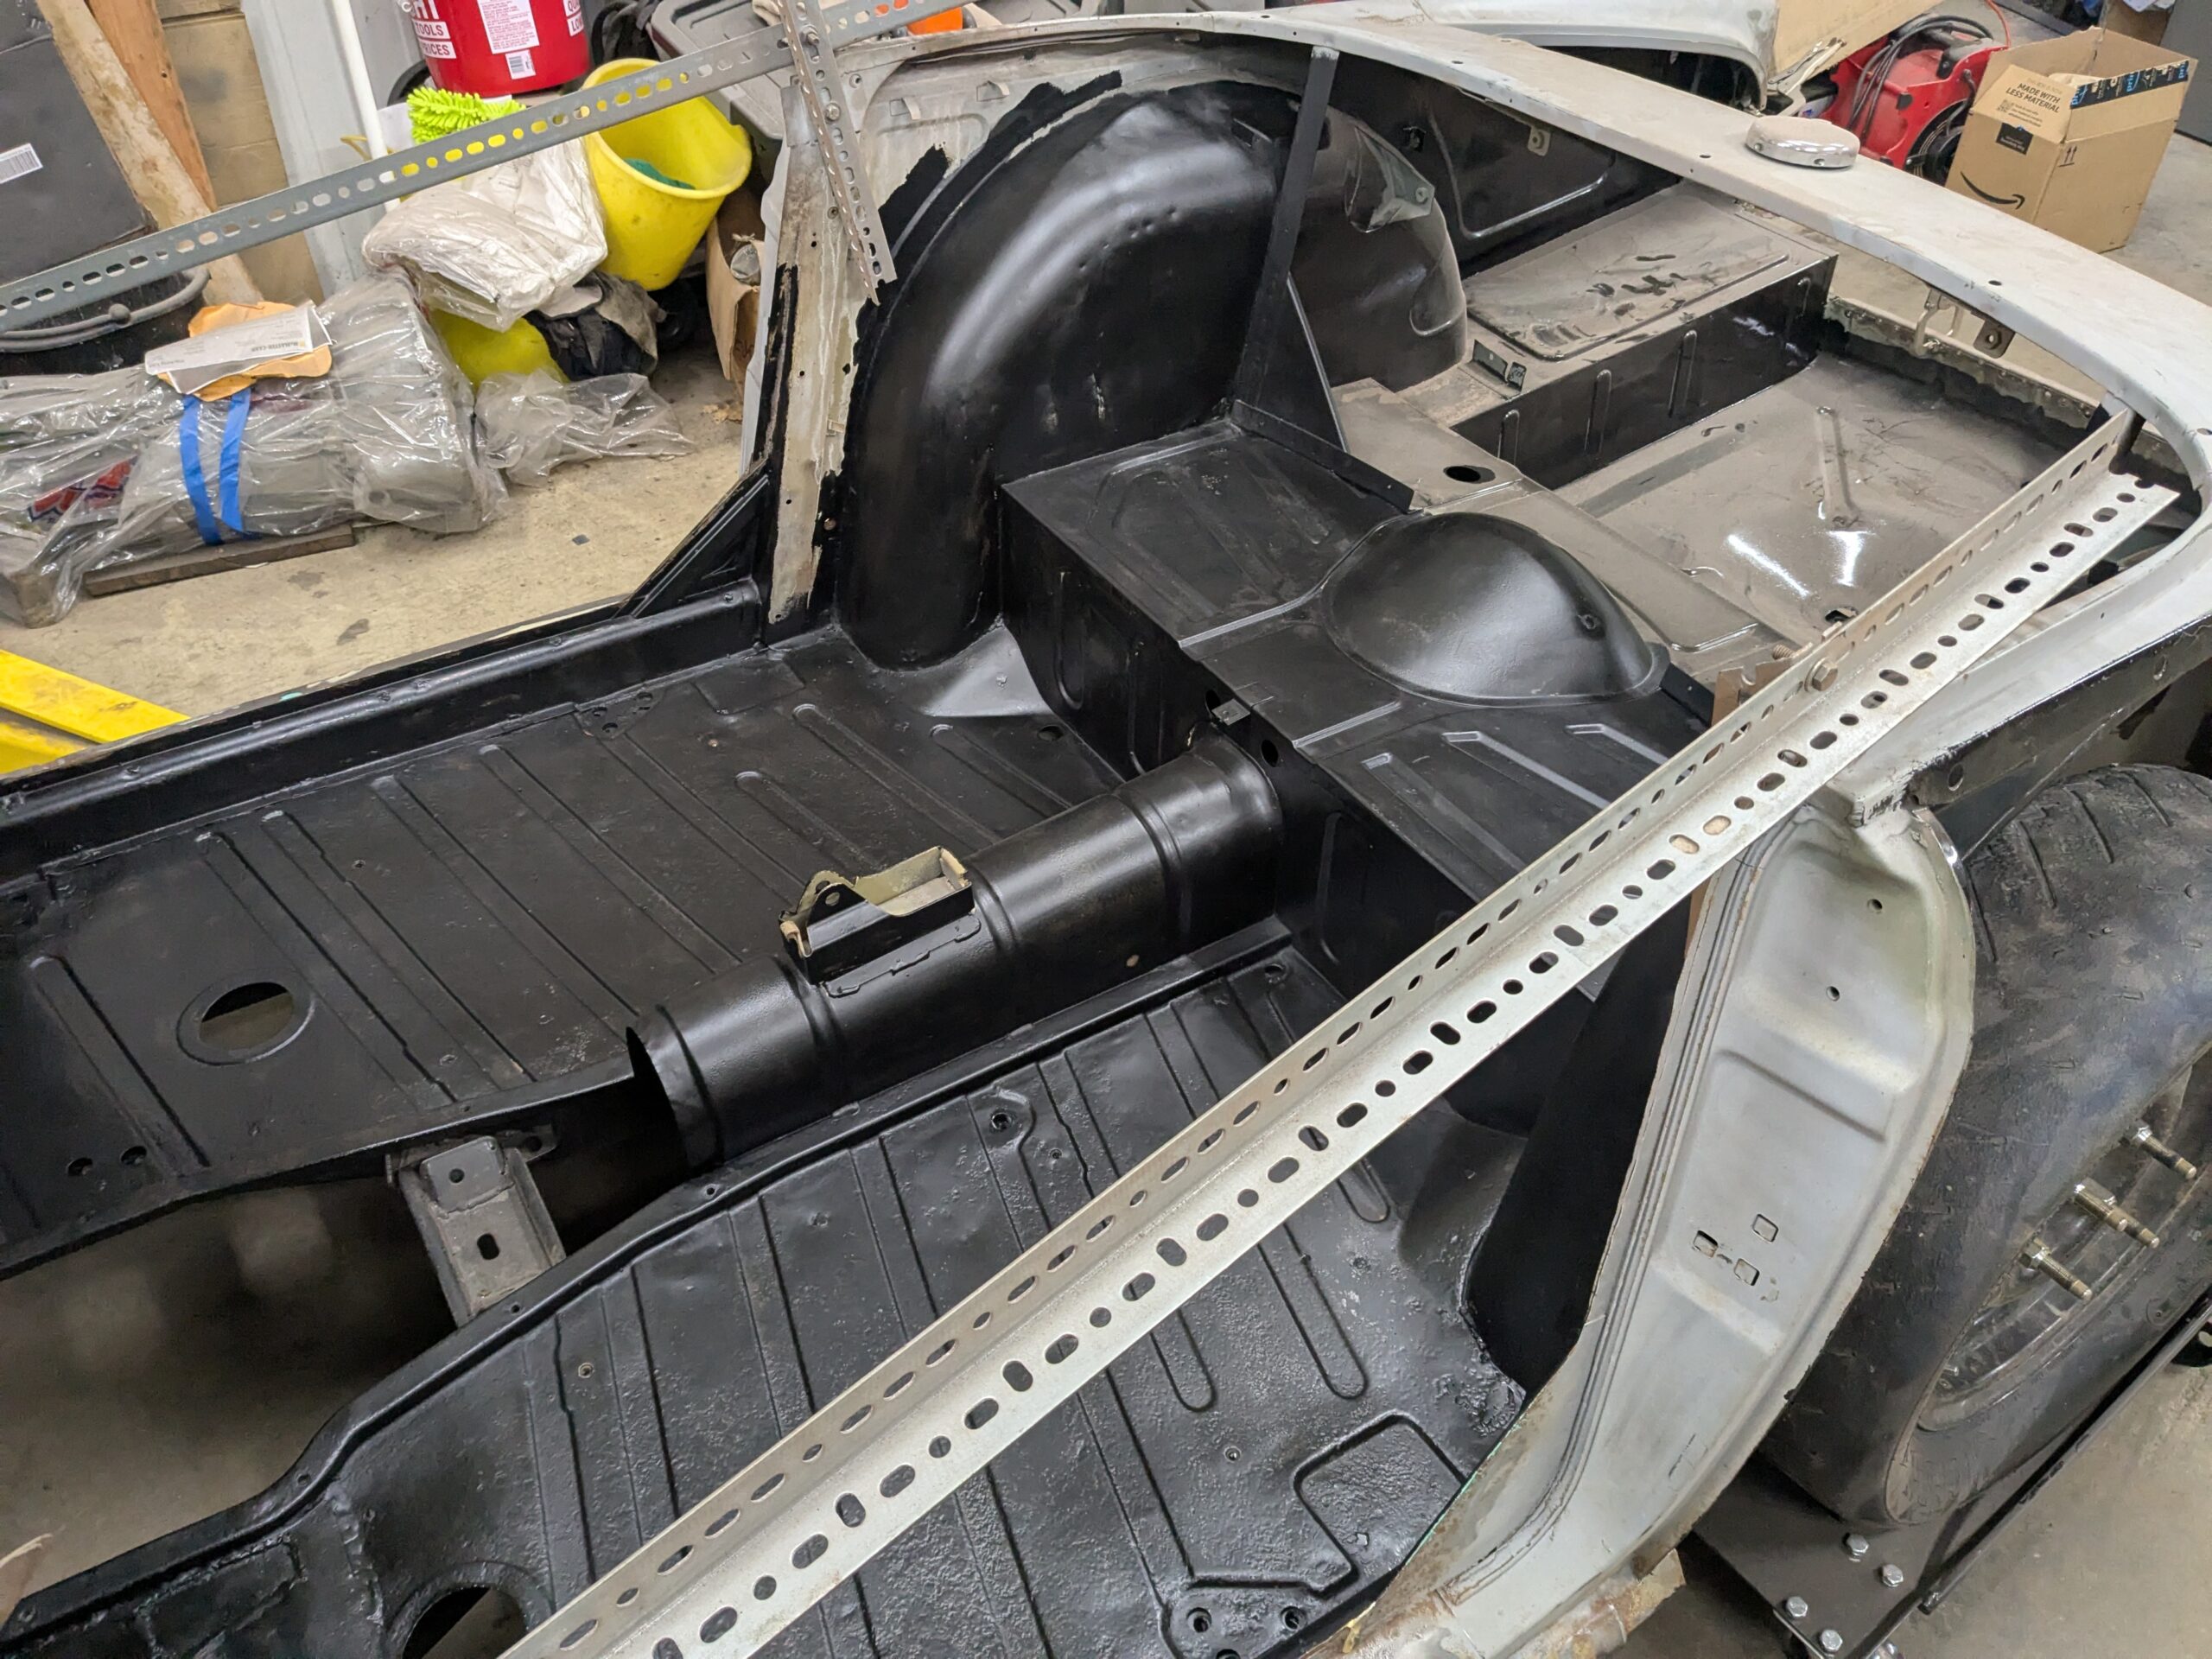
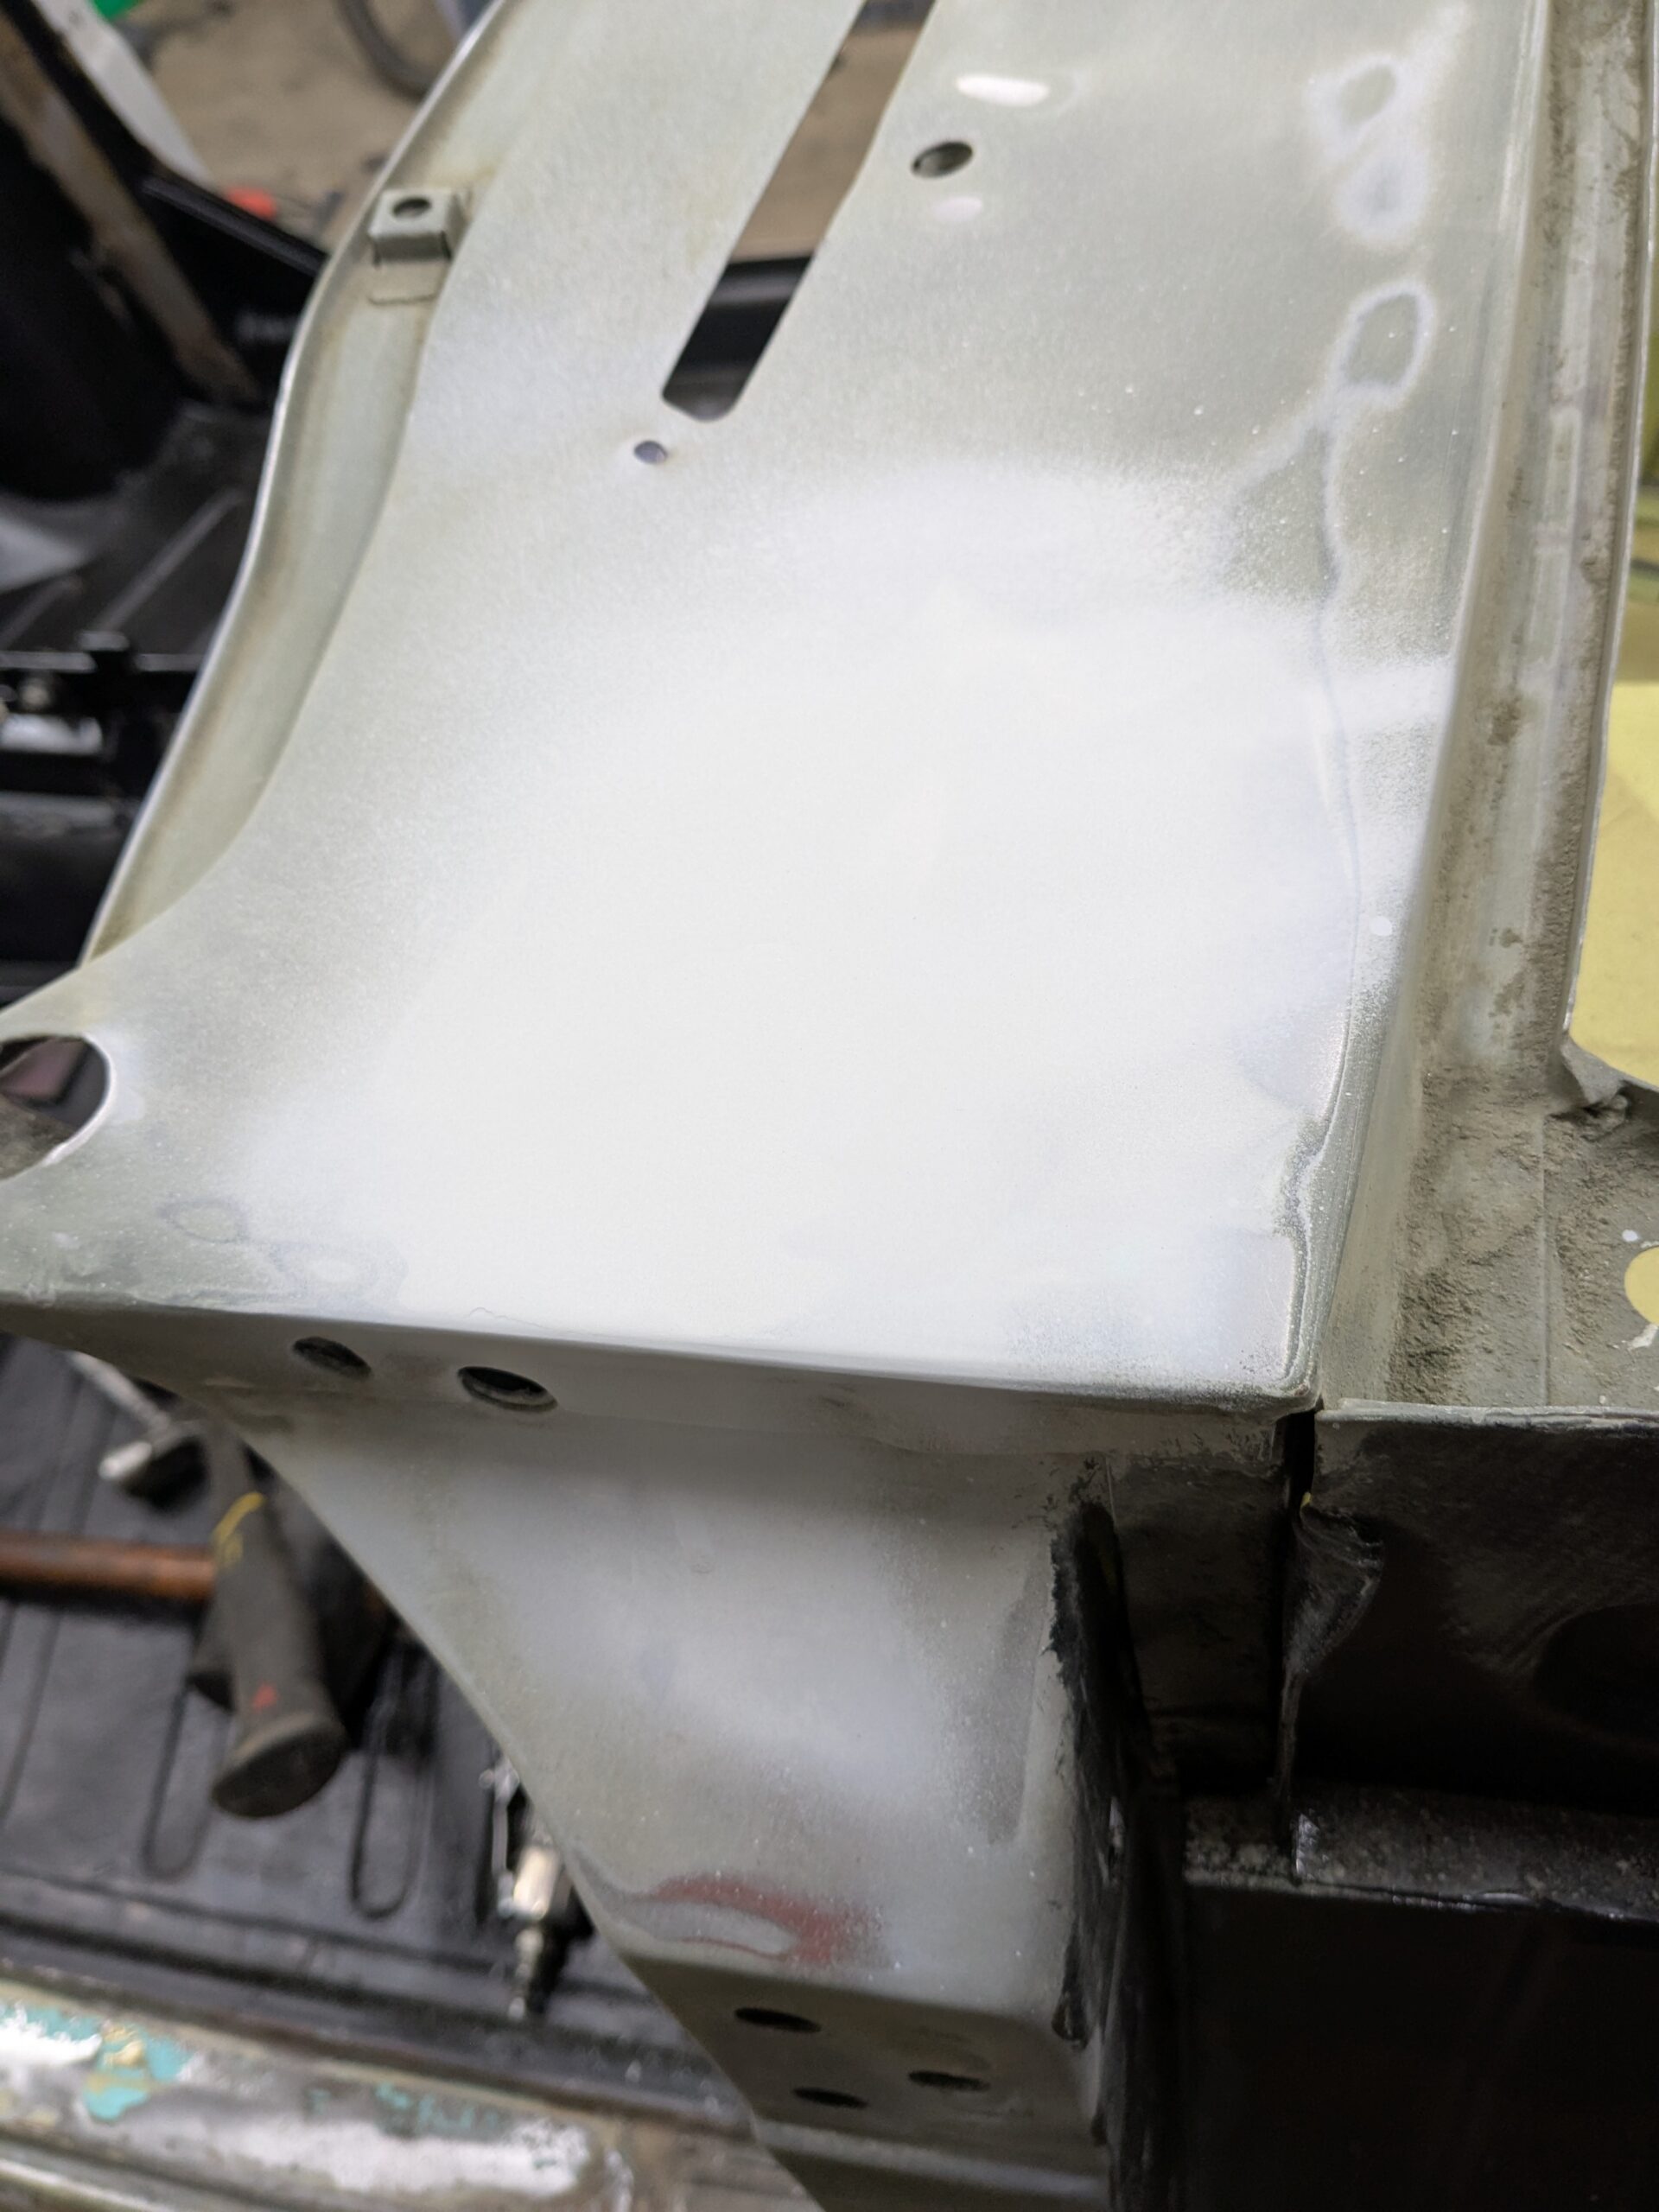
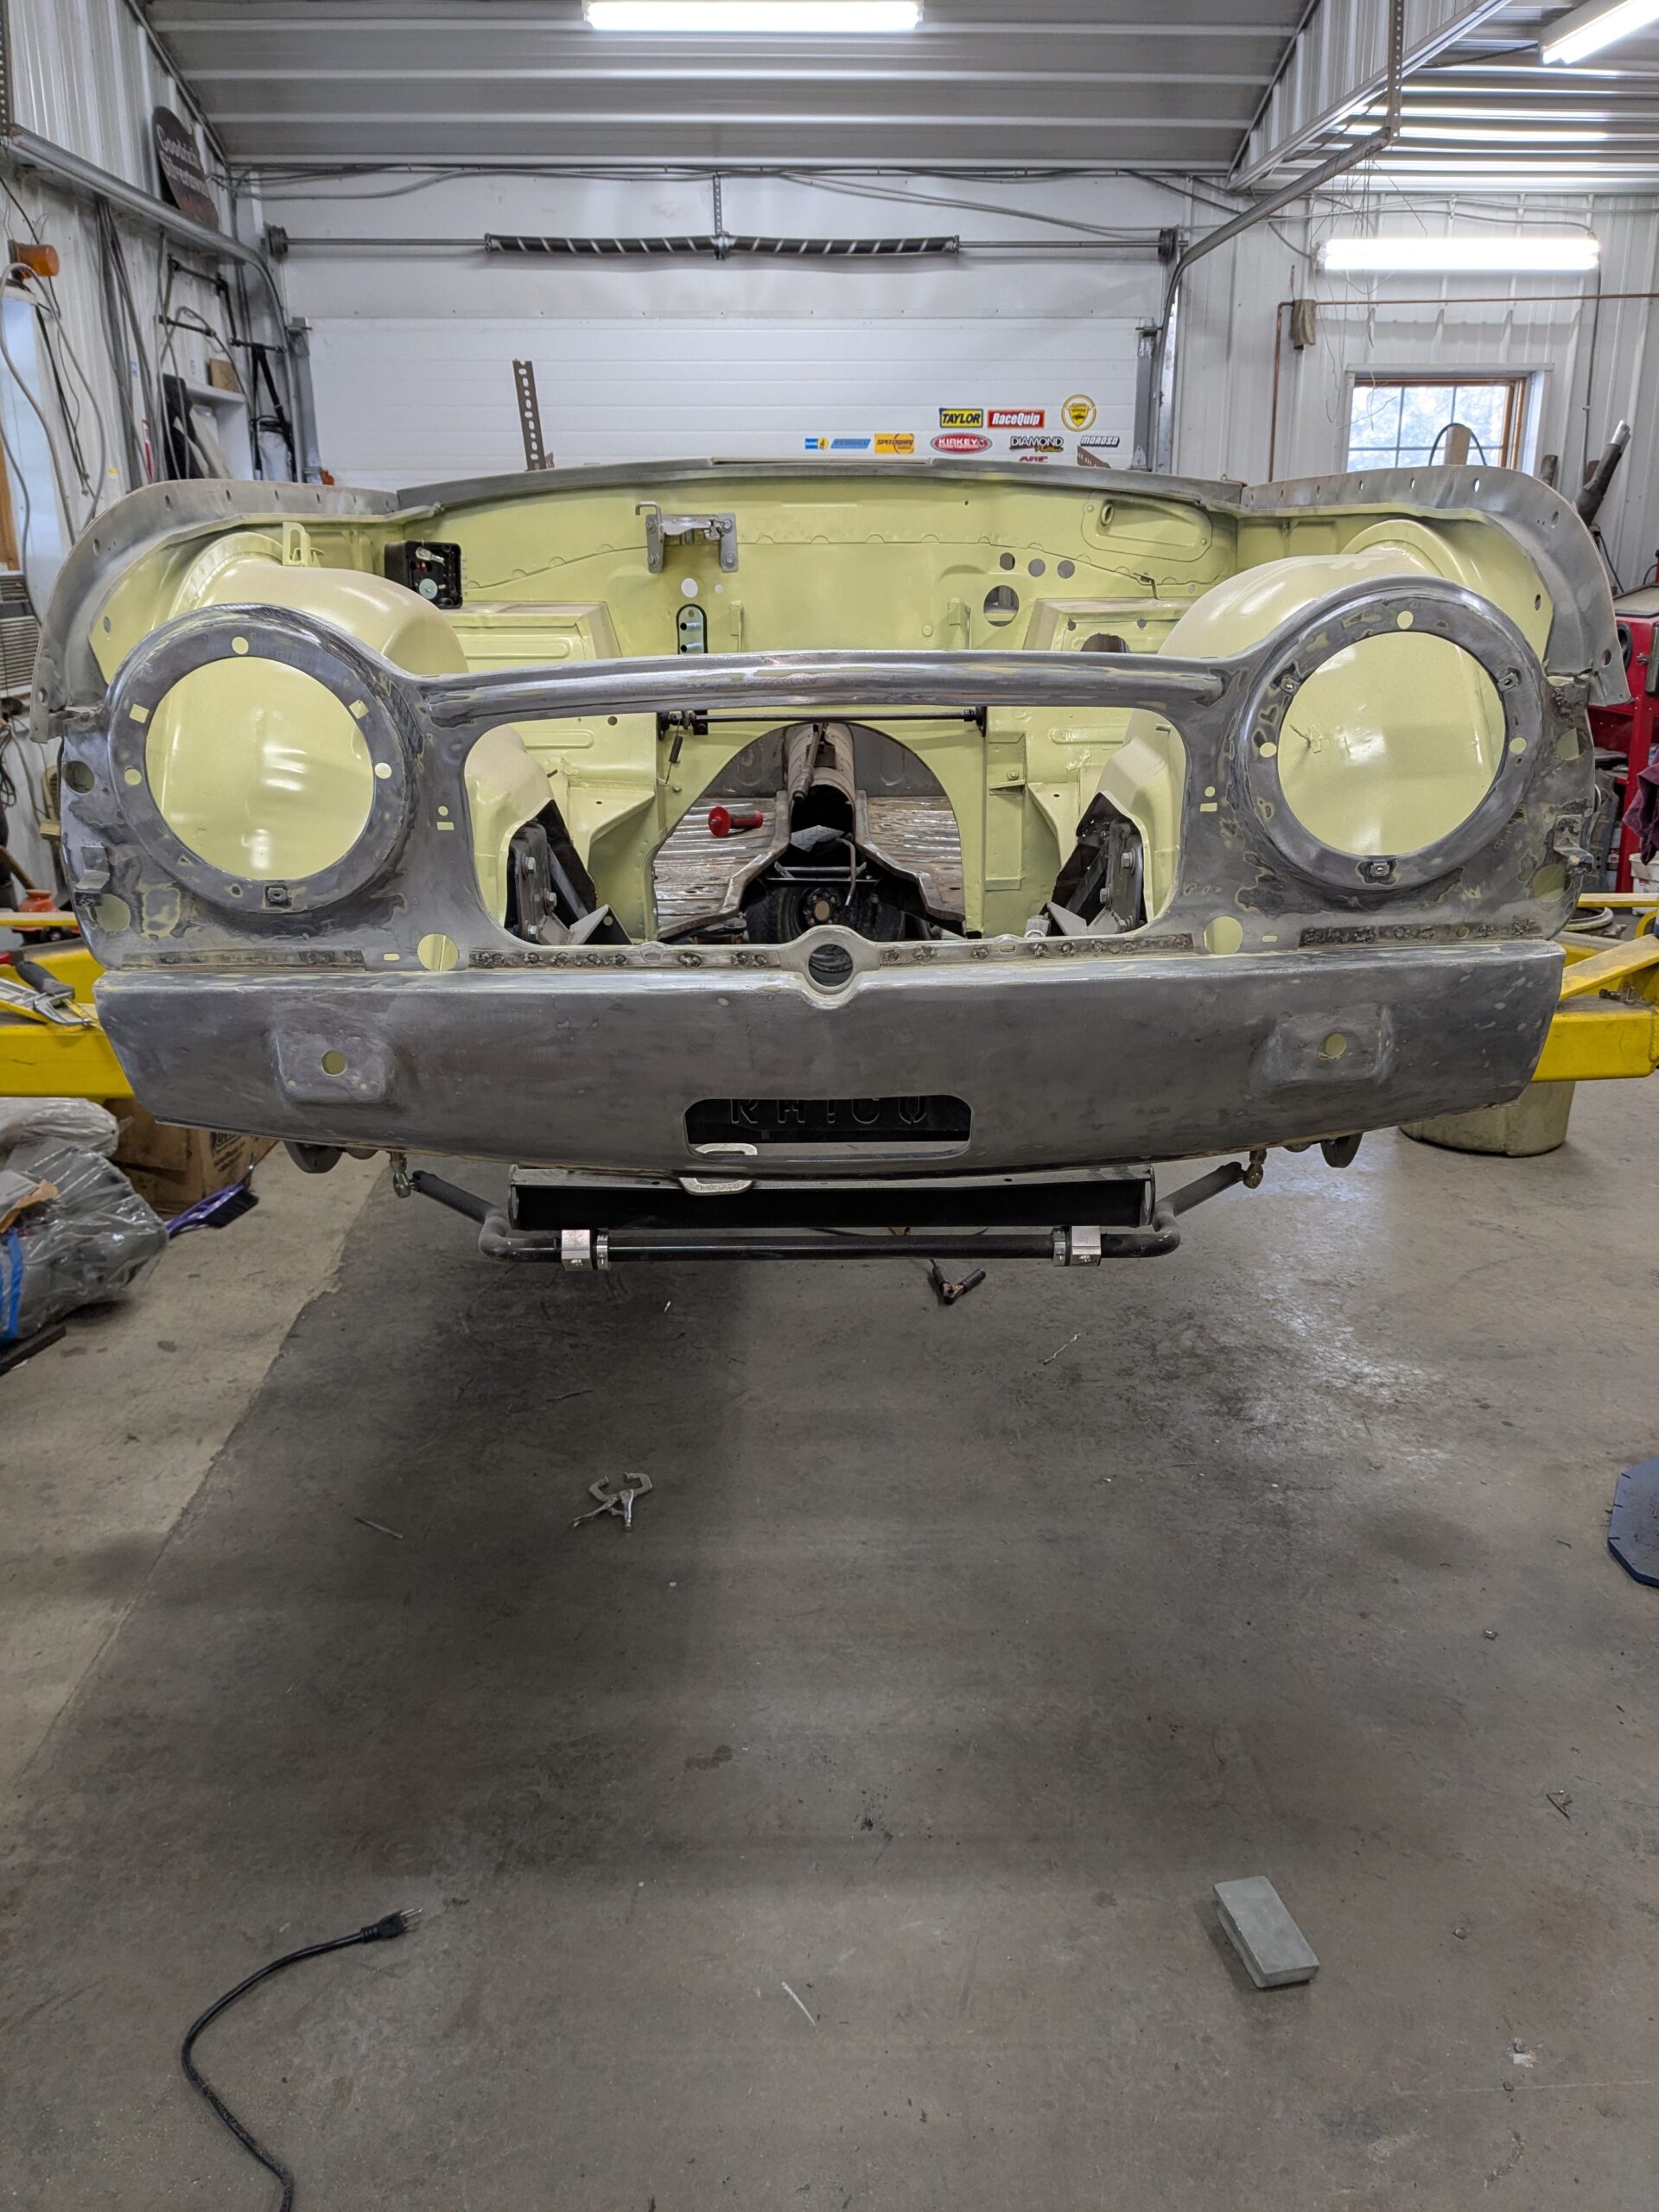
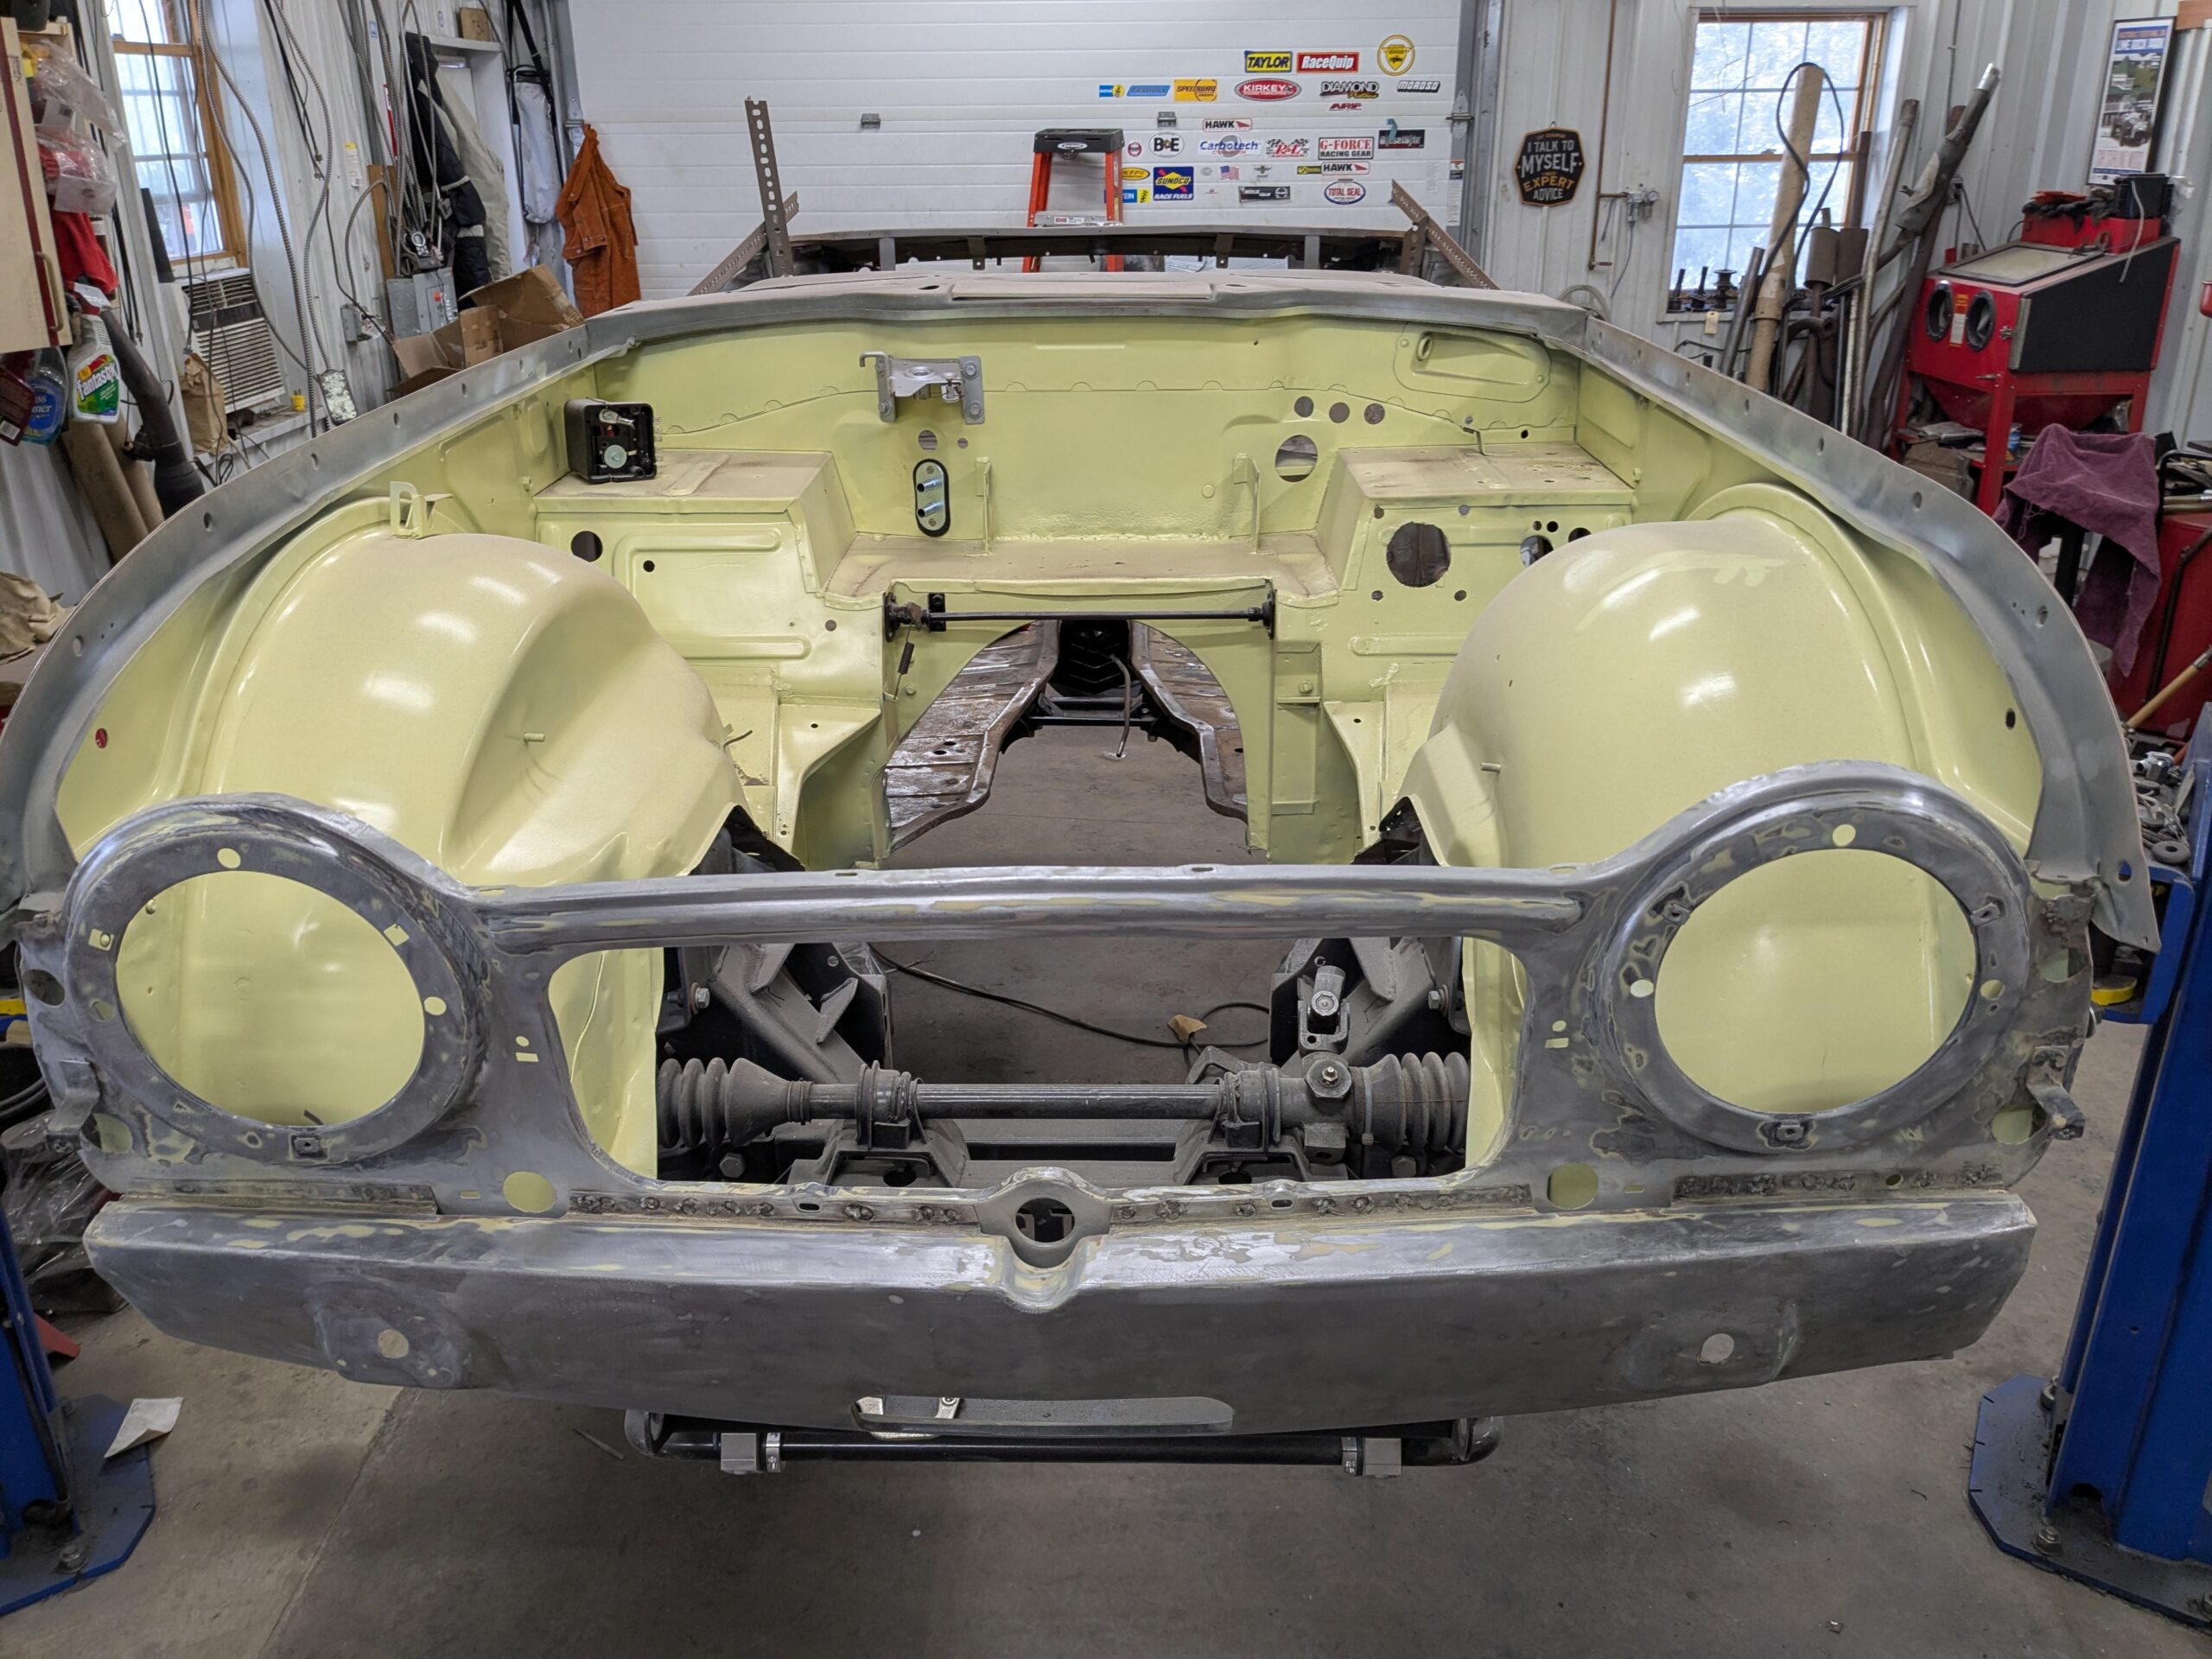
The engine compartment – The TR4A has a bunch of structure that would be unnecessary with the 6 cylinder engine, so I spliced in a pair of TR6 inner fenders. I shot the engine compartment with Jasmine paint I had made up at my local Napa, I brought in a couple of Jasmine paint codes and they had one of them in their system. I was able to get a big rattle can mixed for $40. I am pleased with the color. Work took place late 2024, through January, 2025.


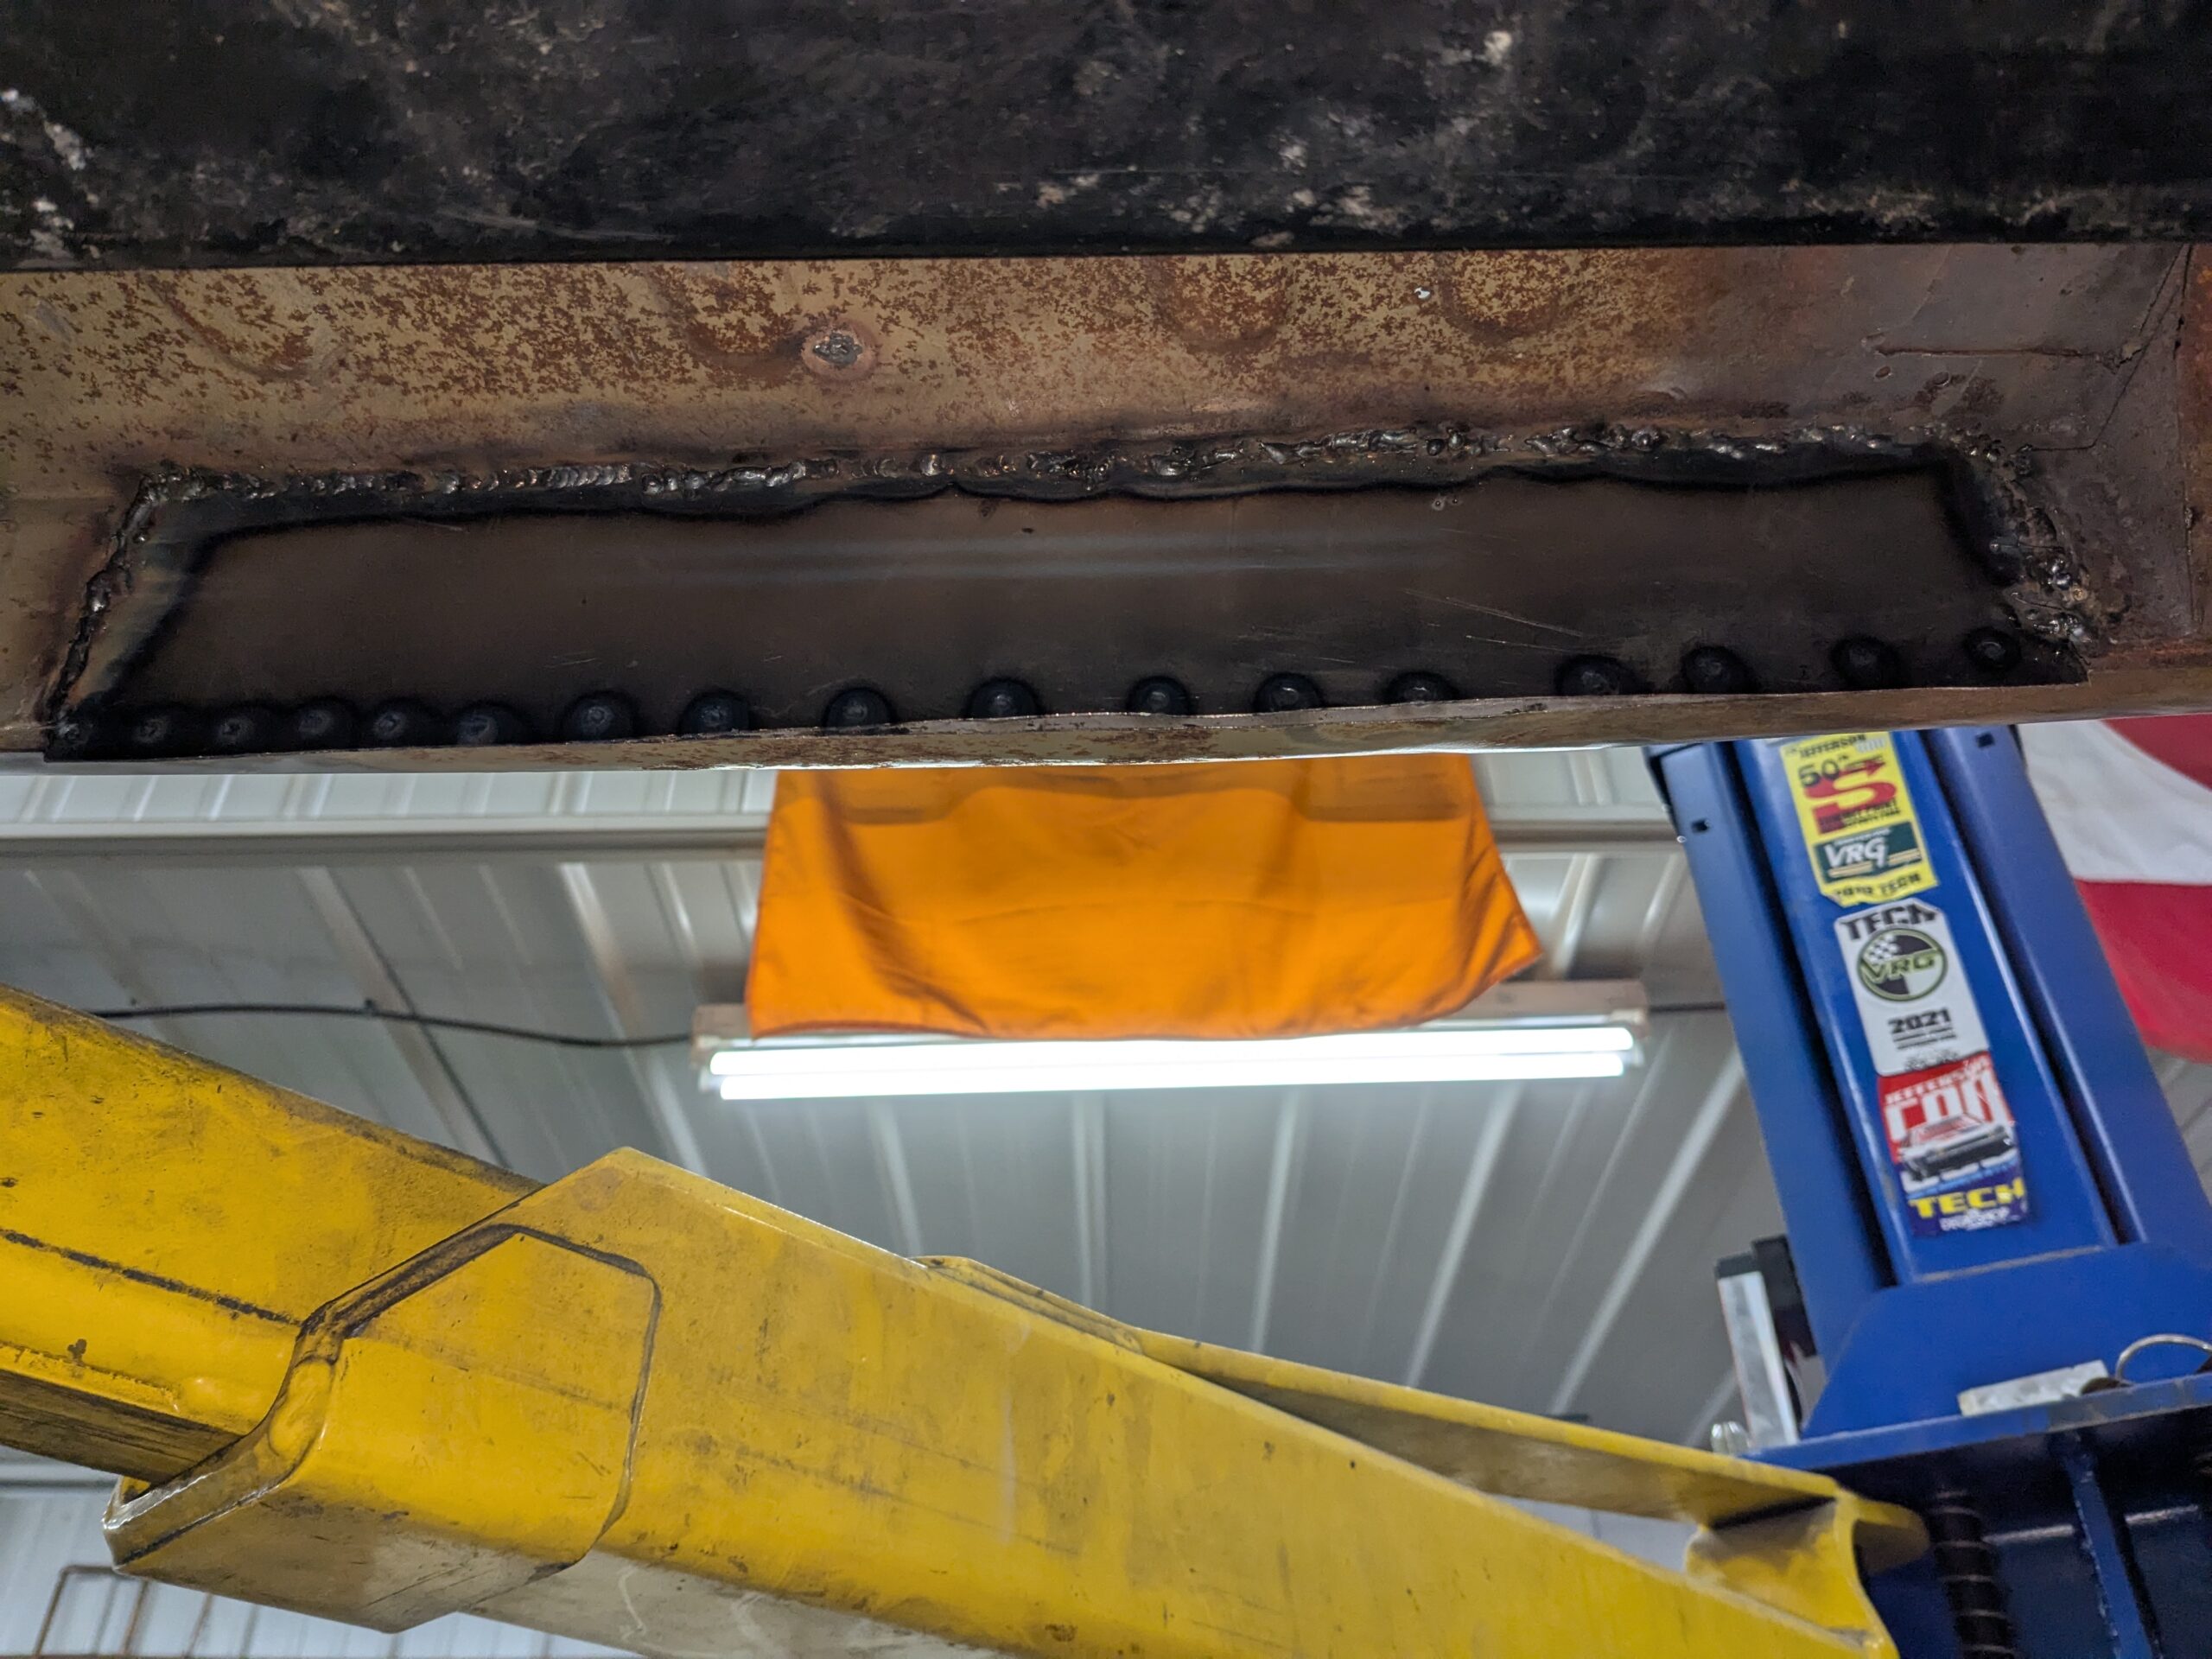
Getting the tub ready for paint – A couple of smallish holes in the sills, a little cleanup on a patch in the drivers footwell, should not be all the involved, right? Work done February-March, 2025.


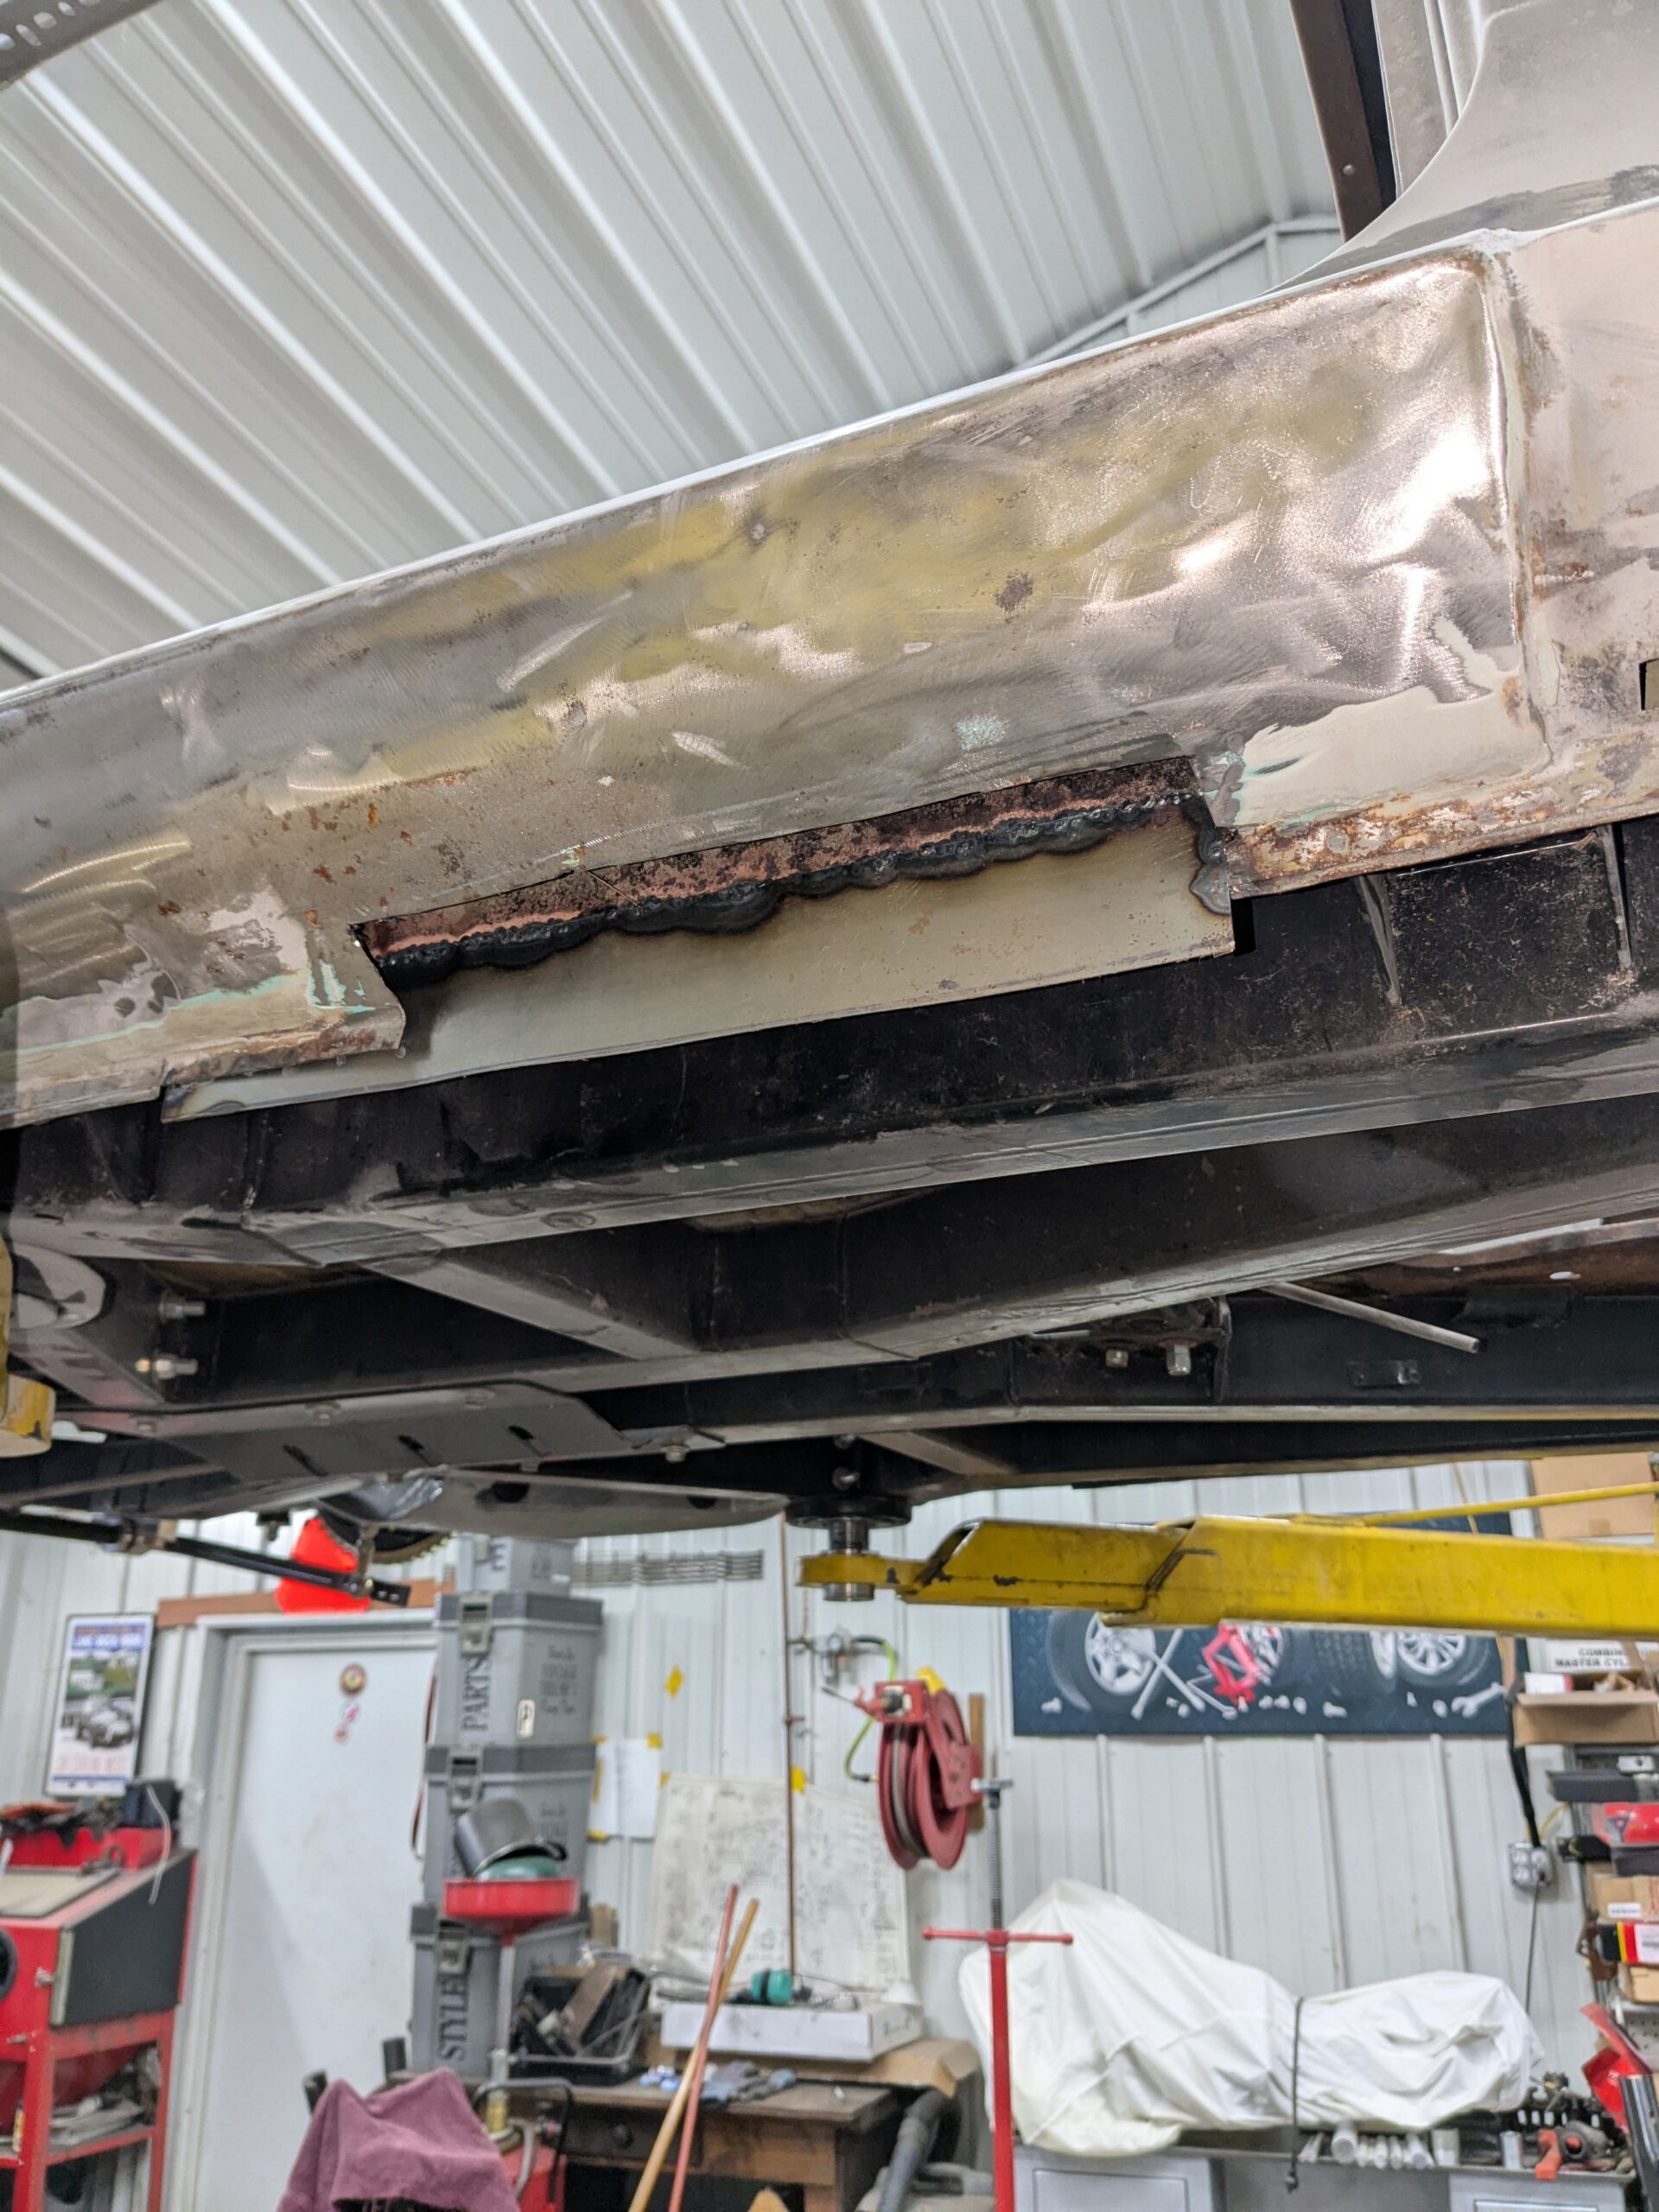
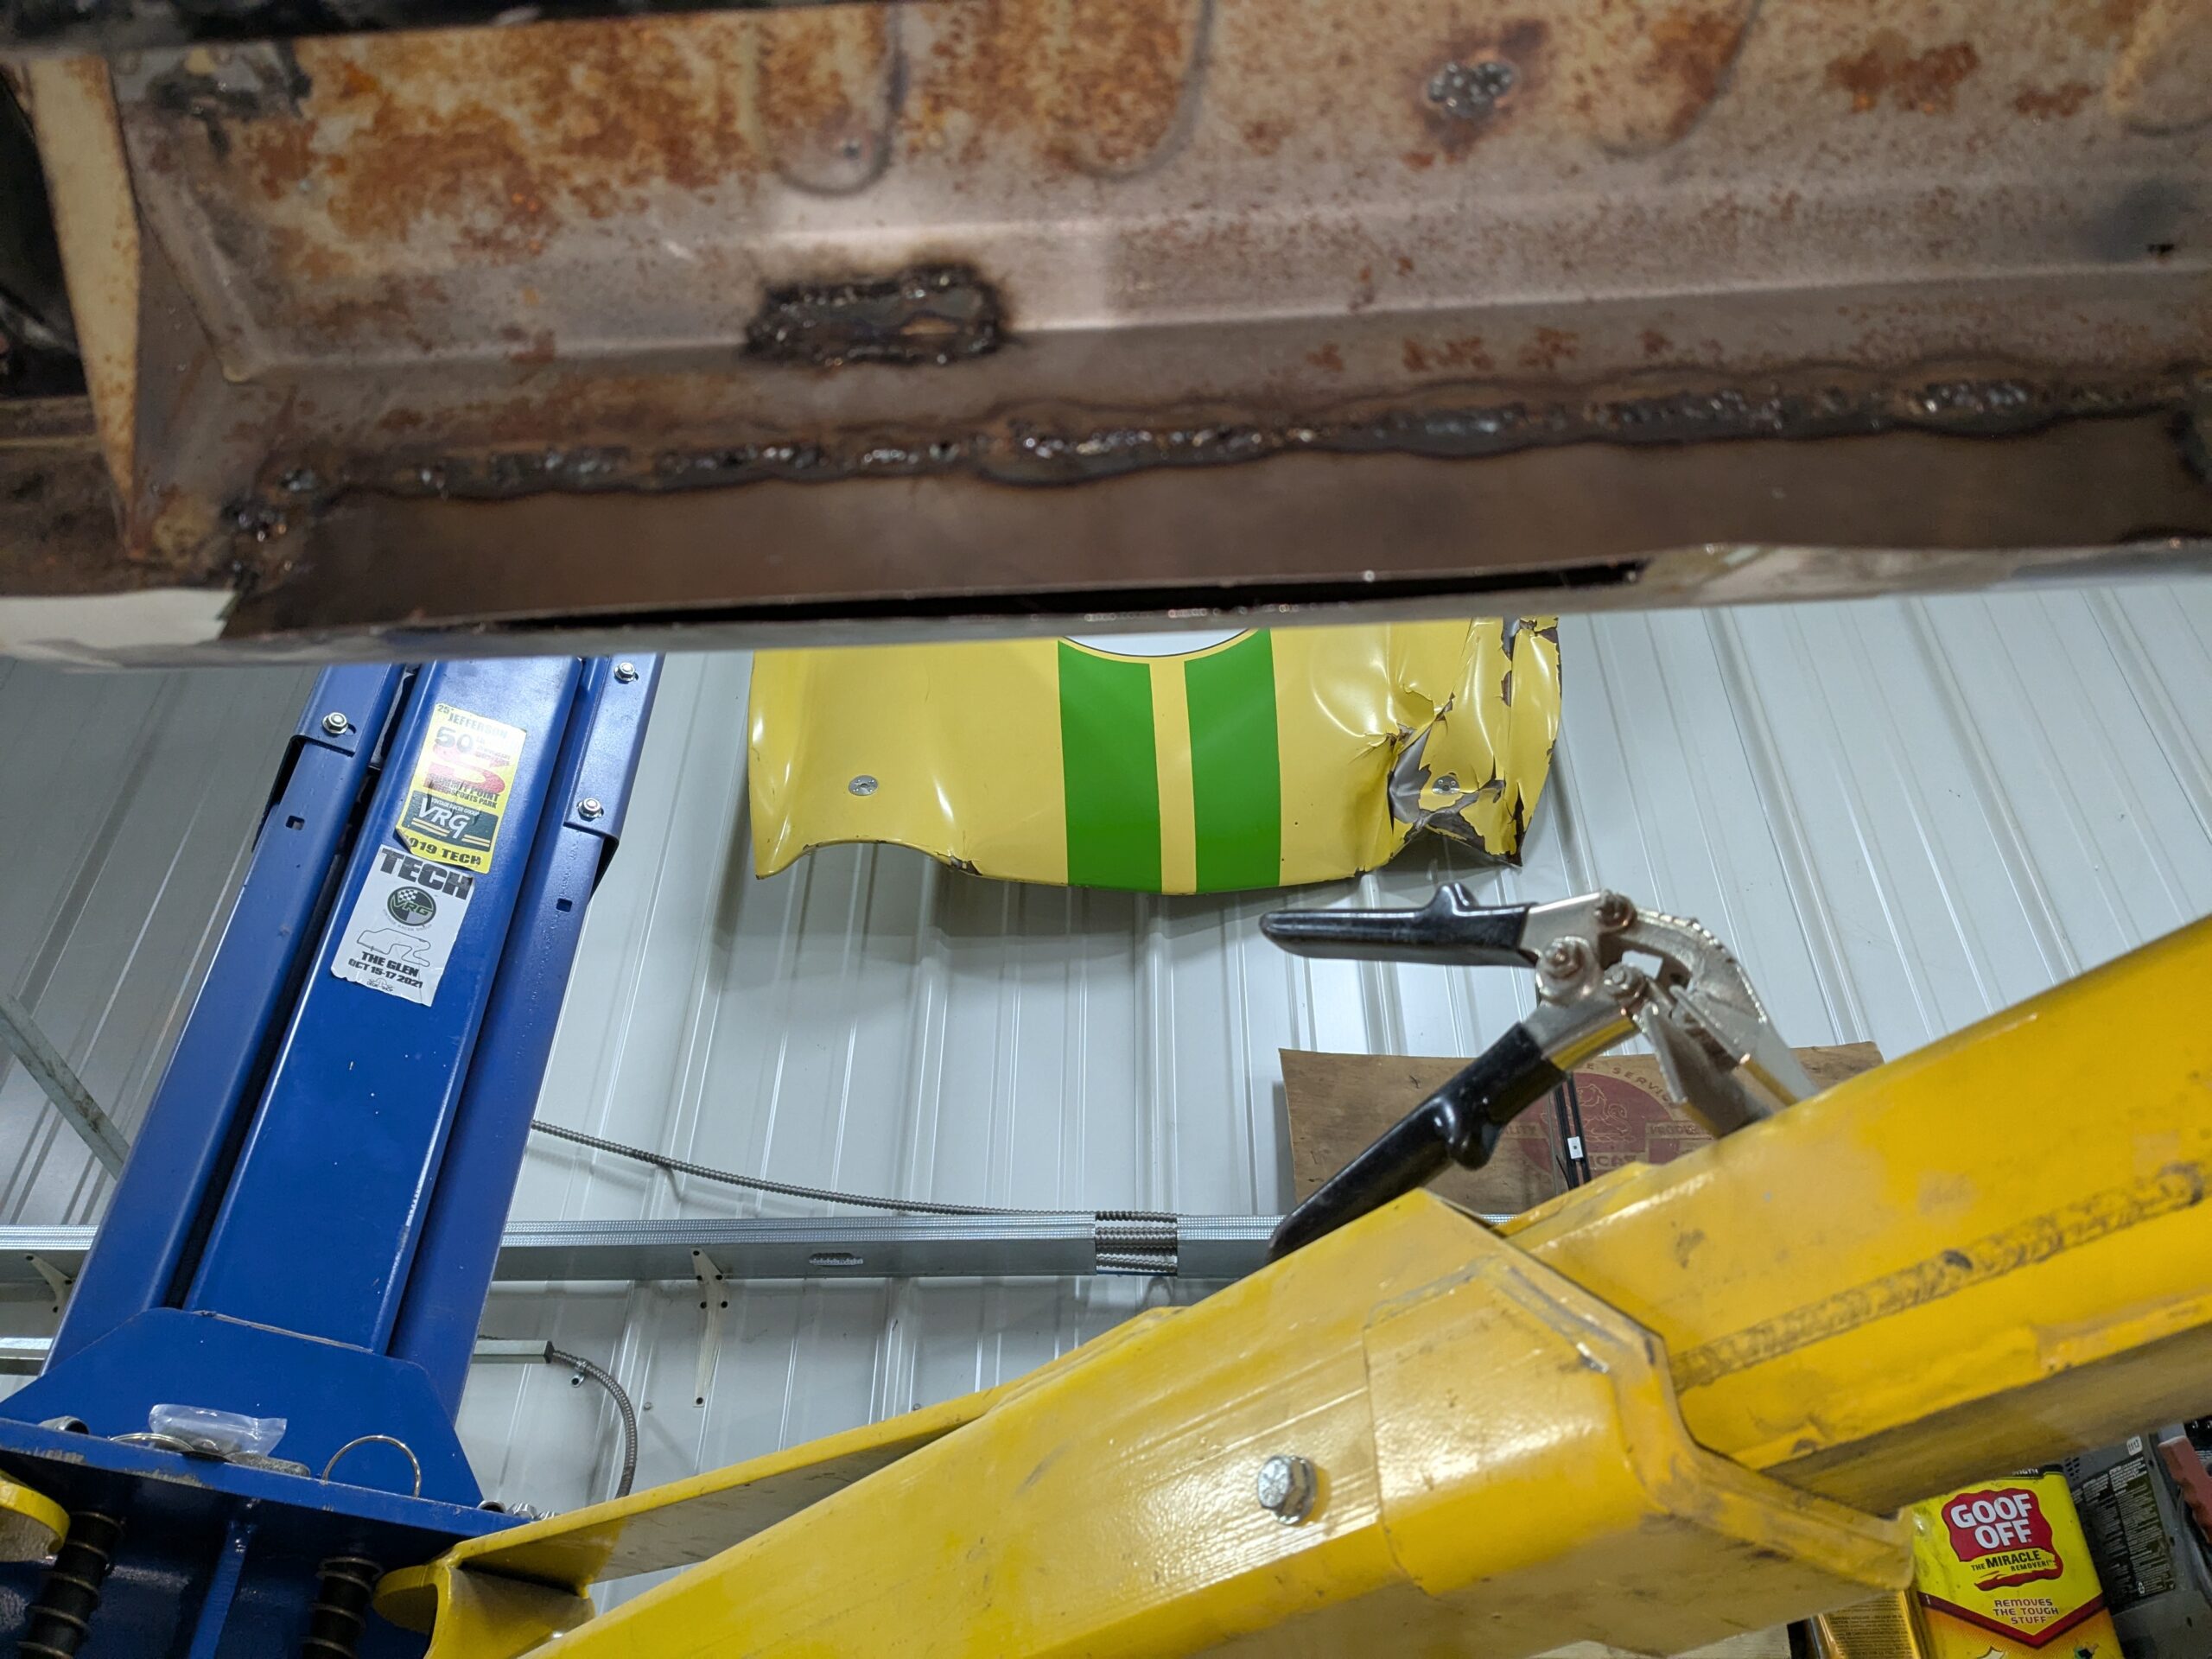
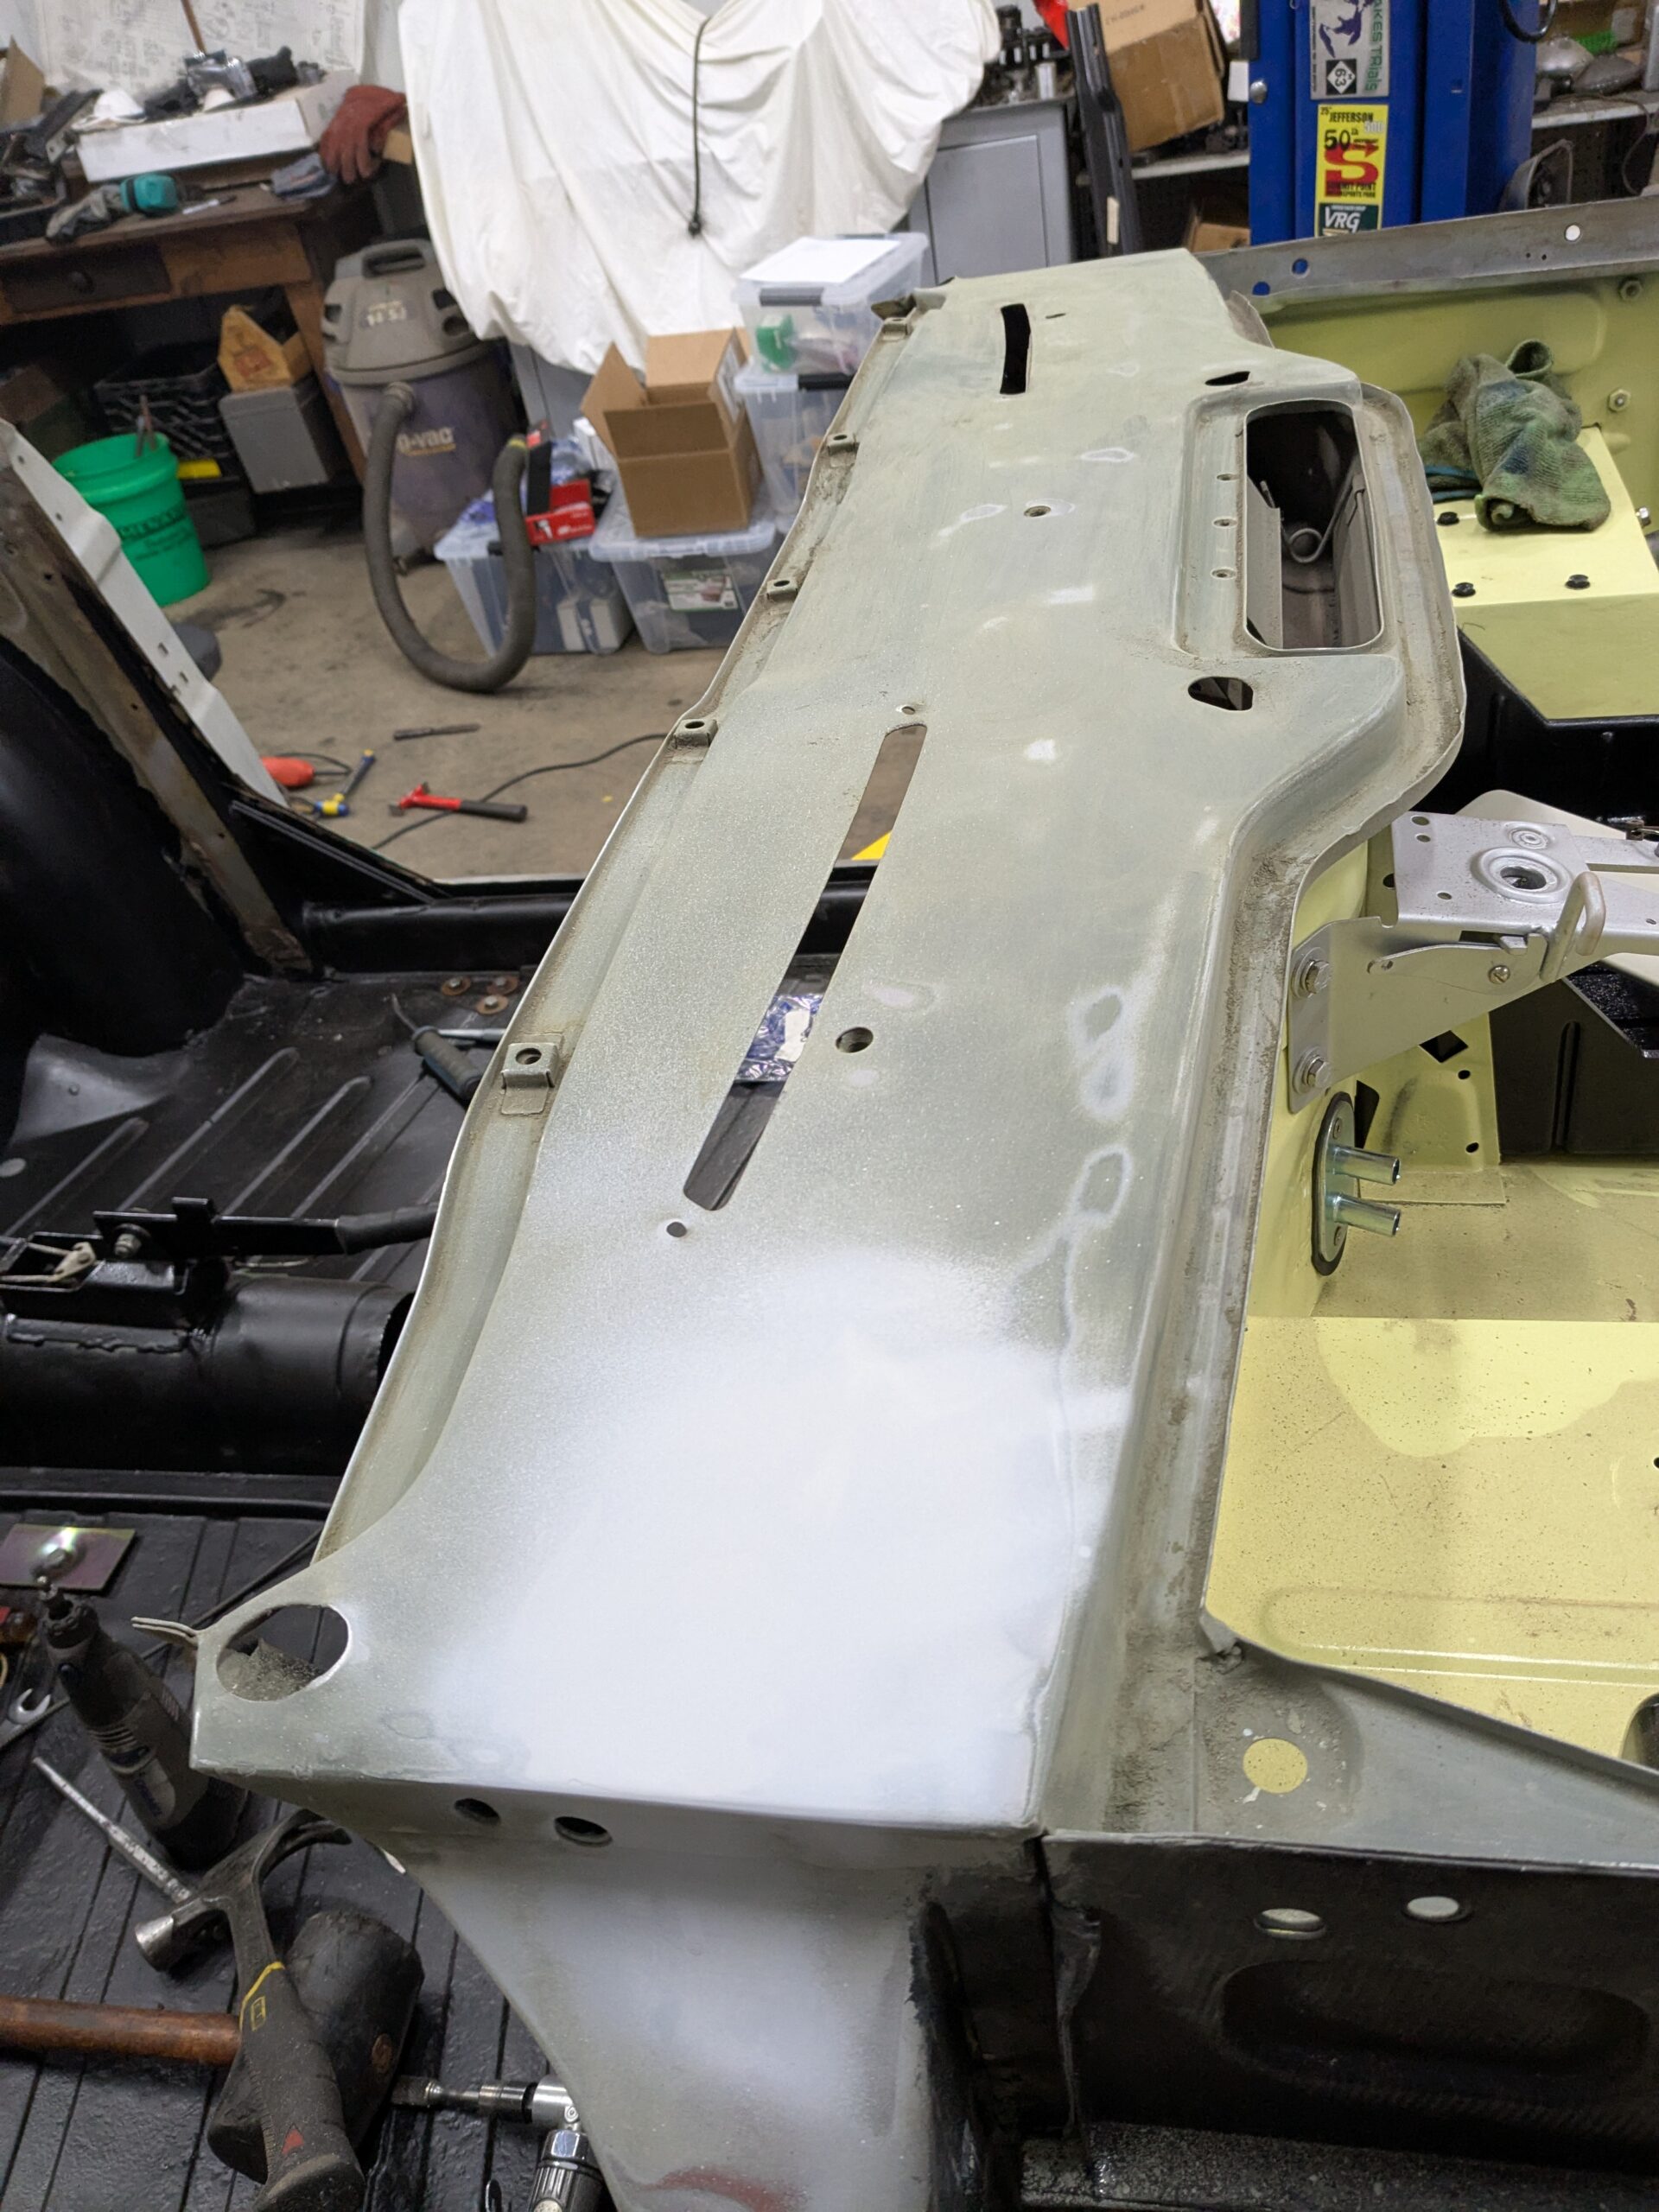

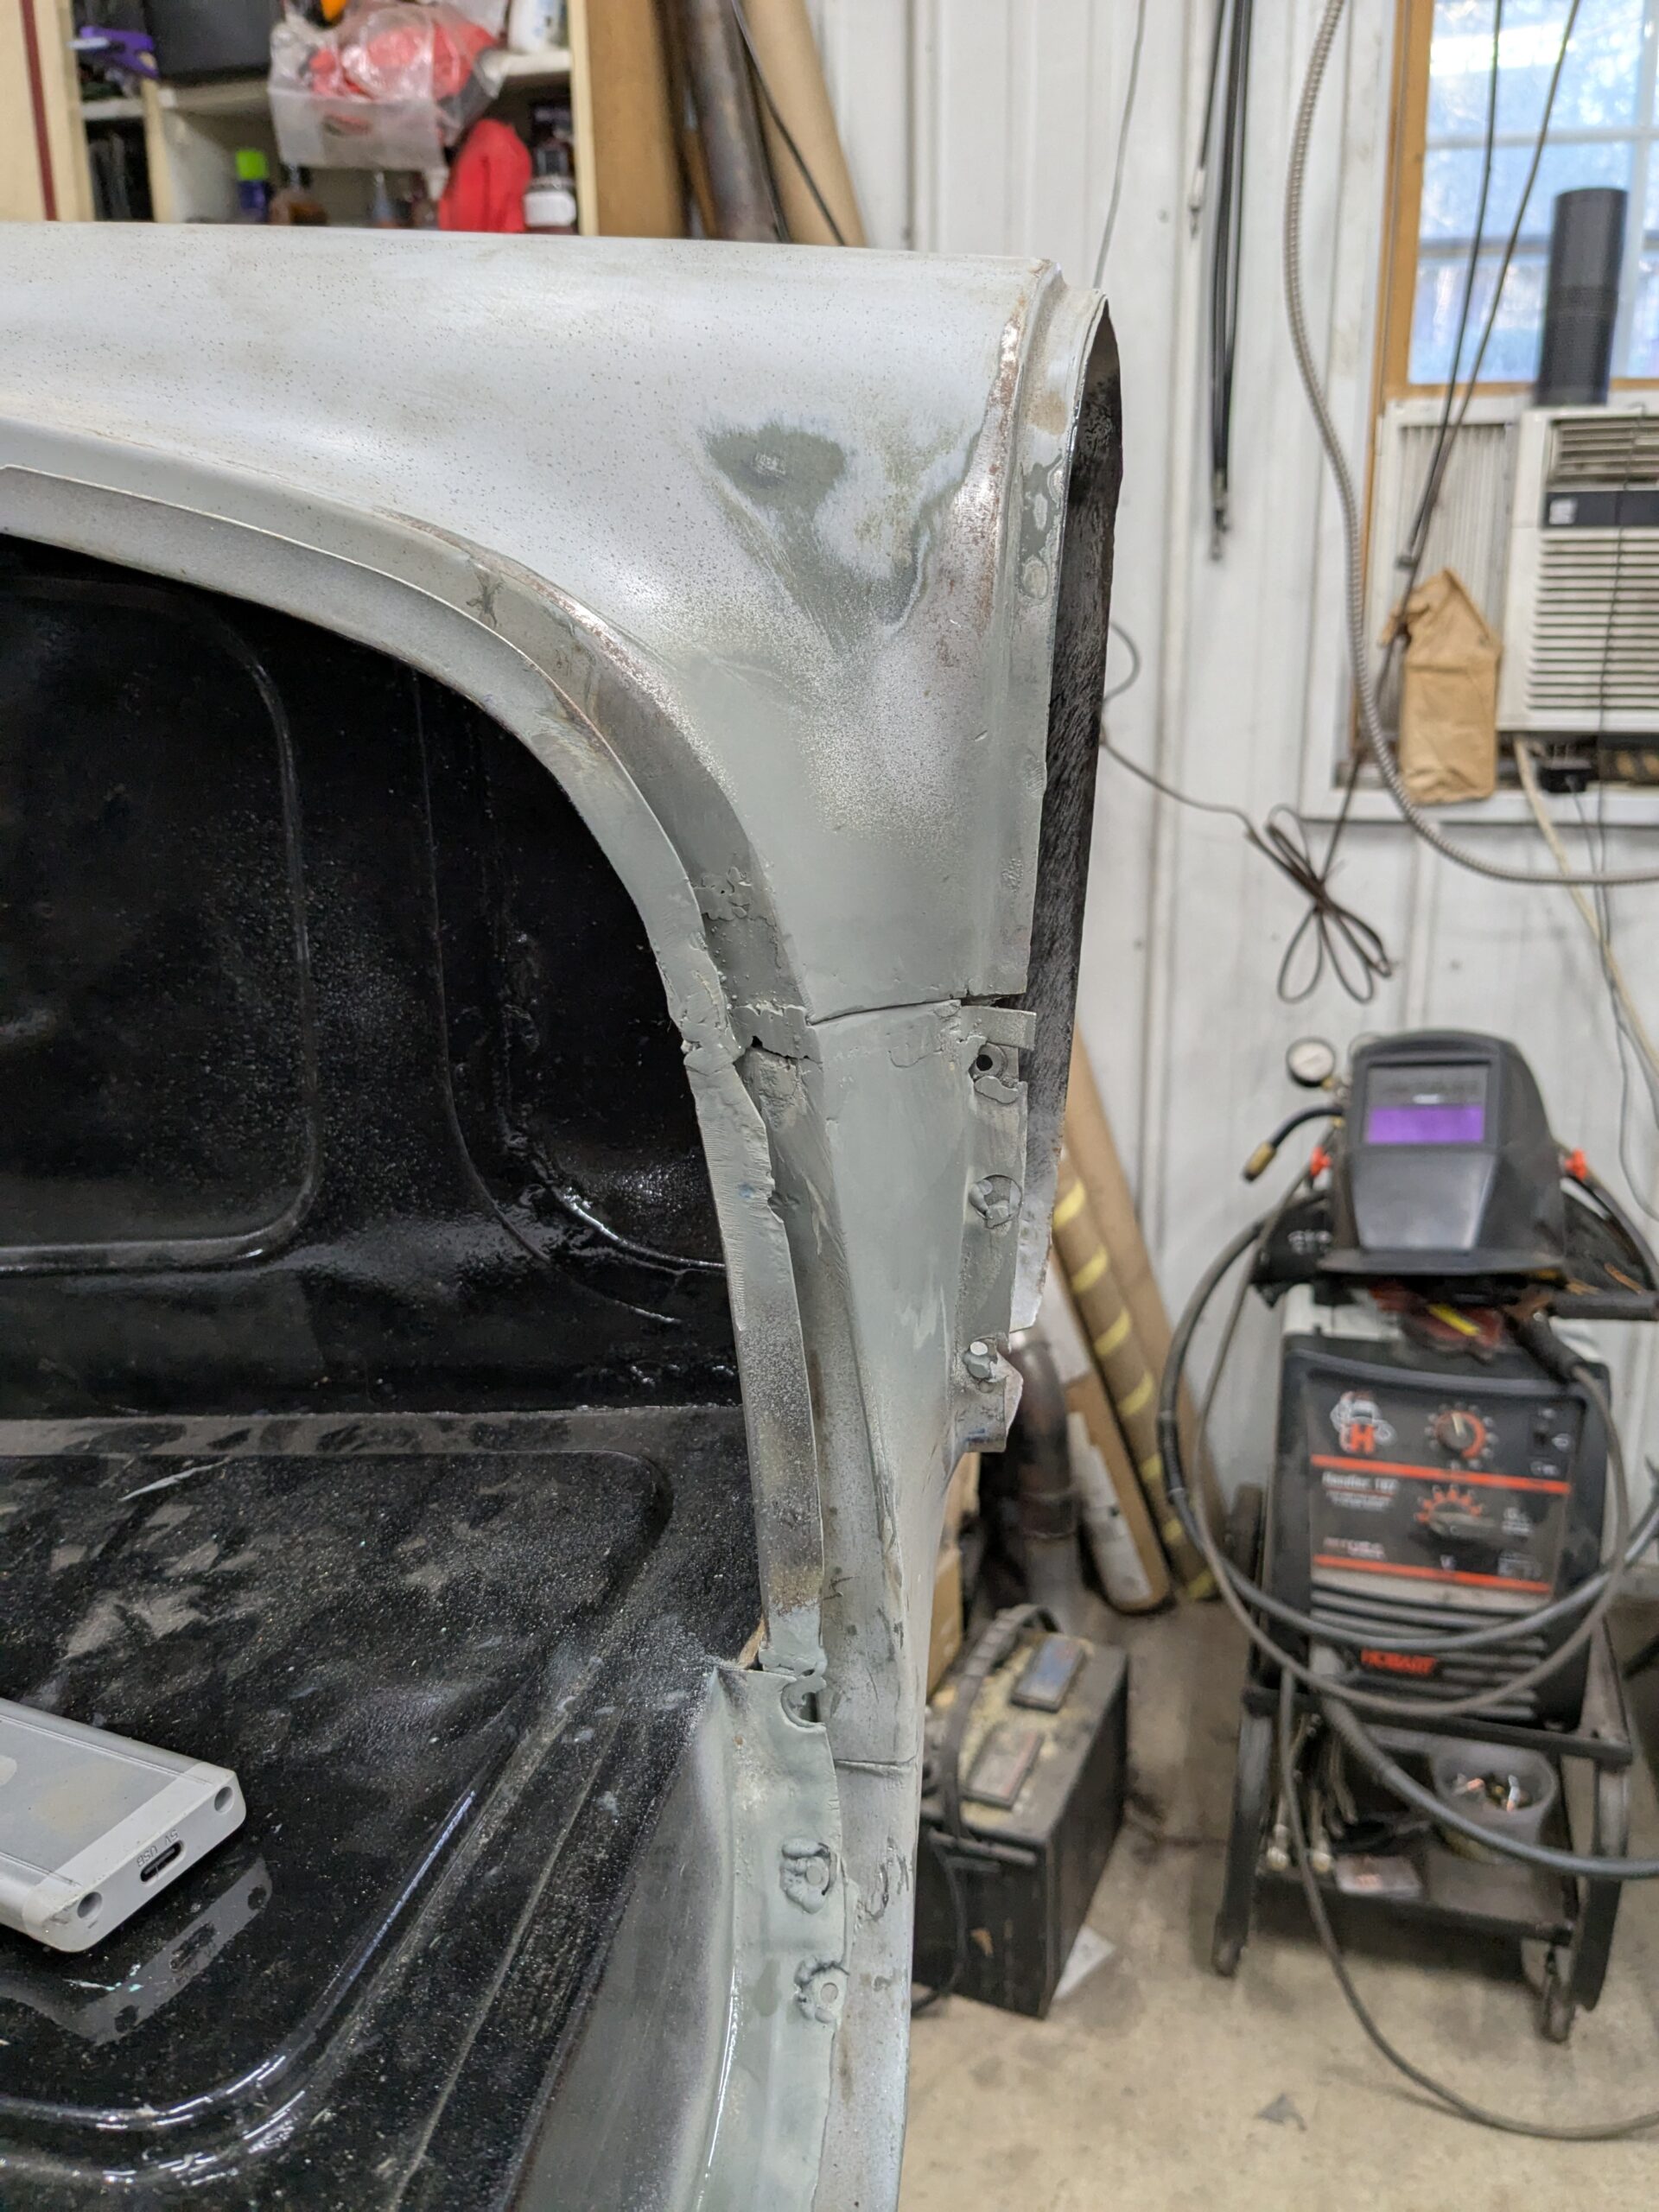
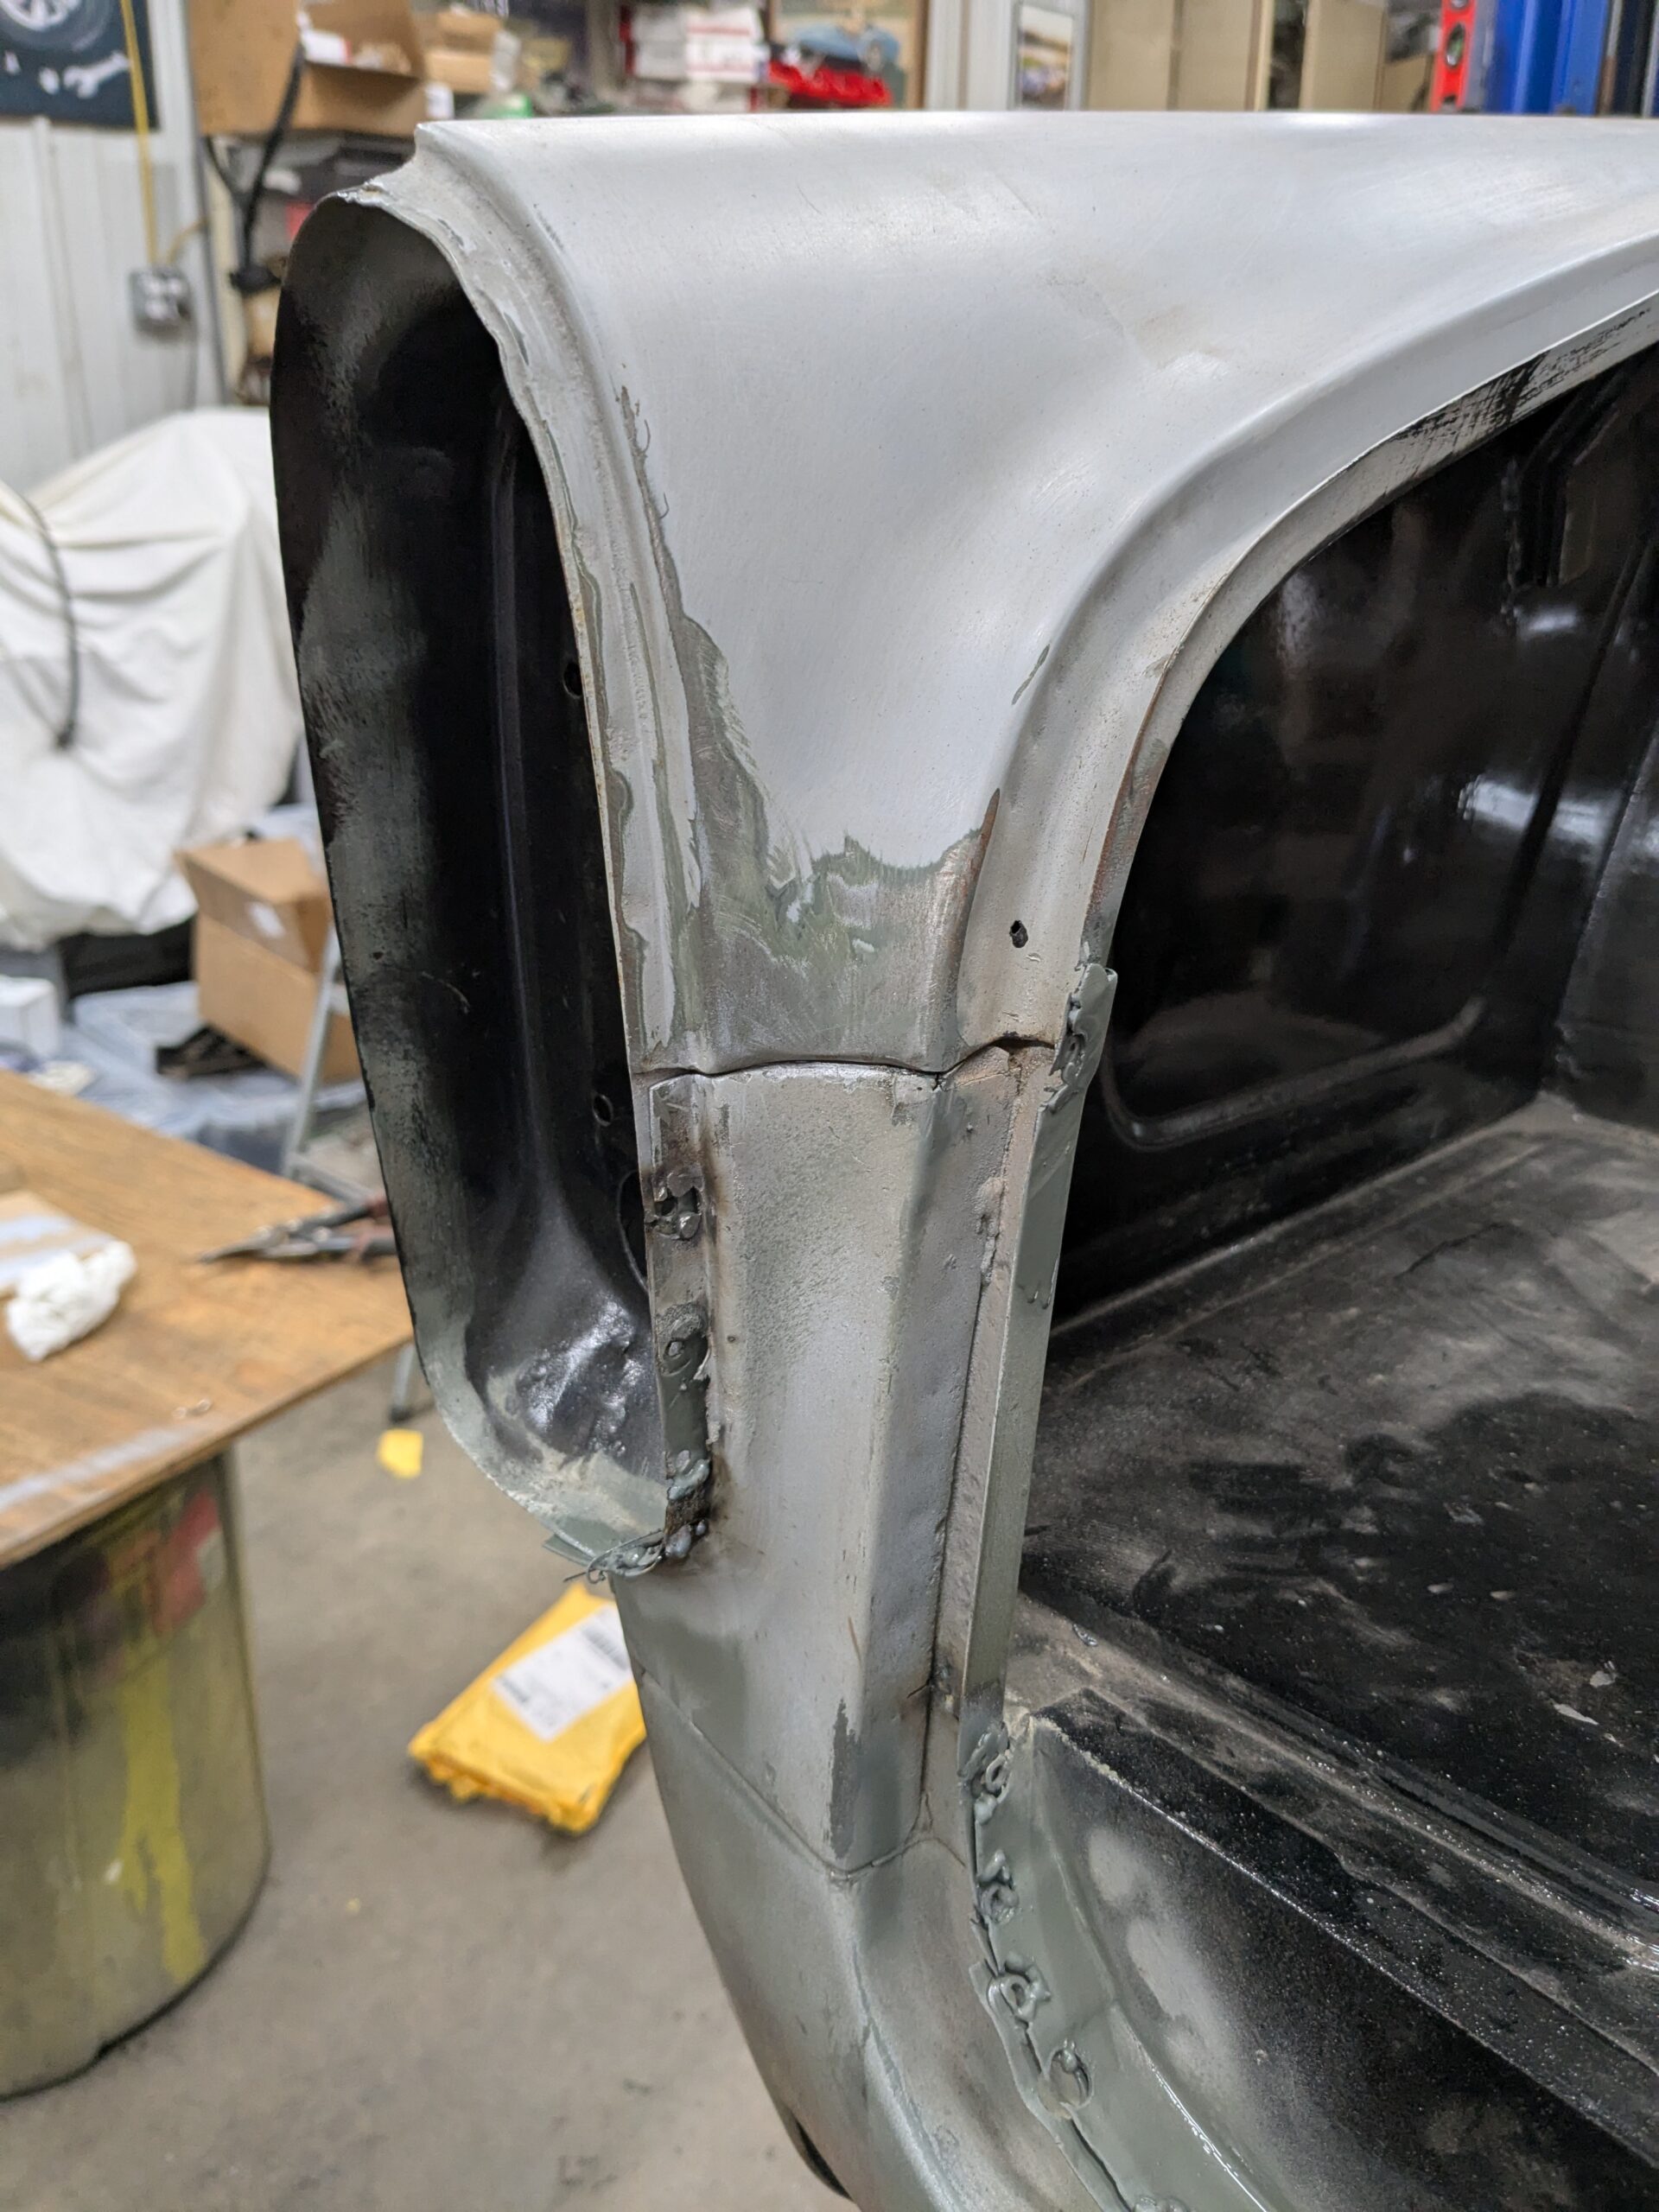
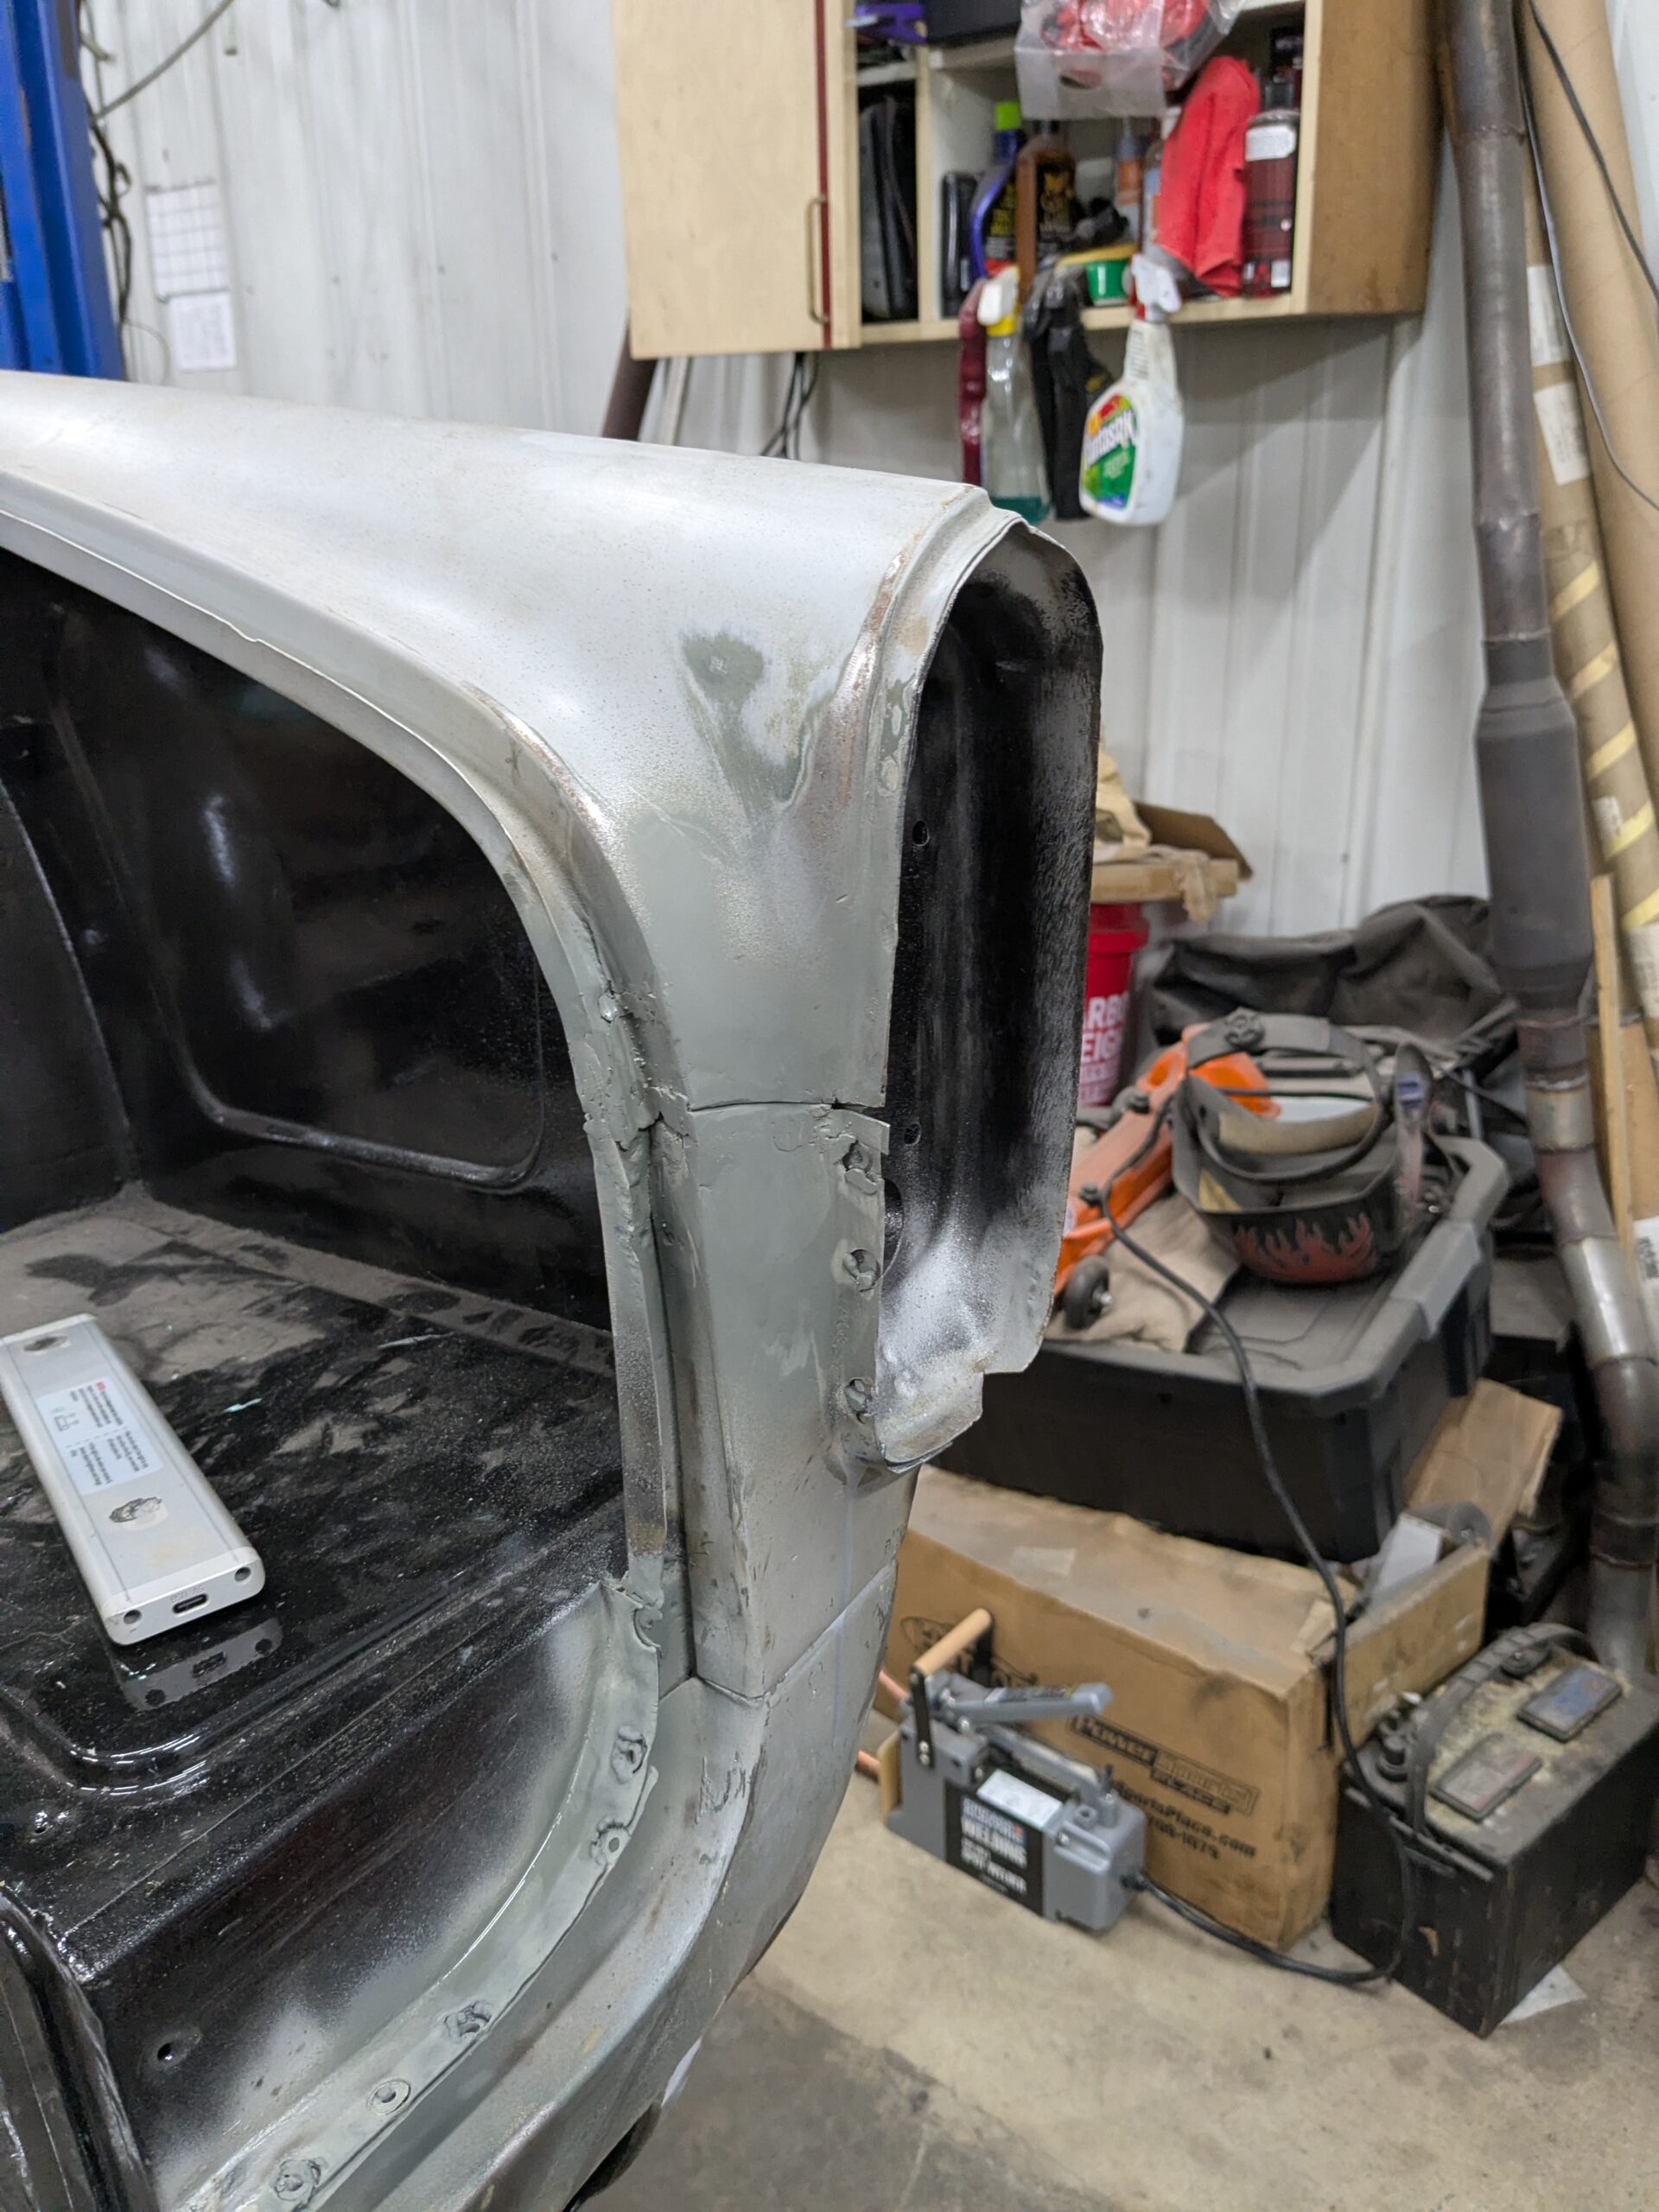
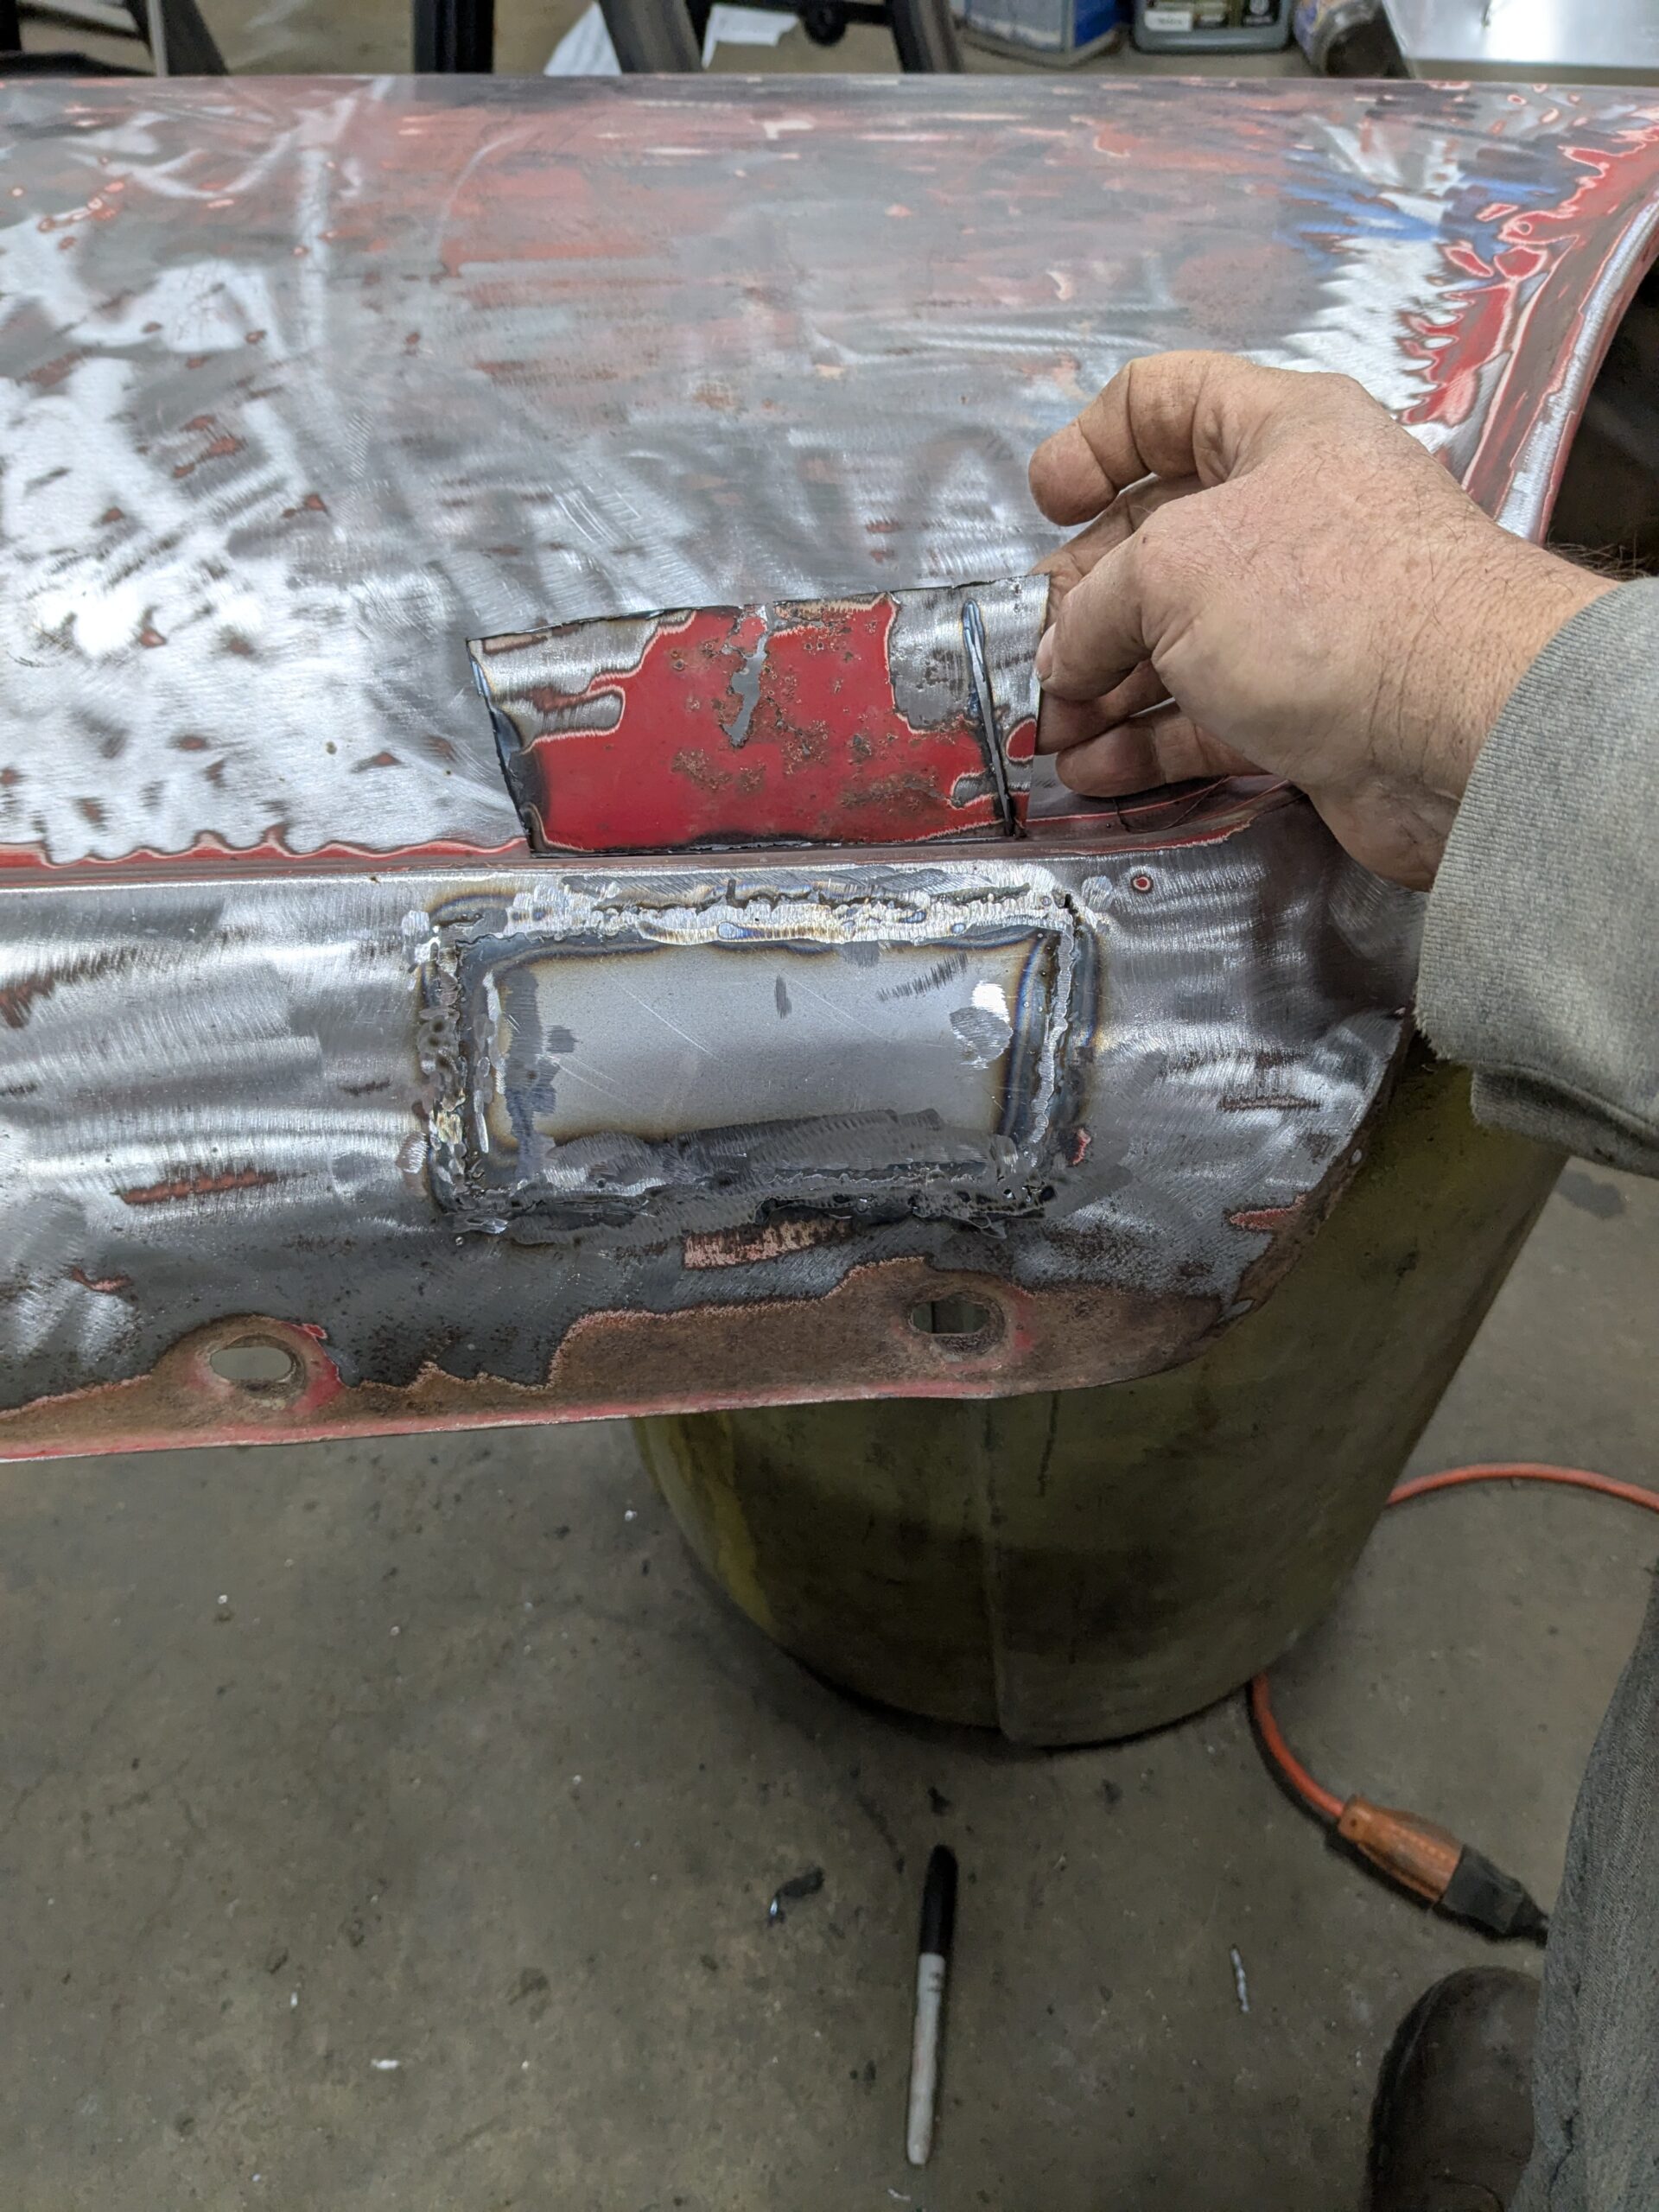


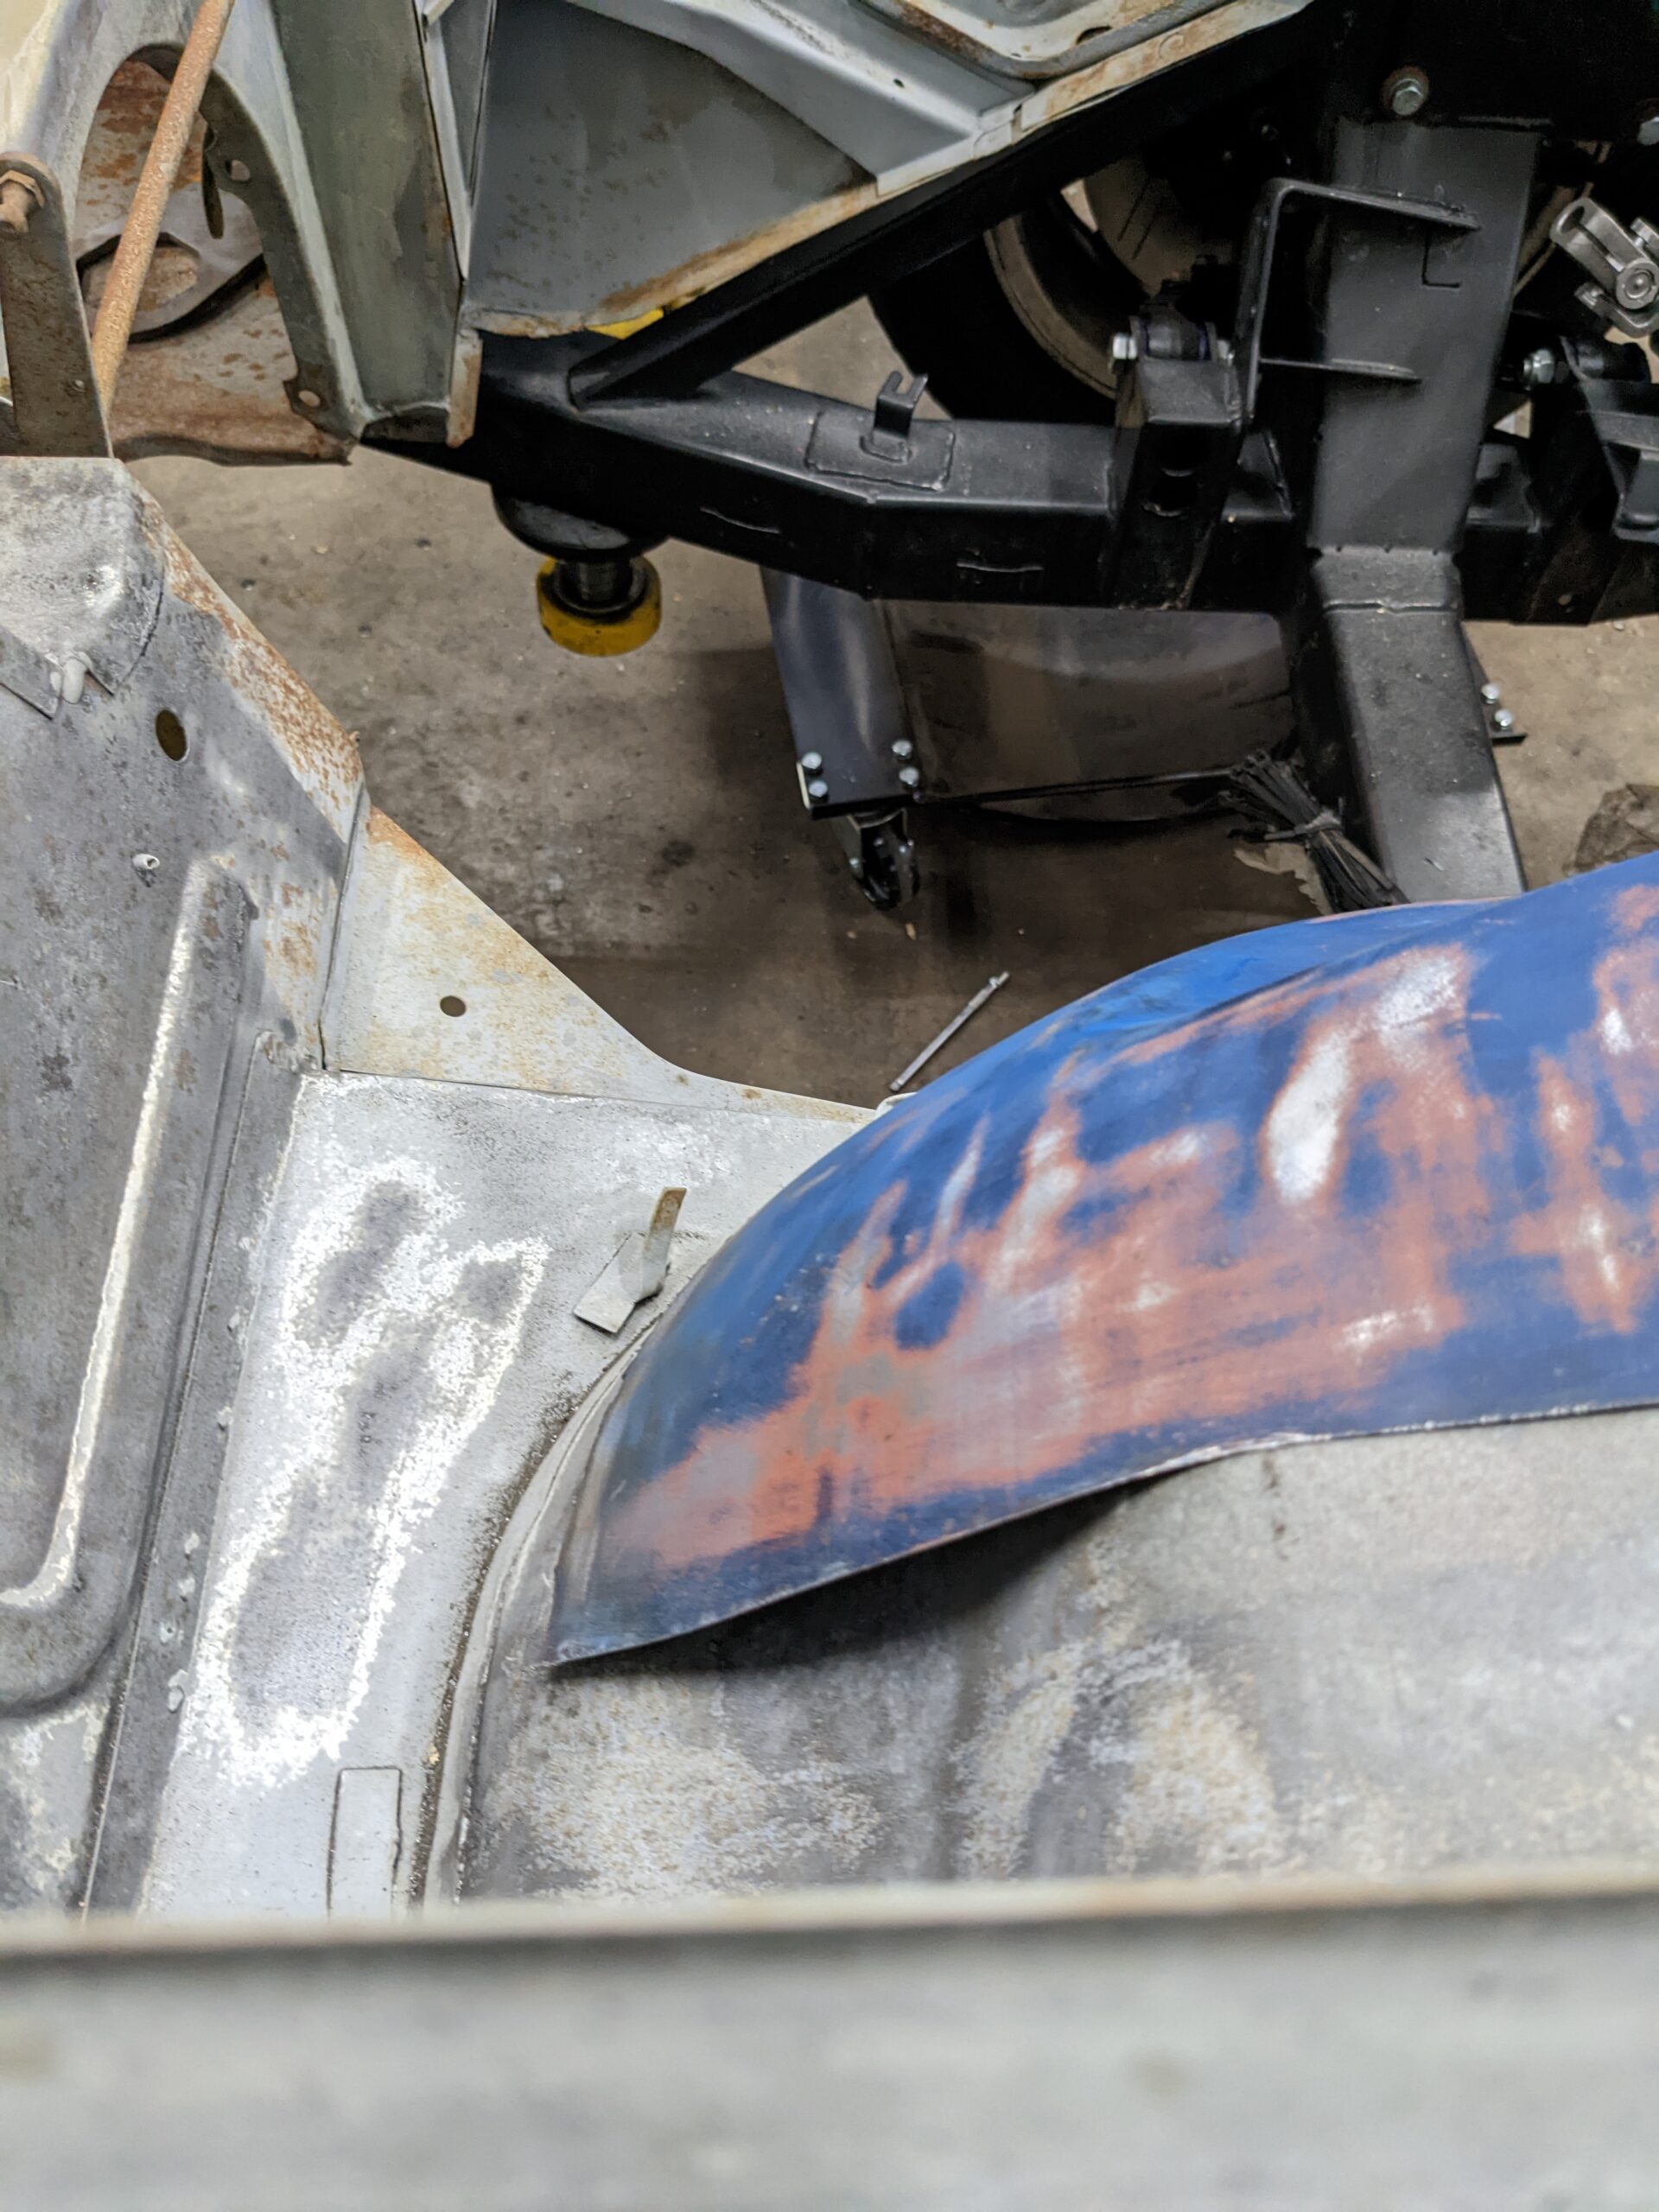
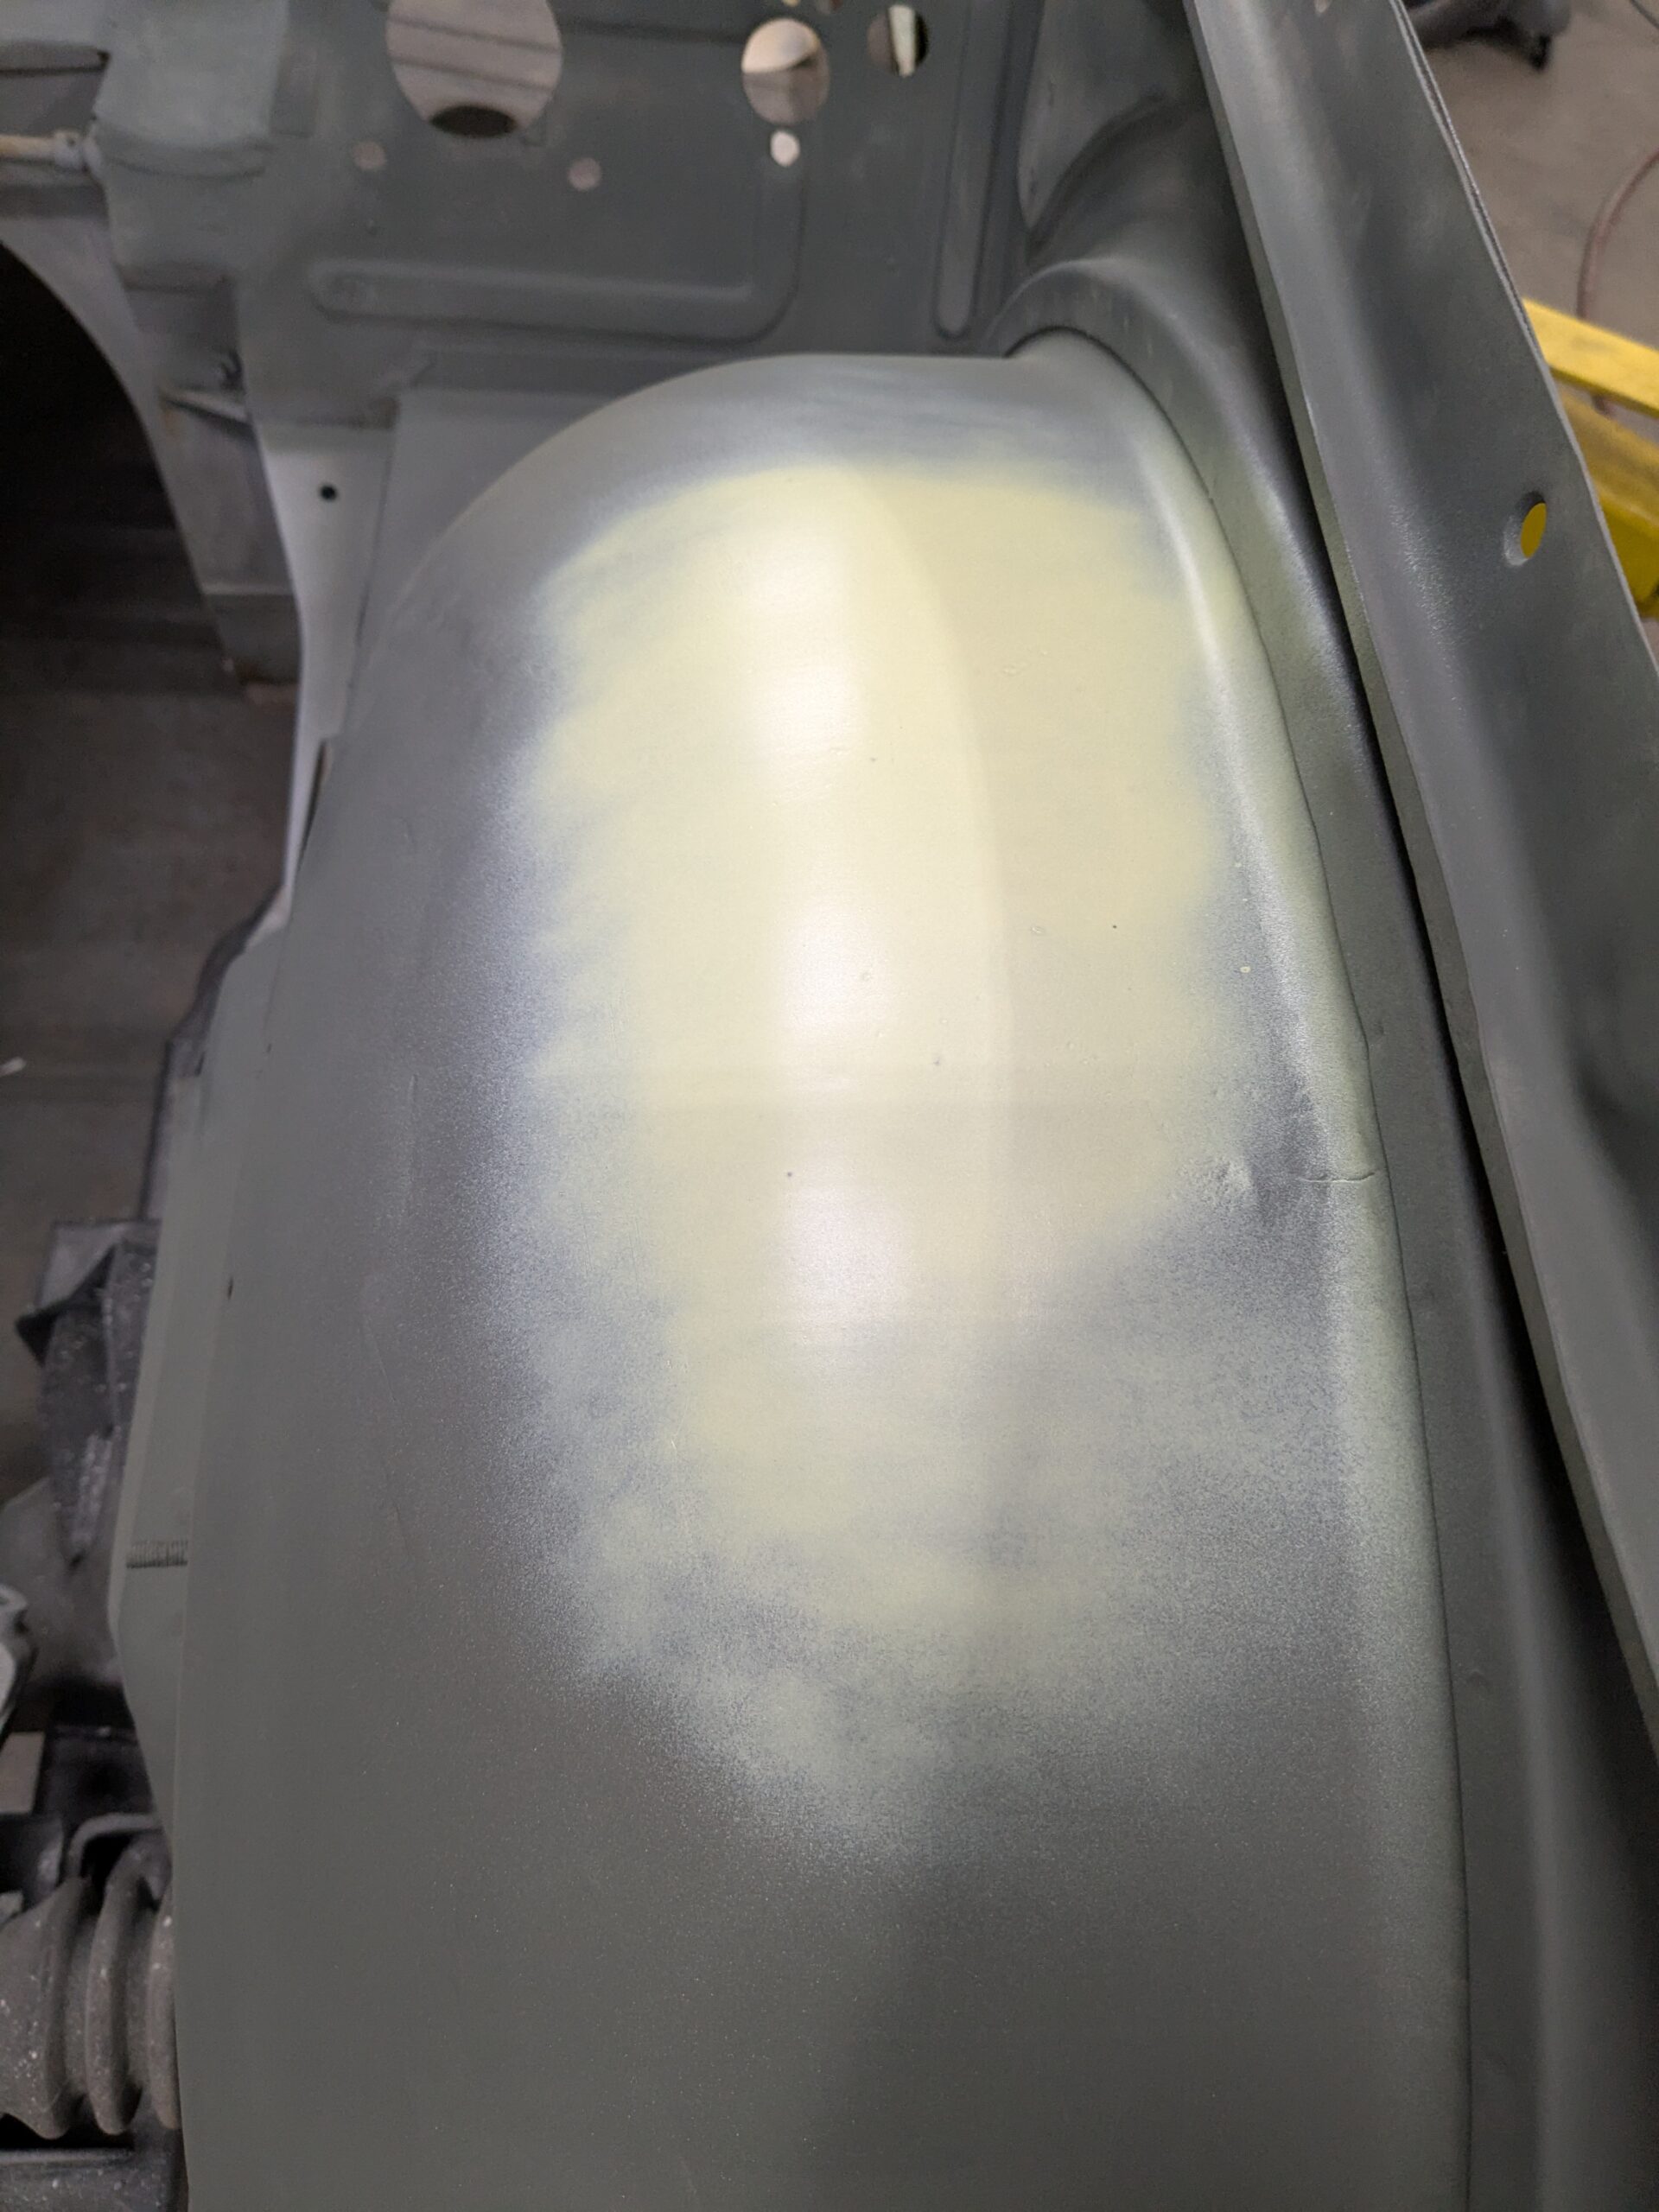
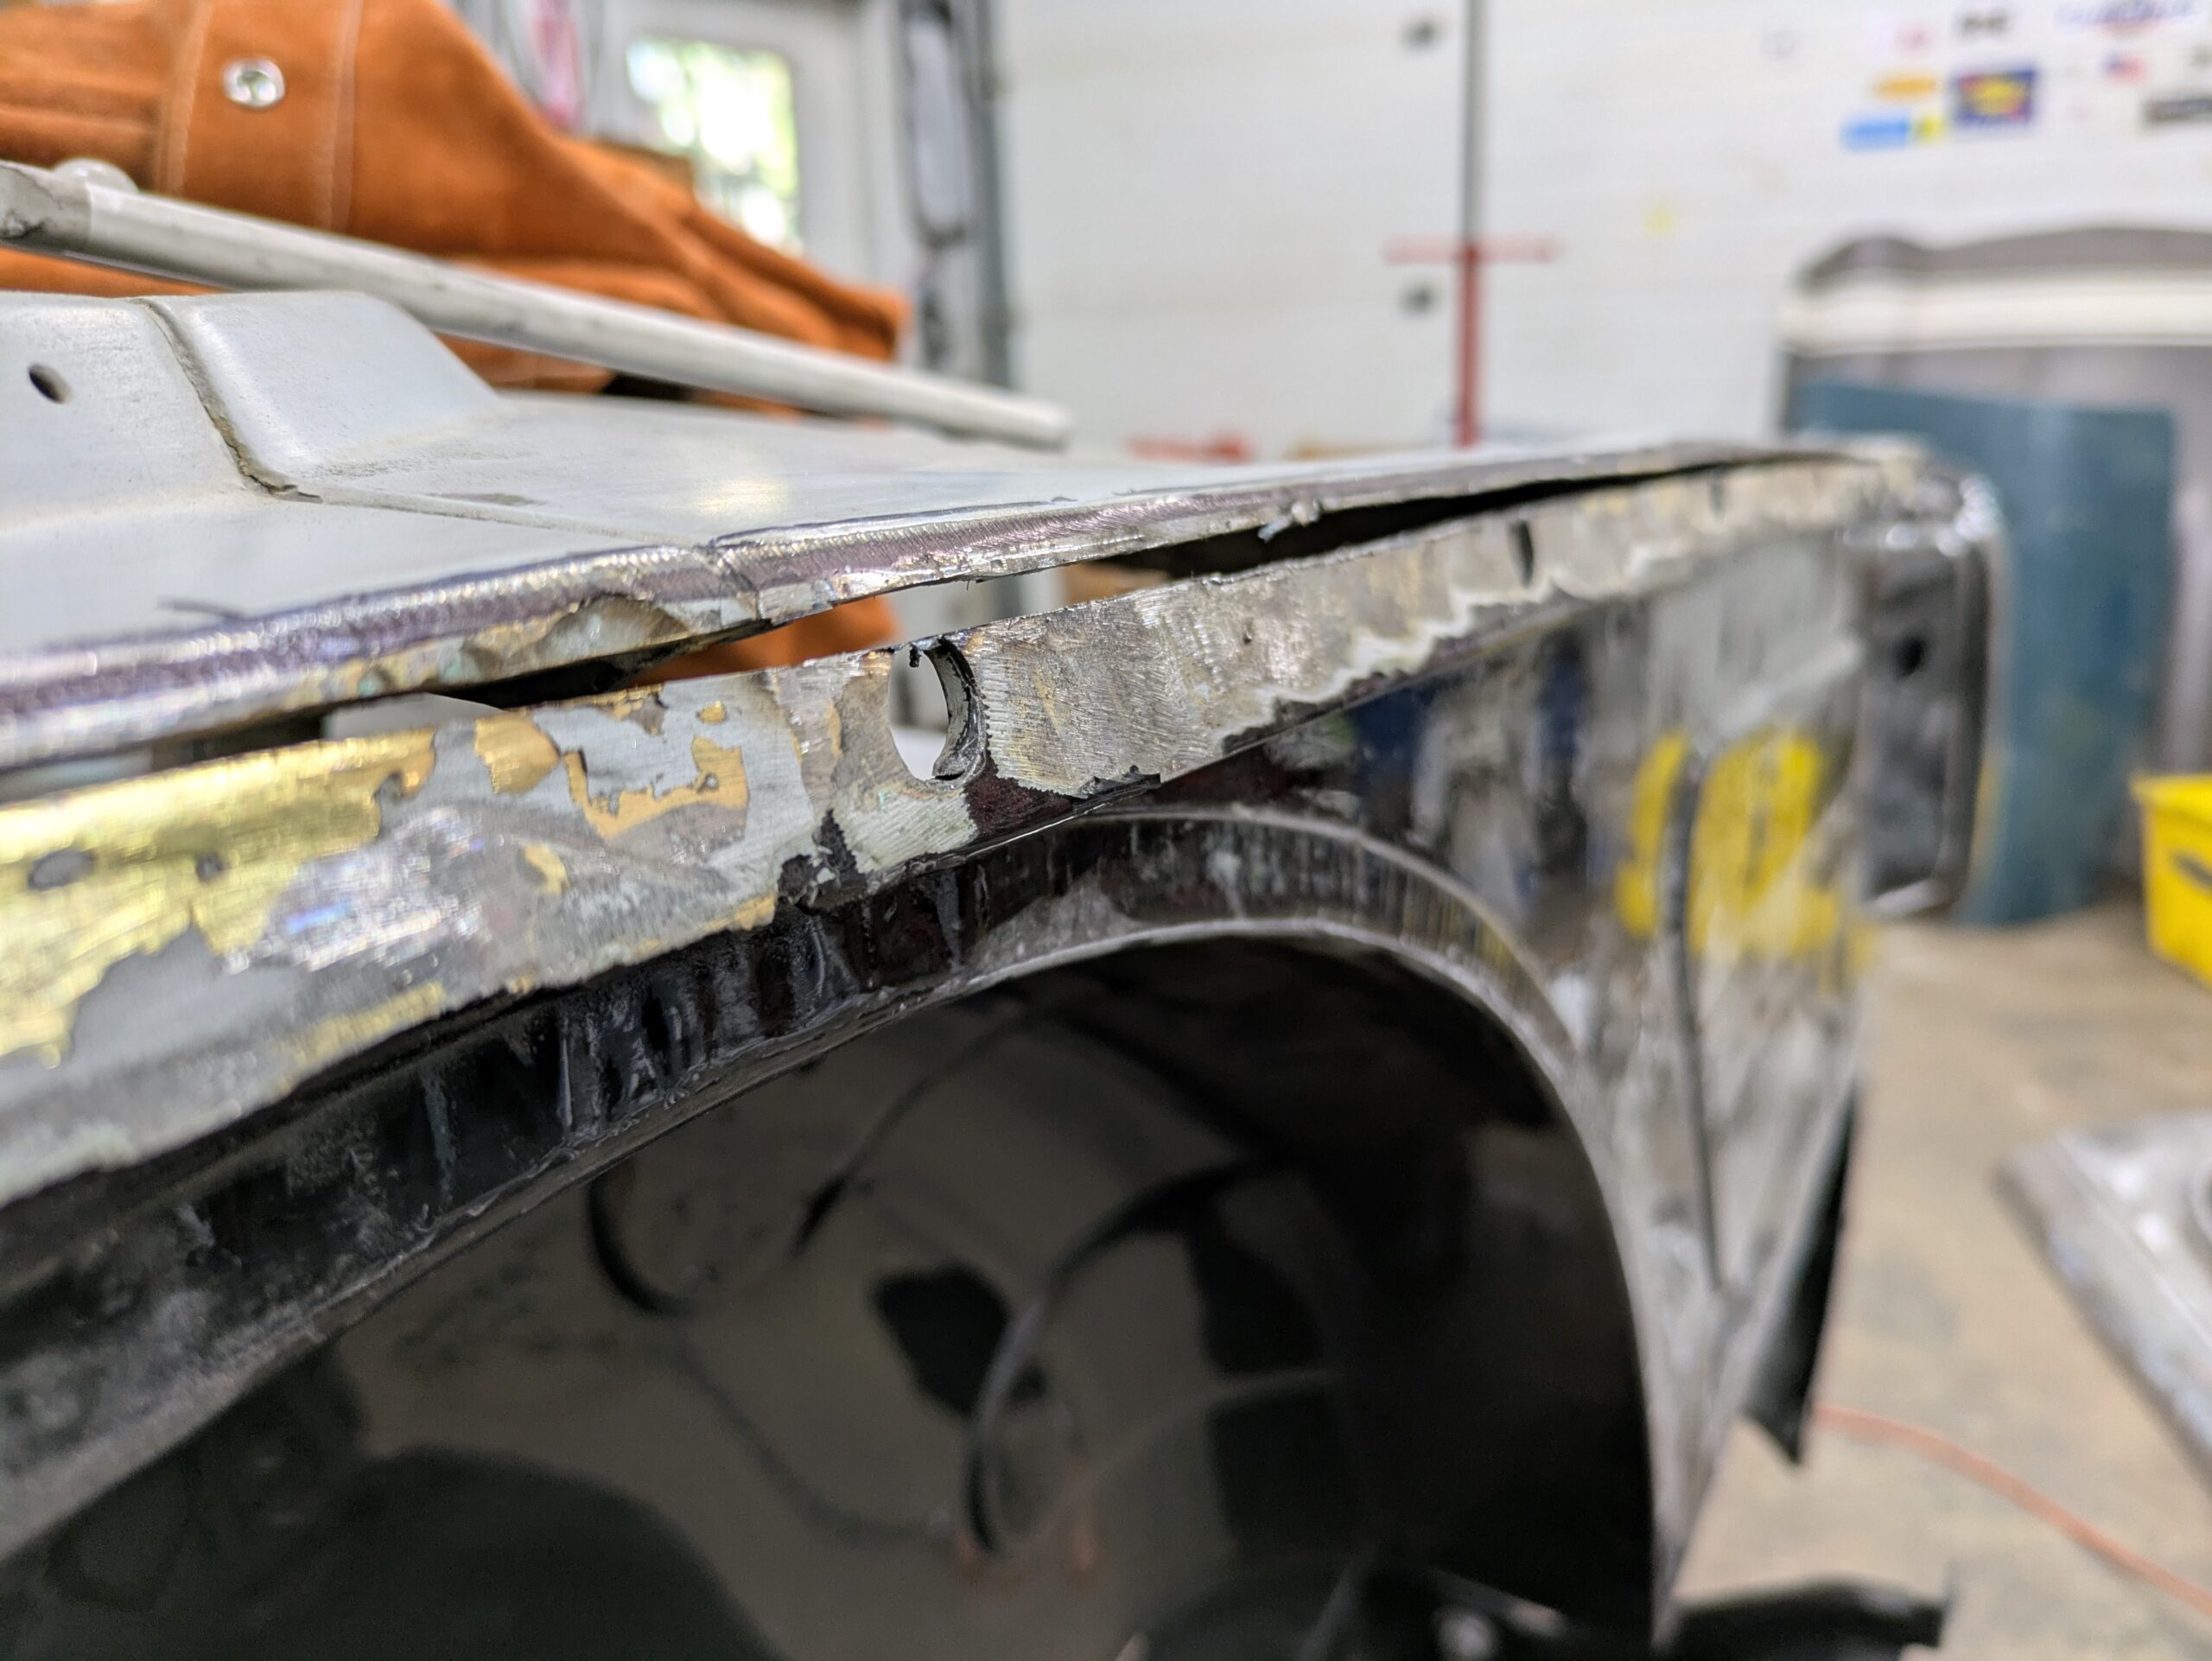
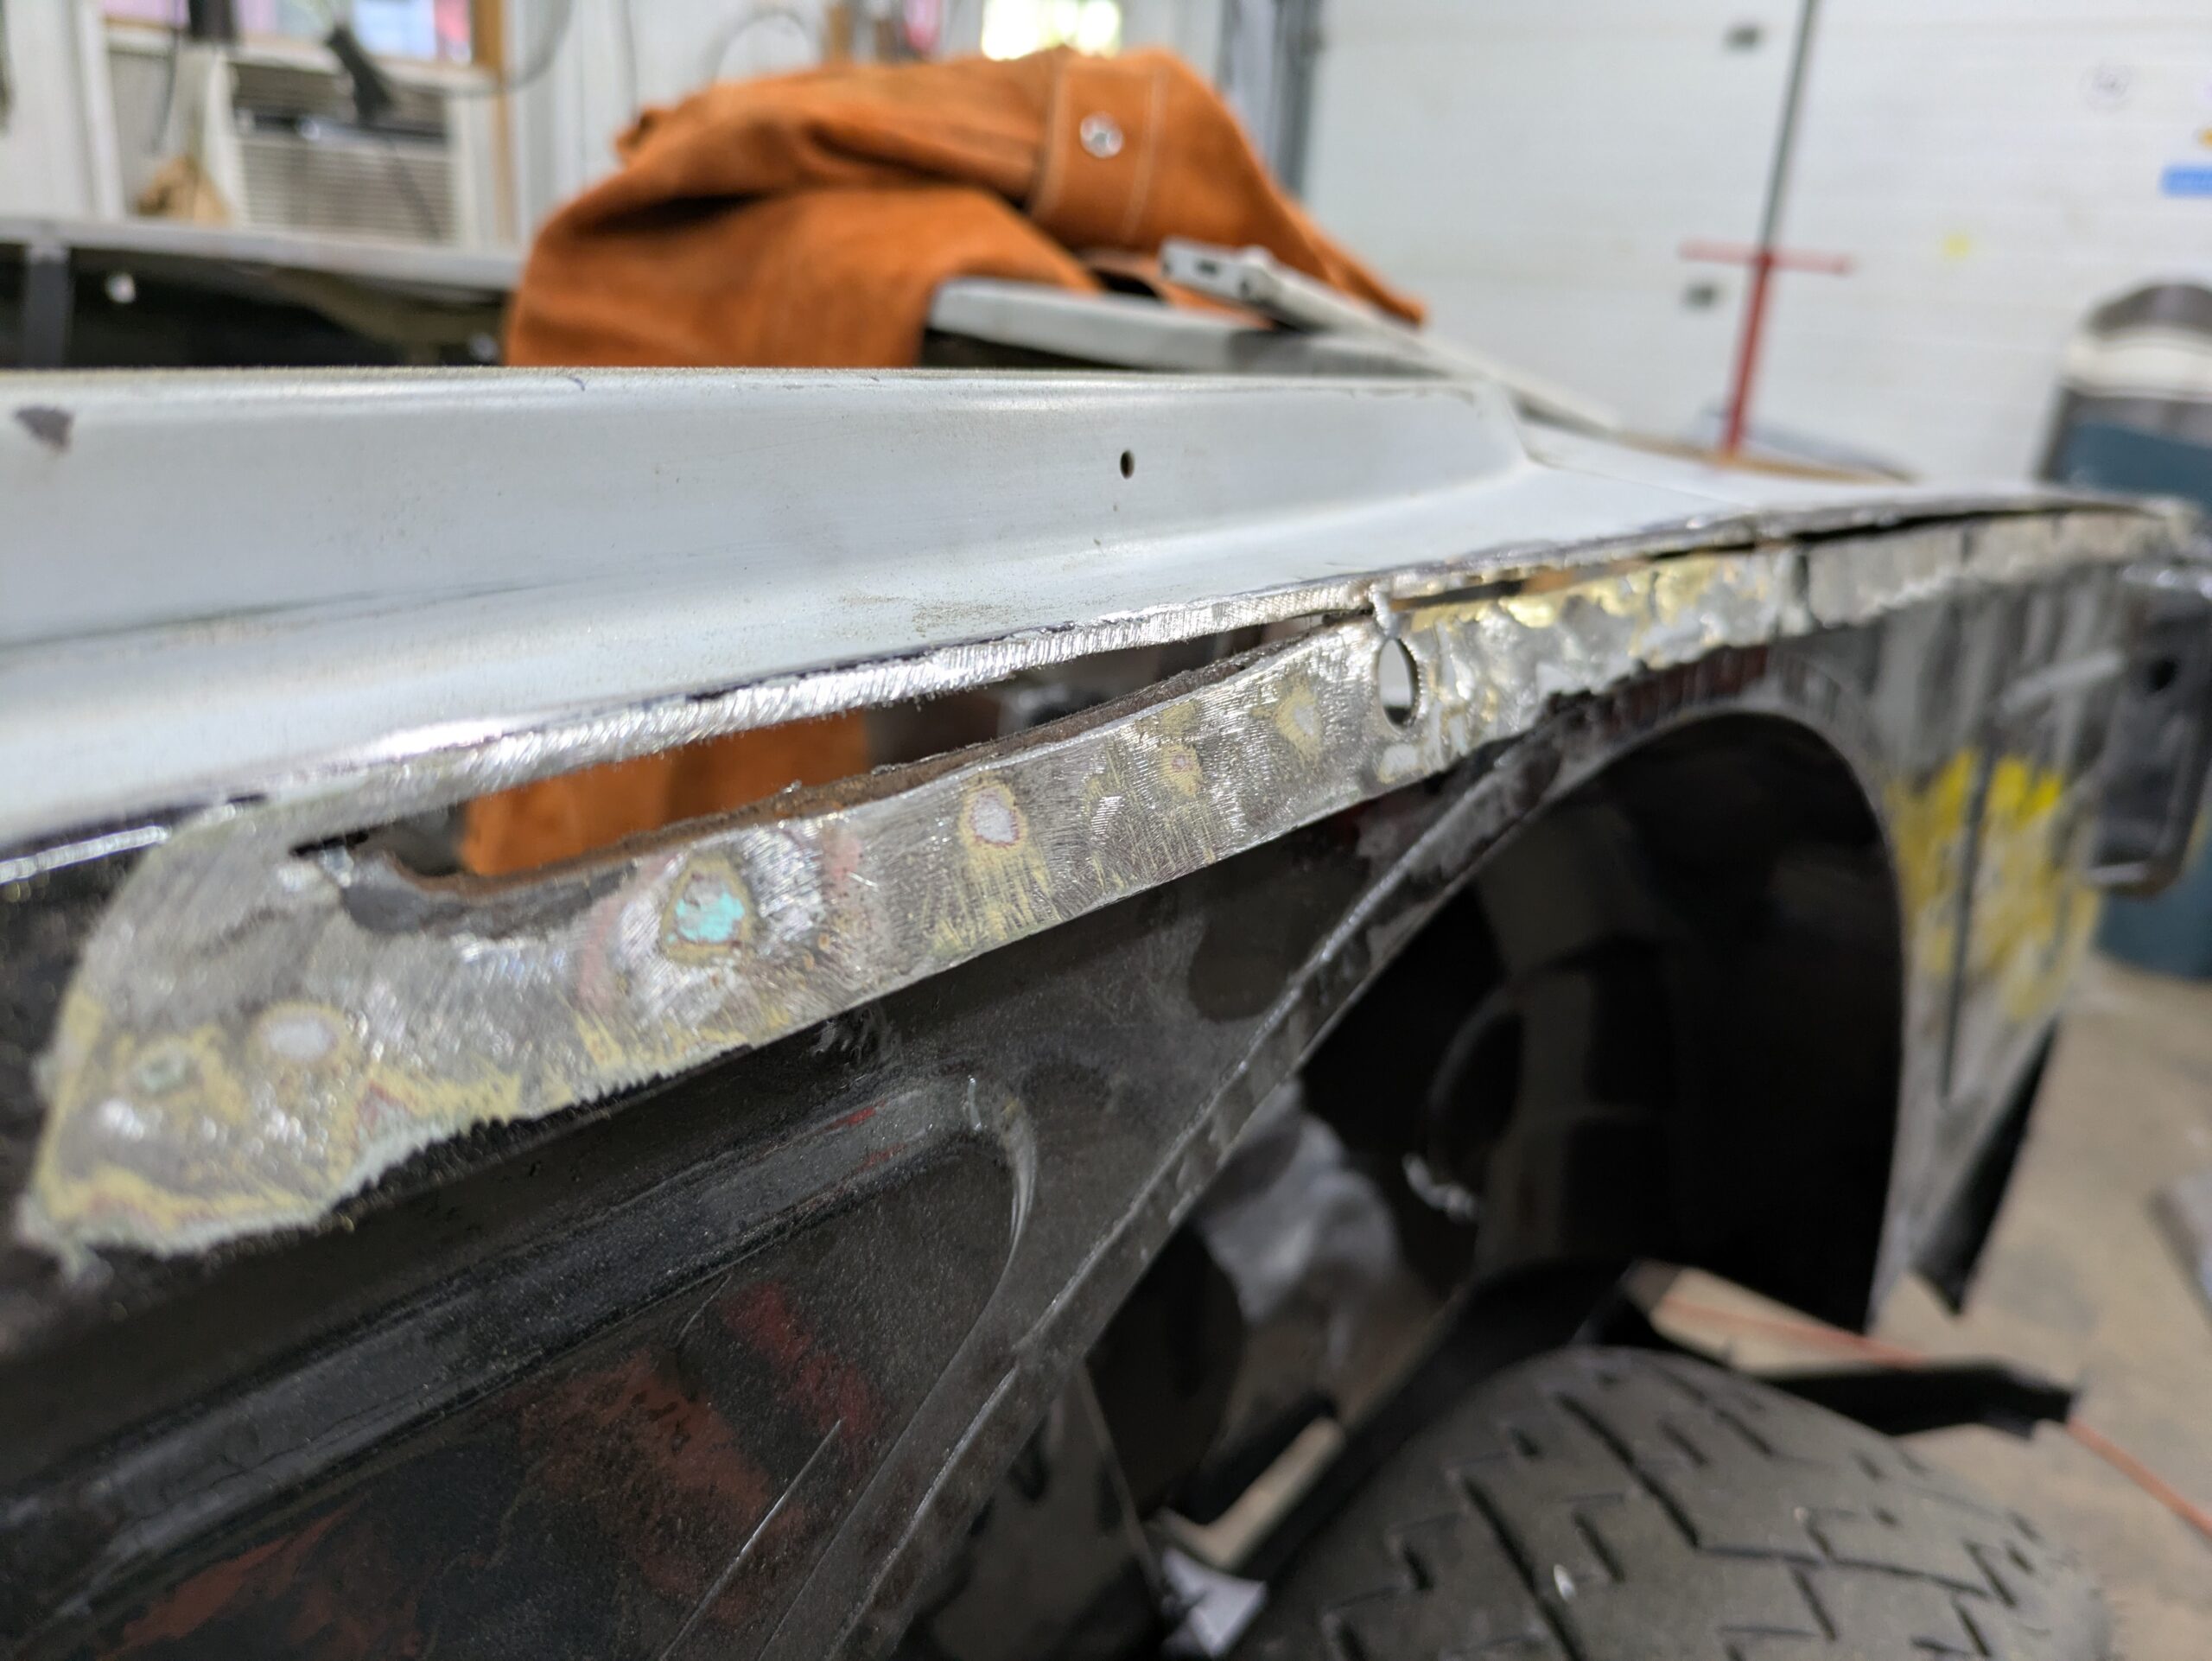
October-2025 – Back in March, 2025 I offered up the left rear fender found a problem. The flange that forms the inner fender was reworked and they didn’t get the bits lined up properly. The body line was 1/2″ too high at its highest point. Racing season was here, so I packed up the project and rolled it out of the way. After thinking about the problem during racing season and speaking to a friend with real bodywork skills about how to proceed, in October 2025 I decided to take a cut off wheel and slice out of the flange what needed to go, clamp down the inner fender to close the gap I just made and tack it down. Then refit the fender, see where I was, and repeat until I got the inner fender down to where it needed to be. While I was able to get the fender alignment pretty good, the very front of the fender is now a bit proud of the inner fender, see the last picture in this gallery.


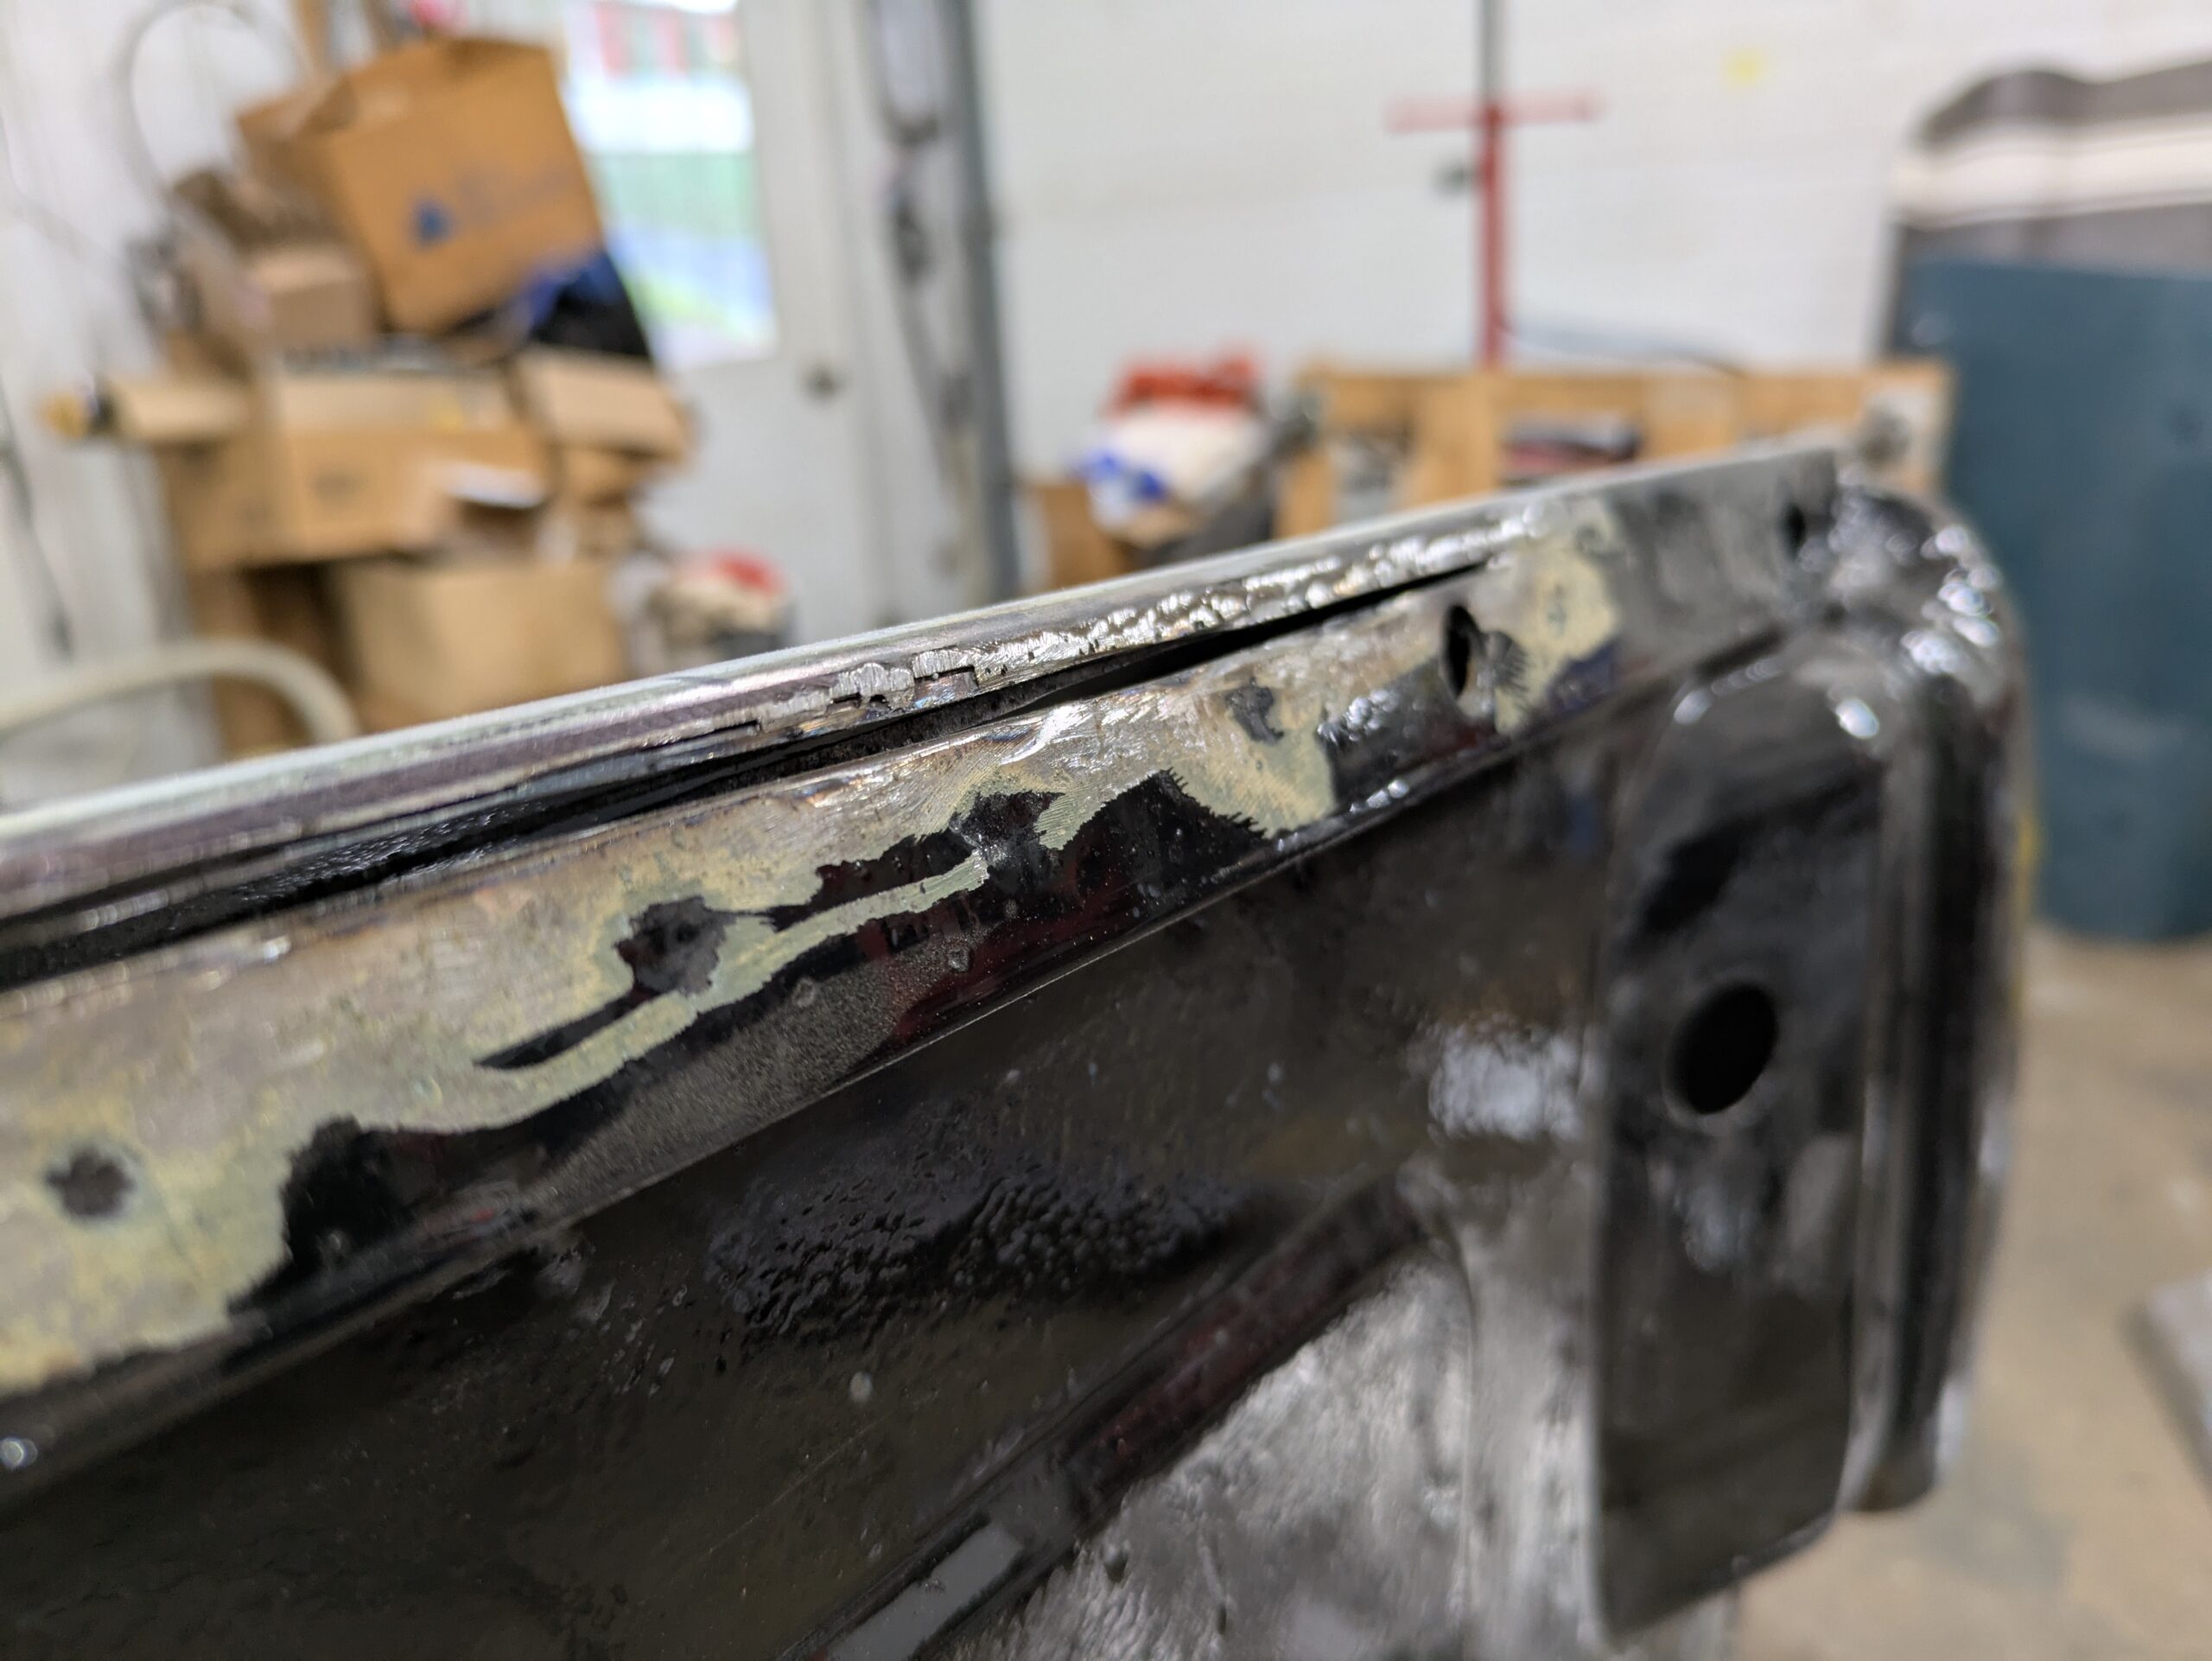
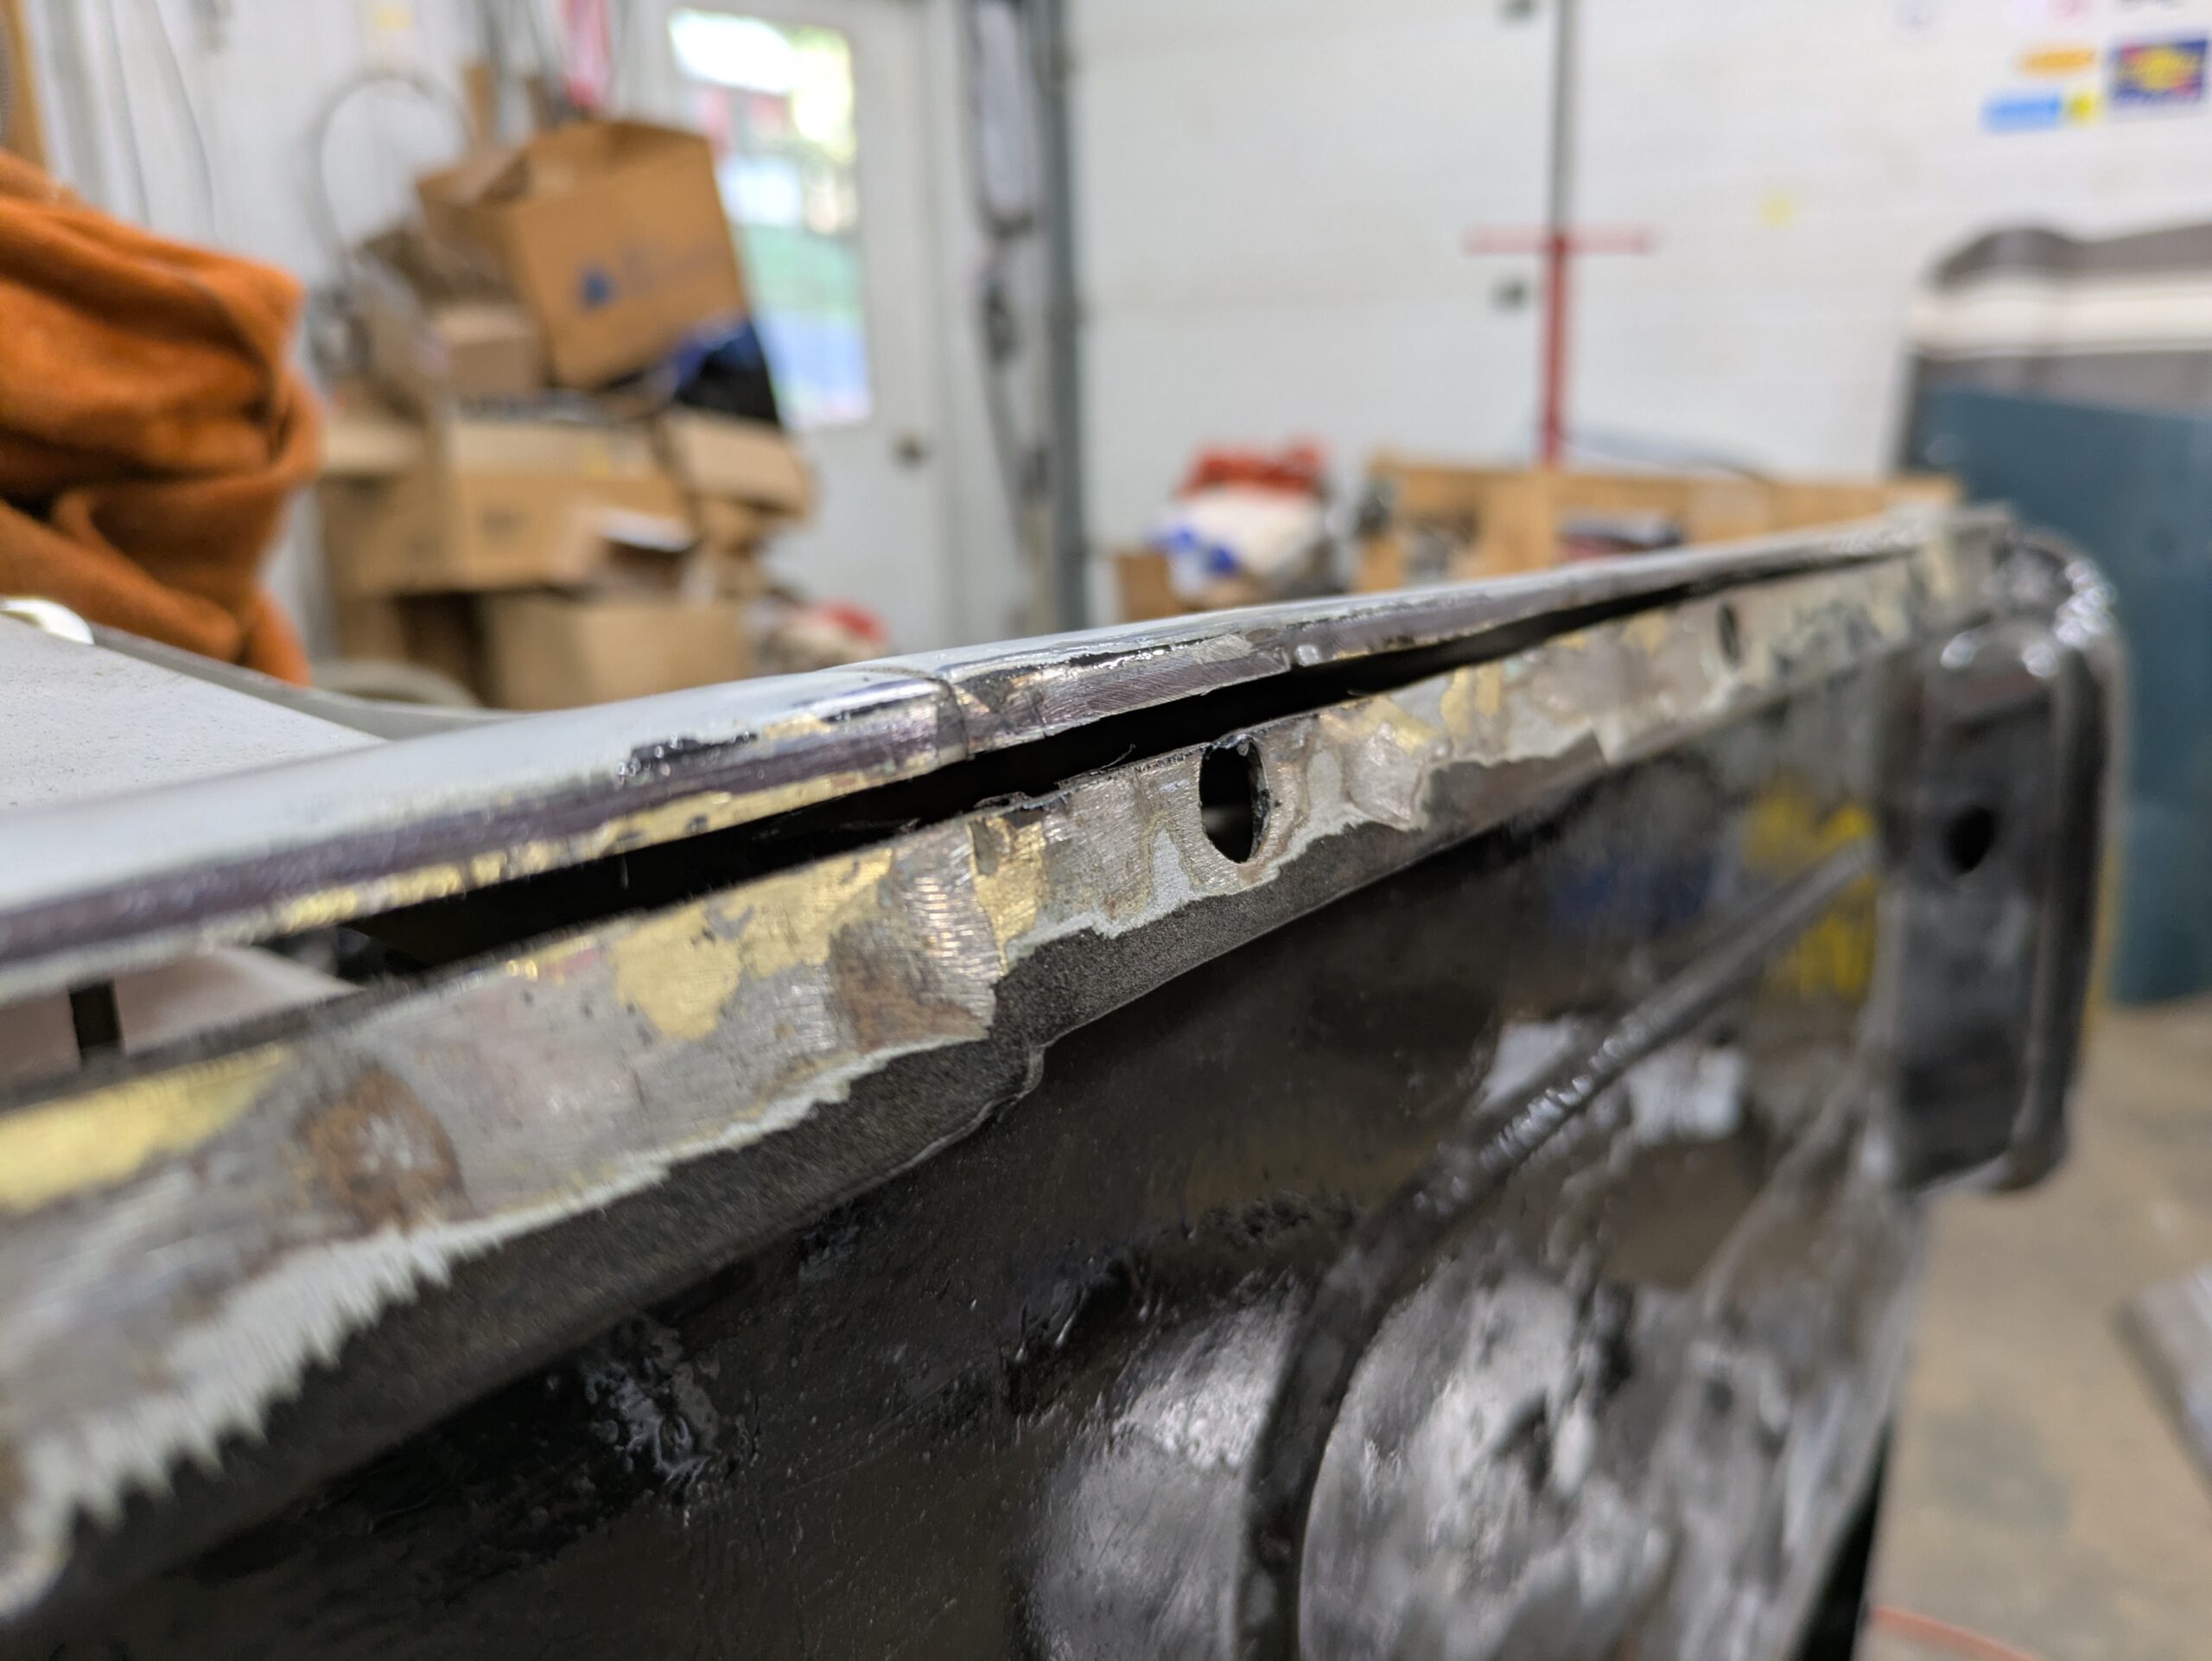
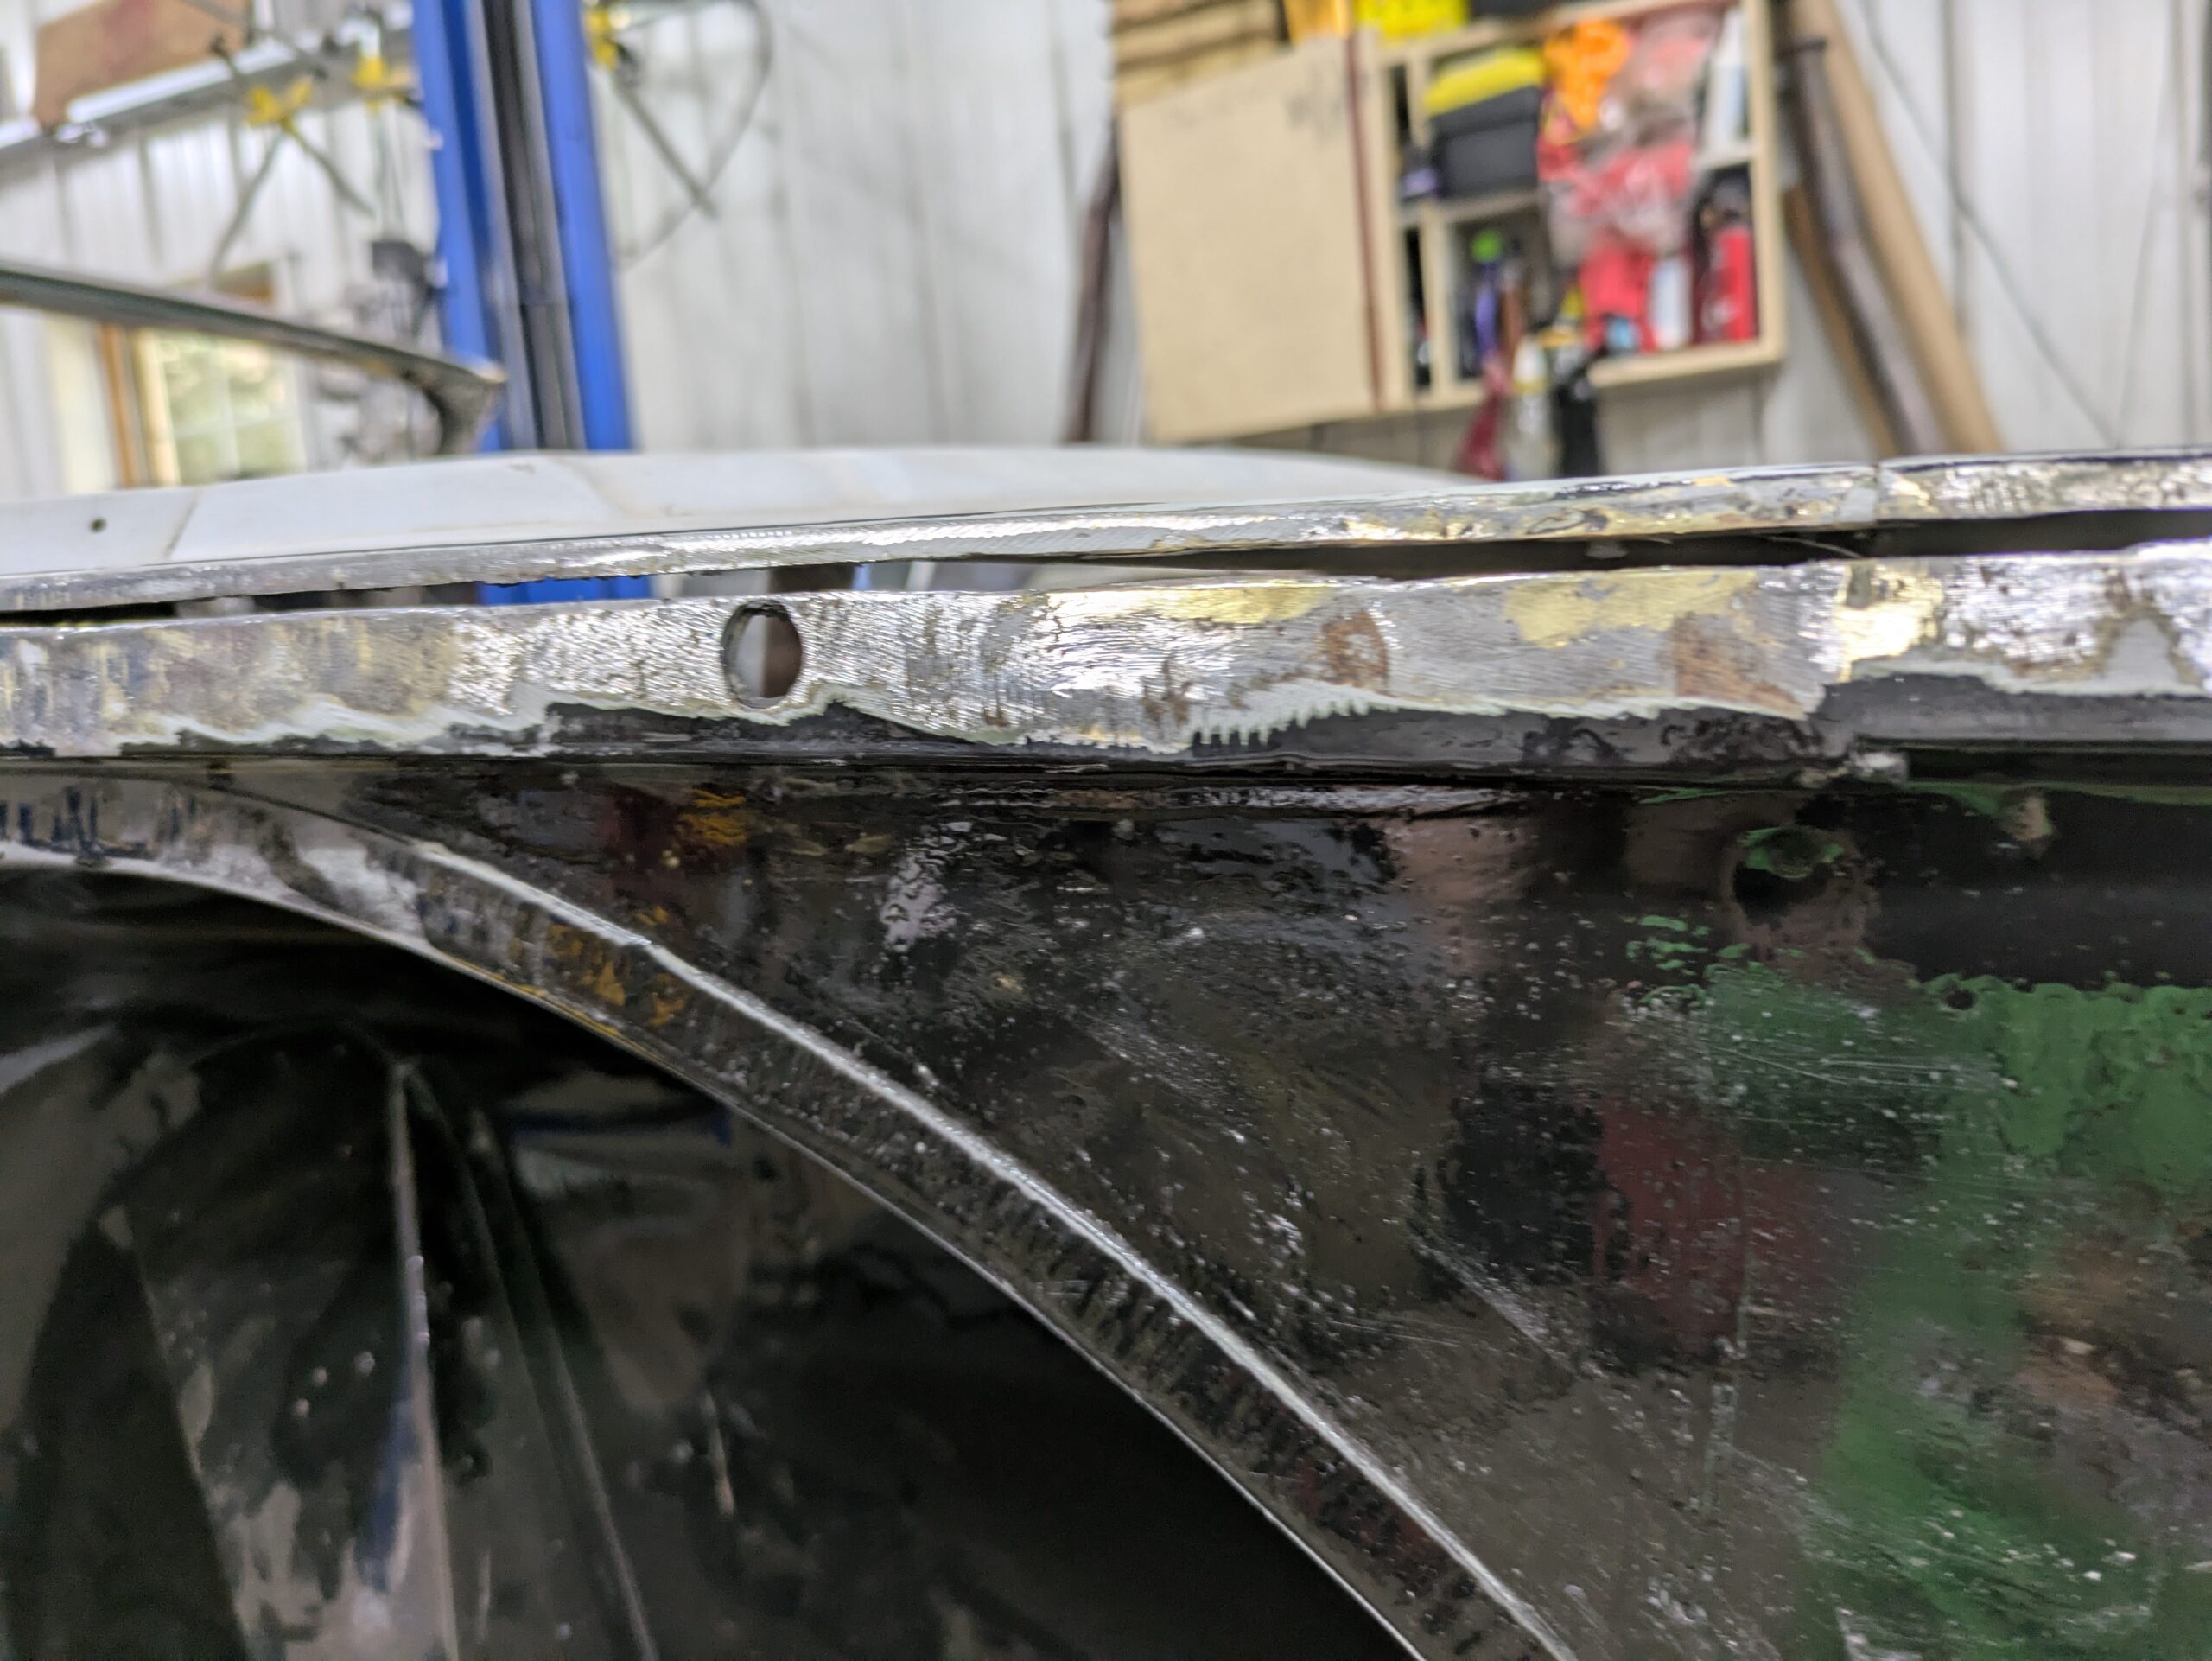
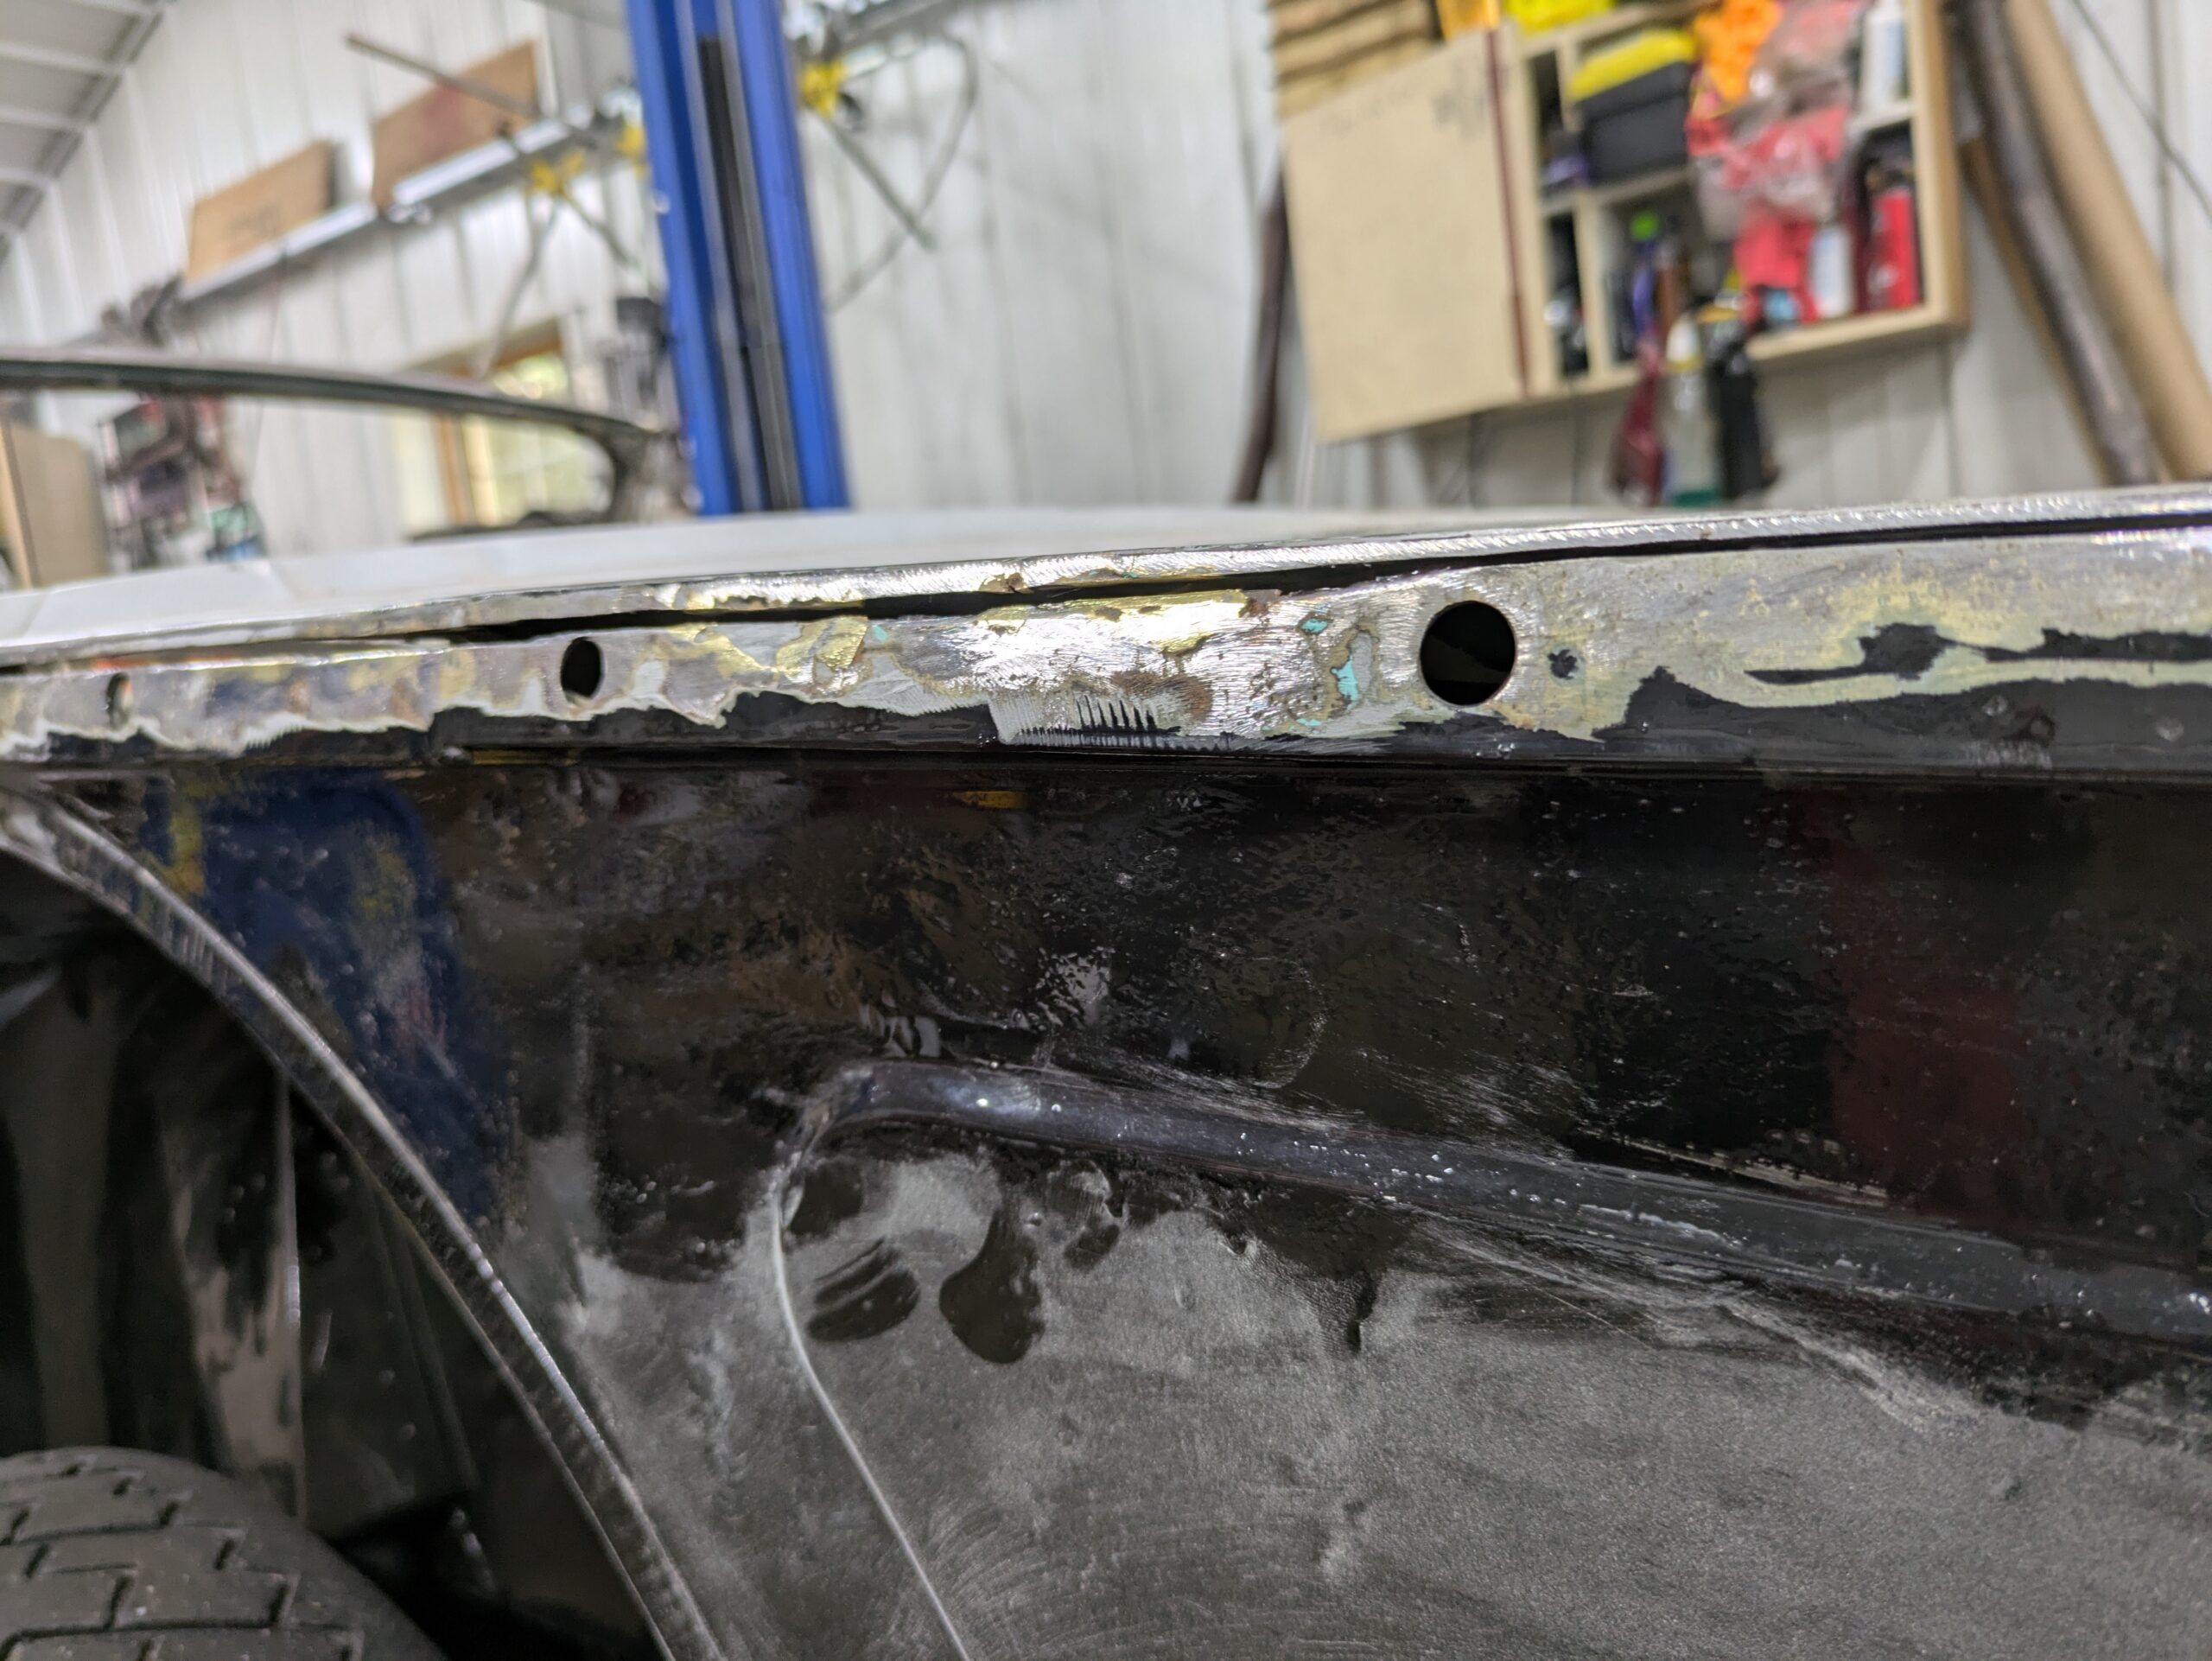

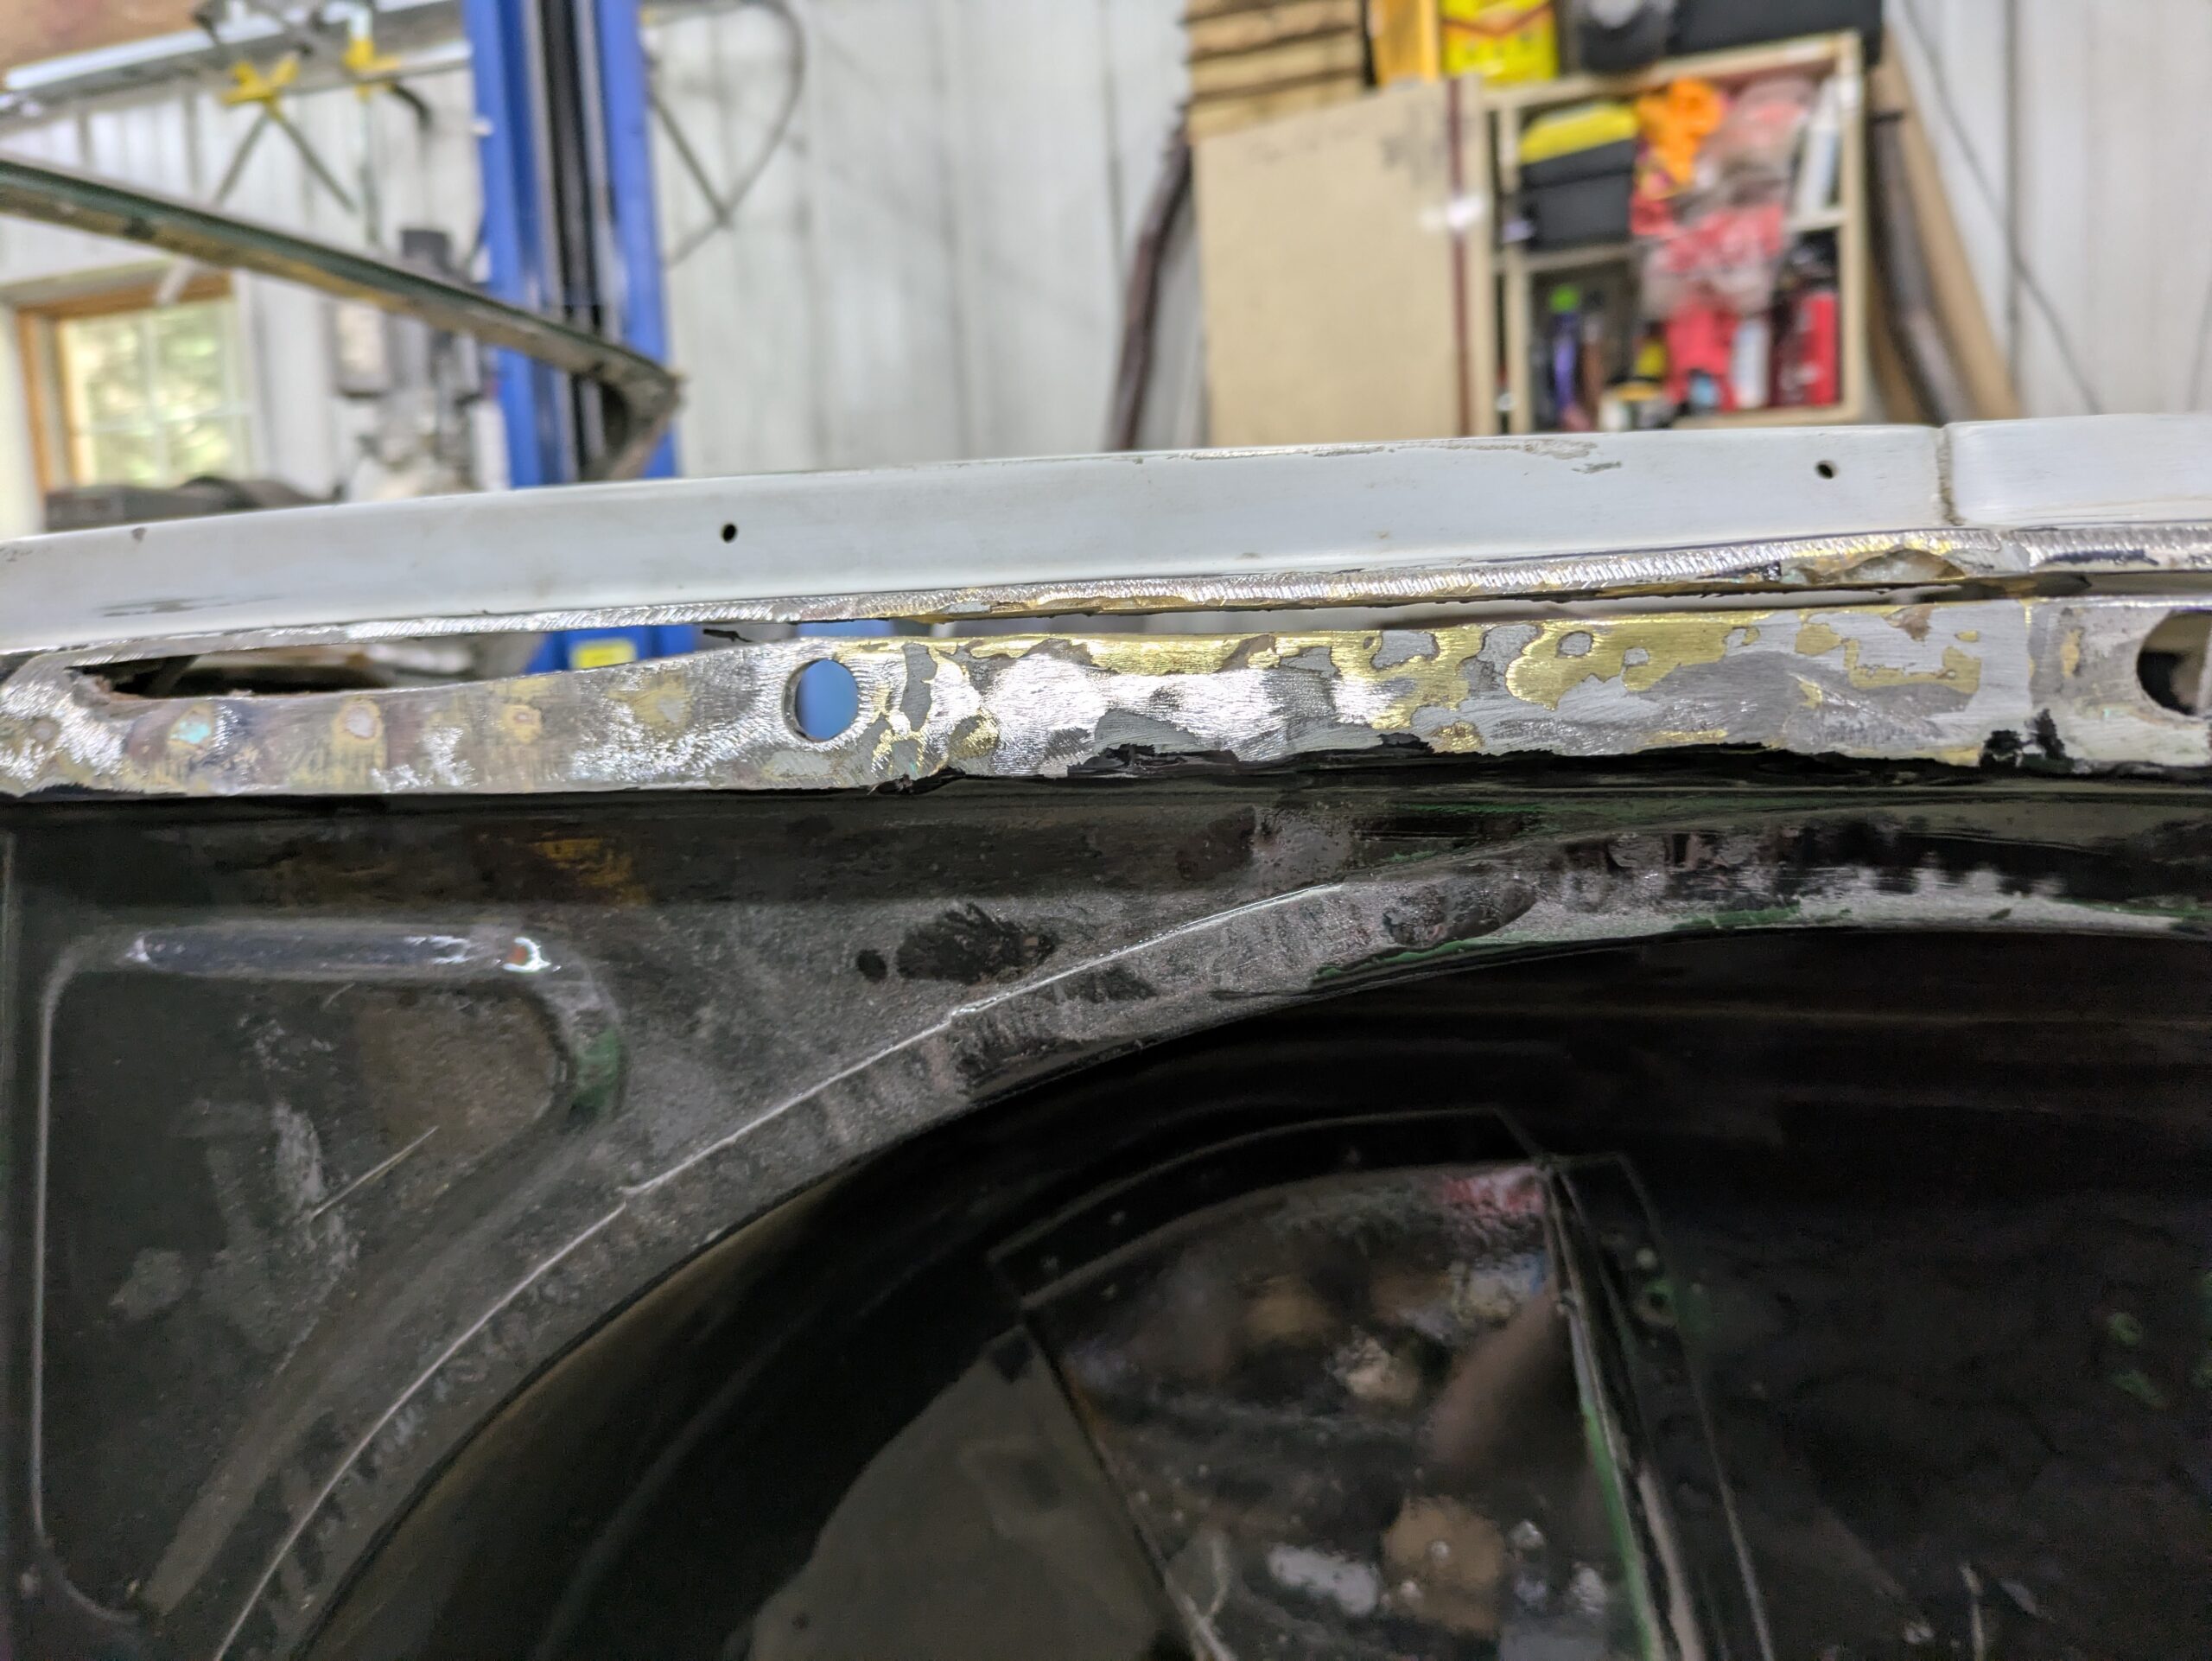


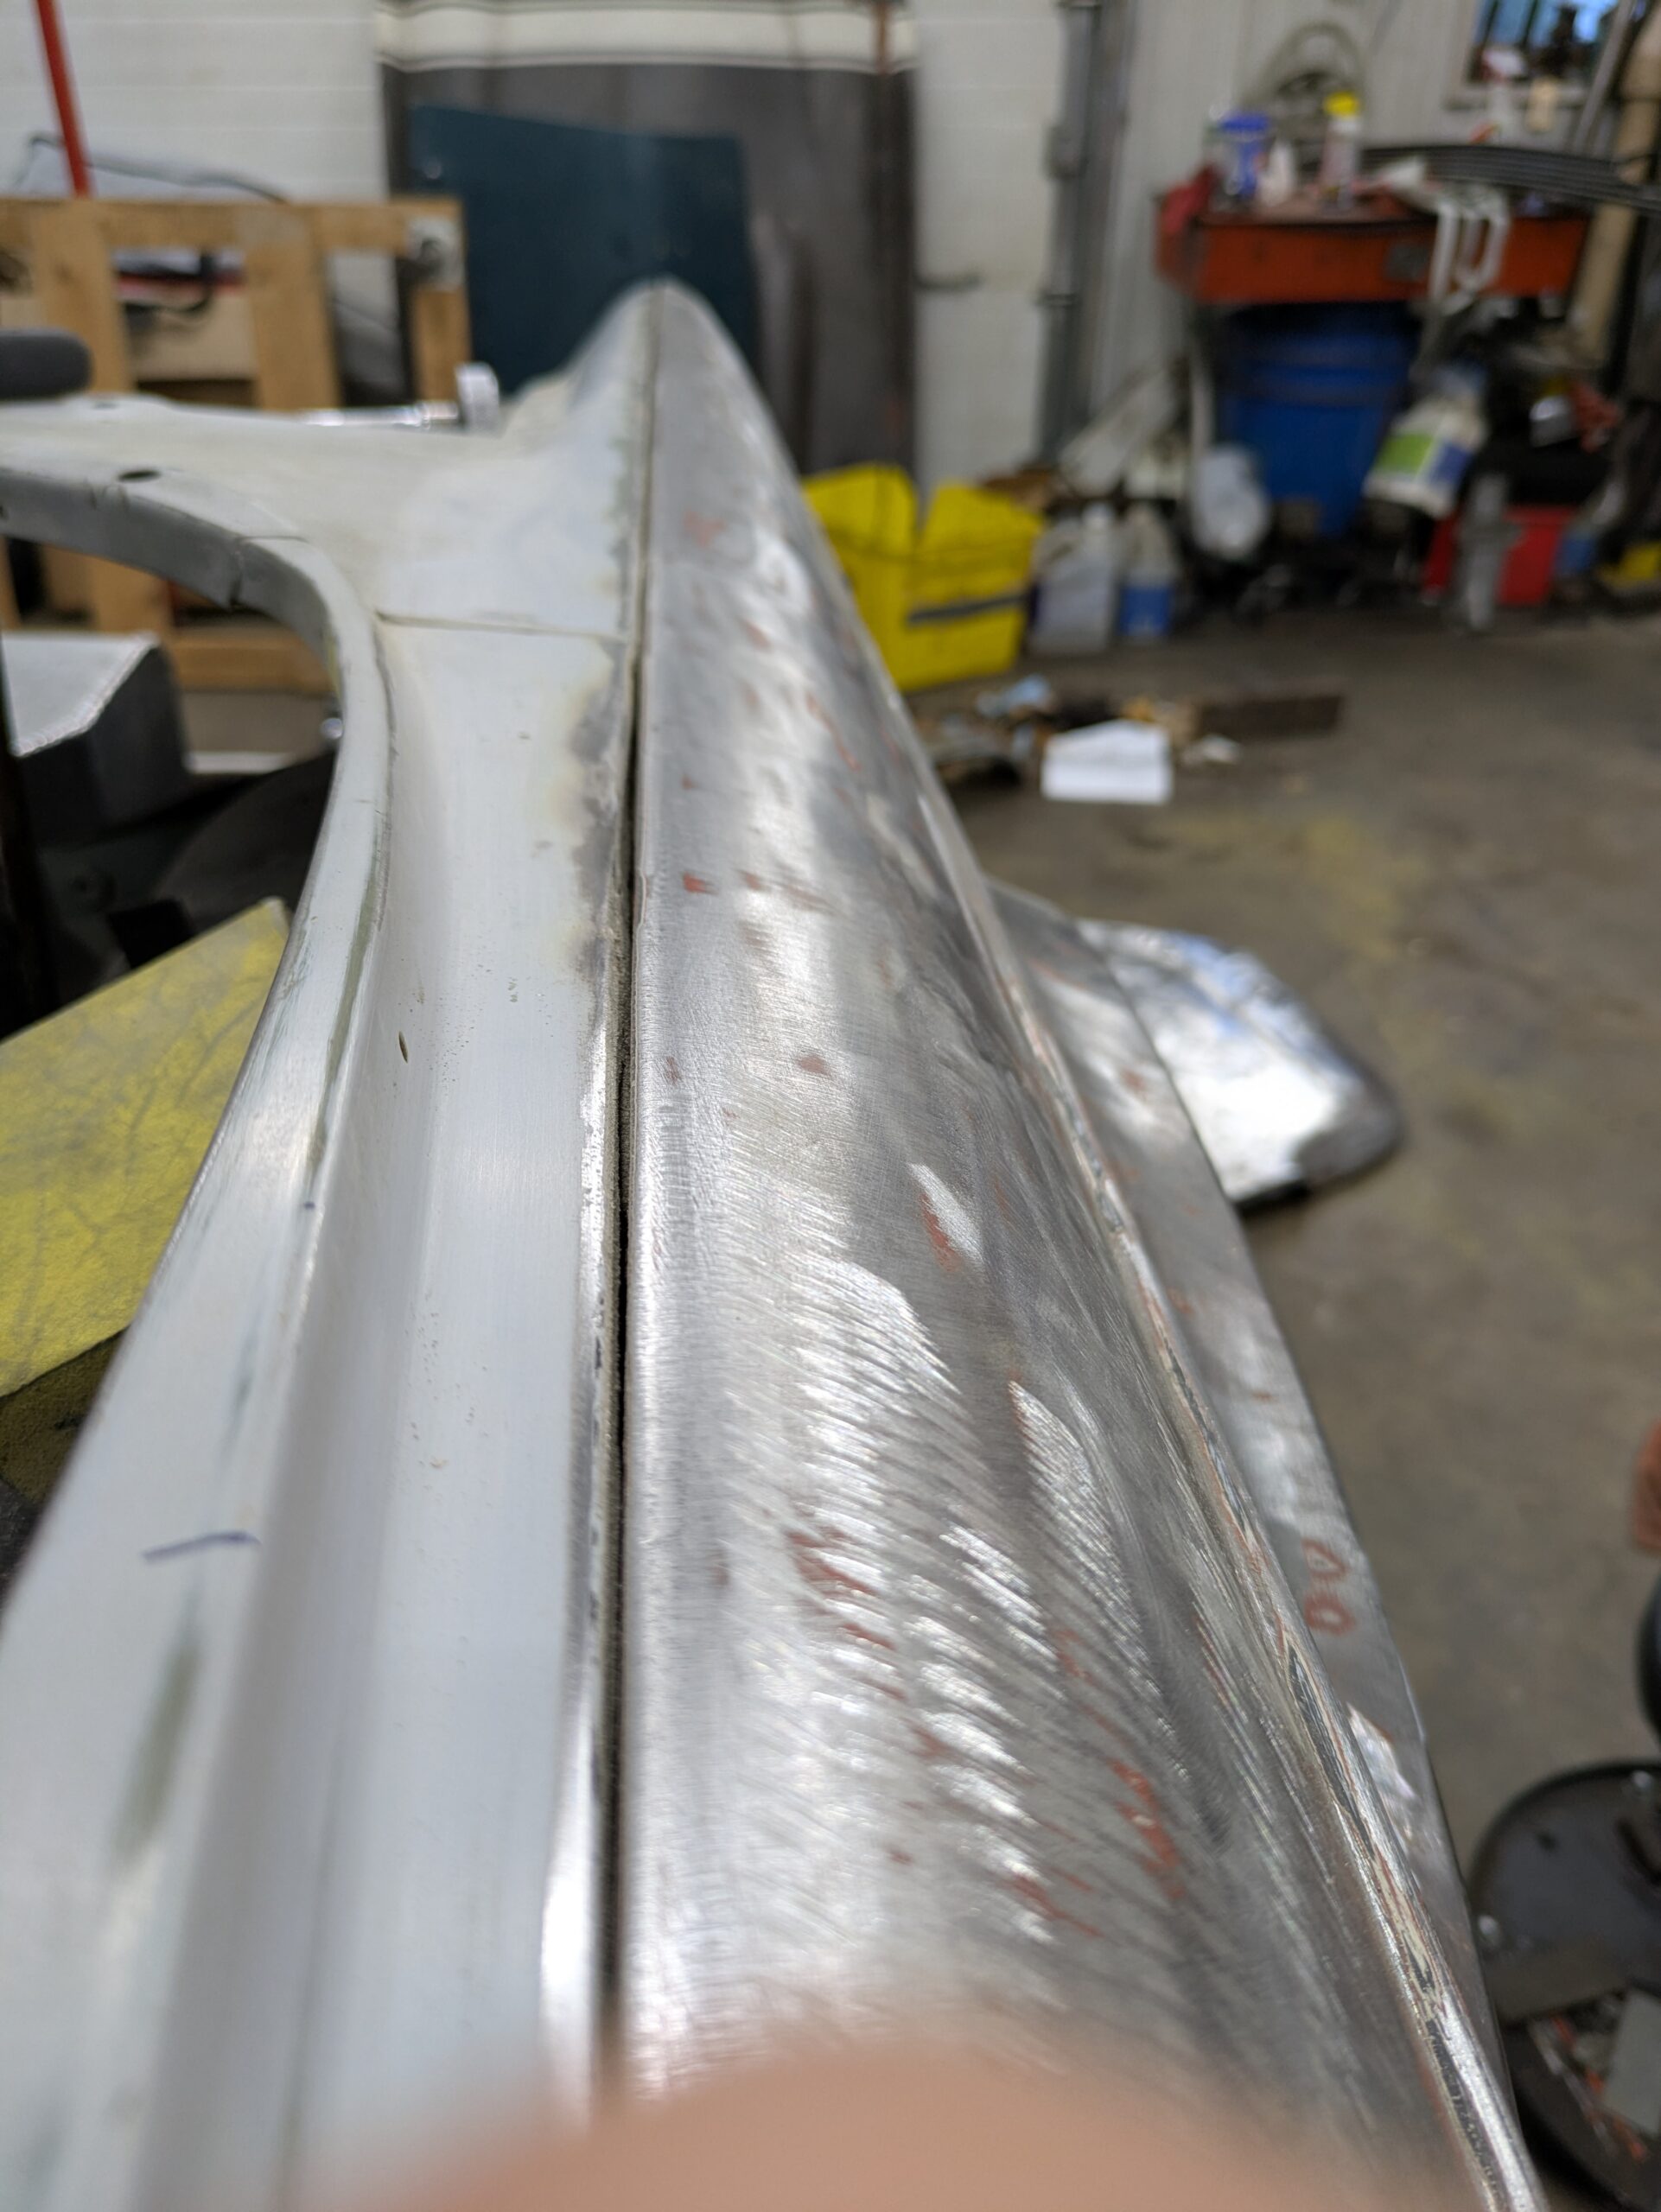


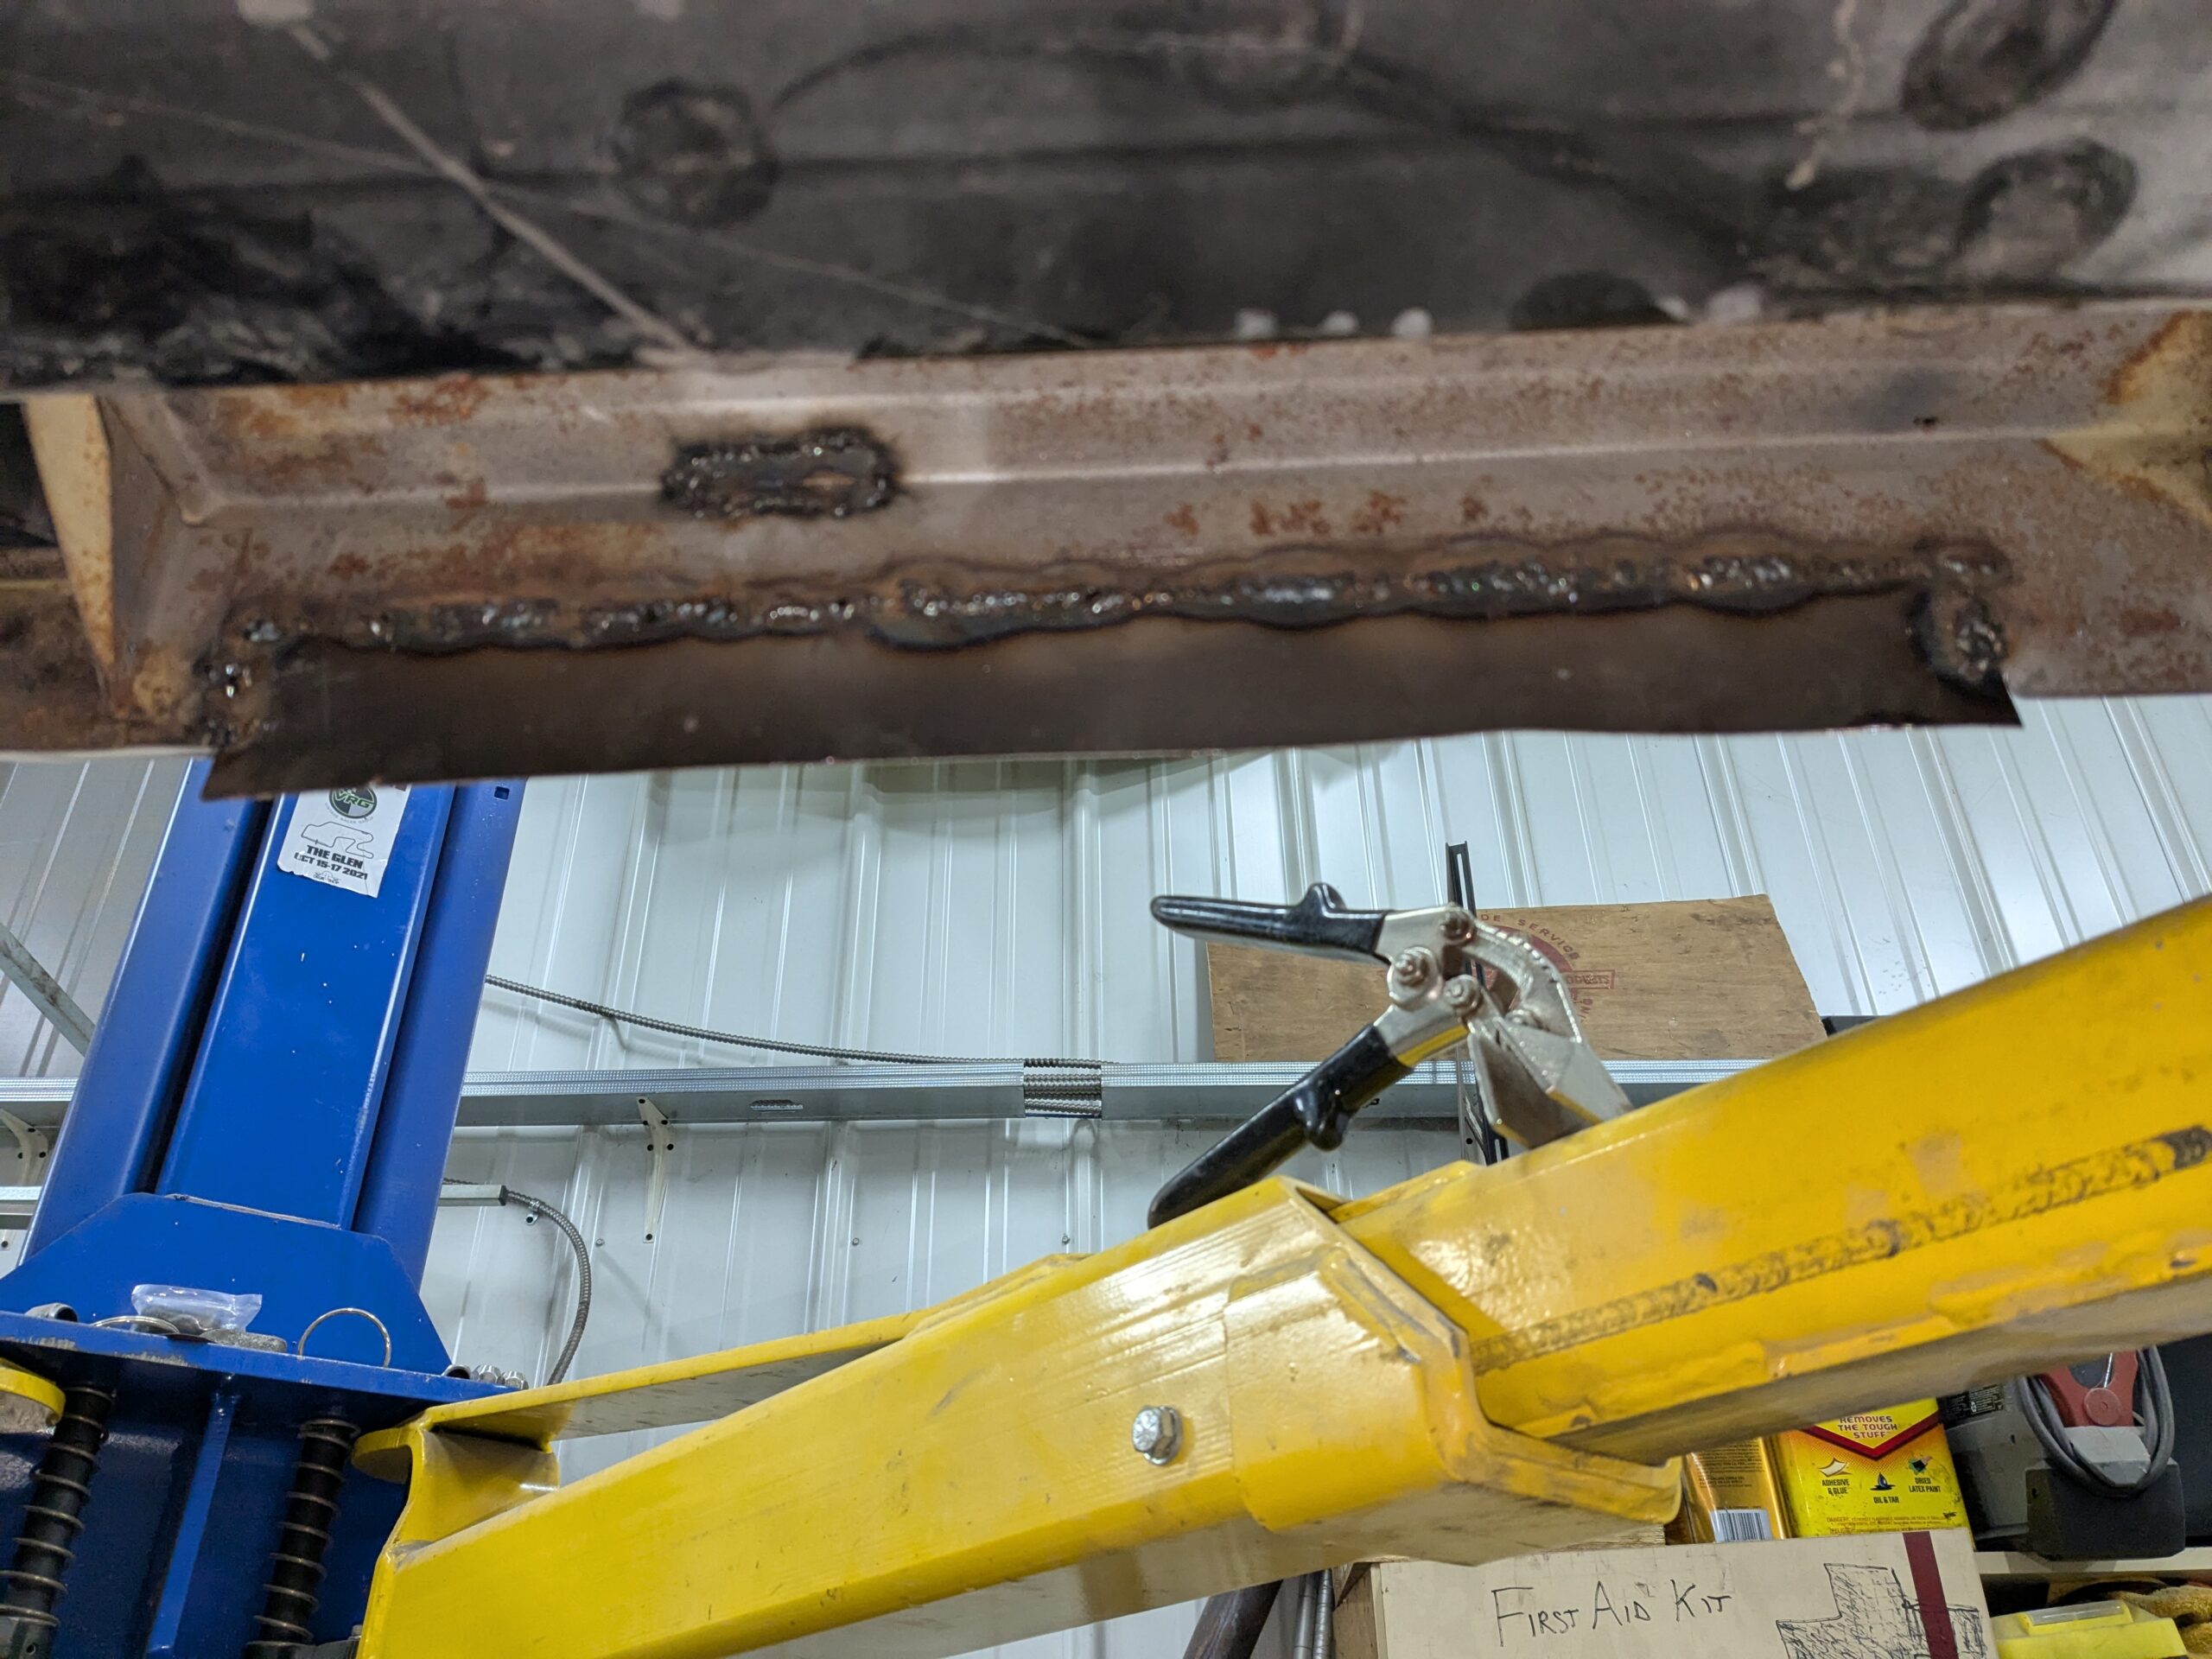
Big mismatch here. I mounted the door and found the door edge matched the fender height, not the inner fender. The I looked long and hard at how the front of this inner fender piece attaches to the tub and decided cutting the piece loose and trying to move it up would affect several other things in the area. Not sure if I am going to attack this issue or live with it.
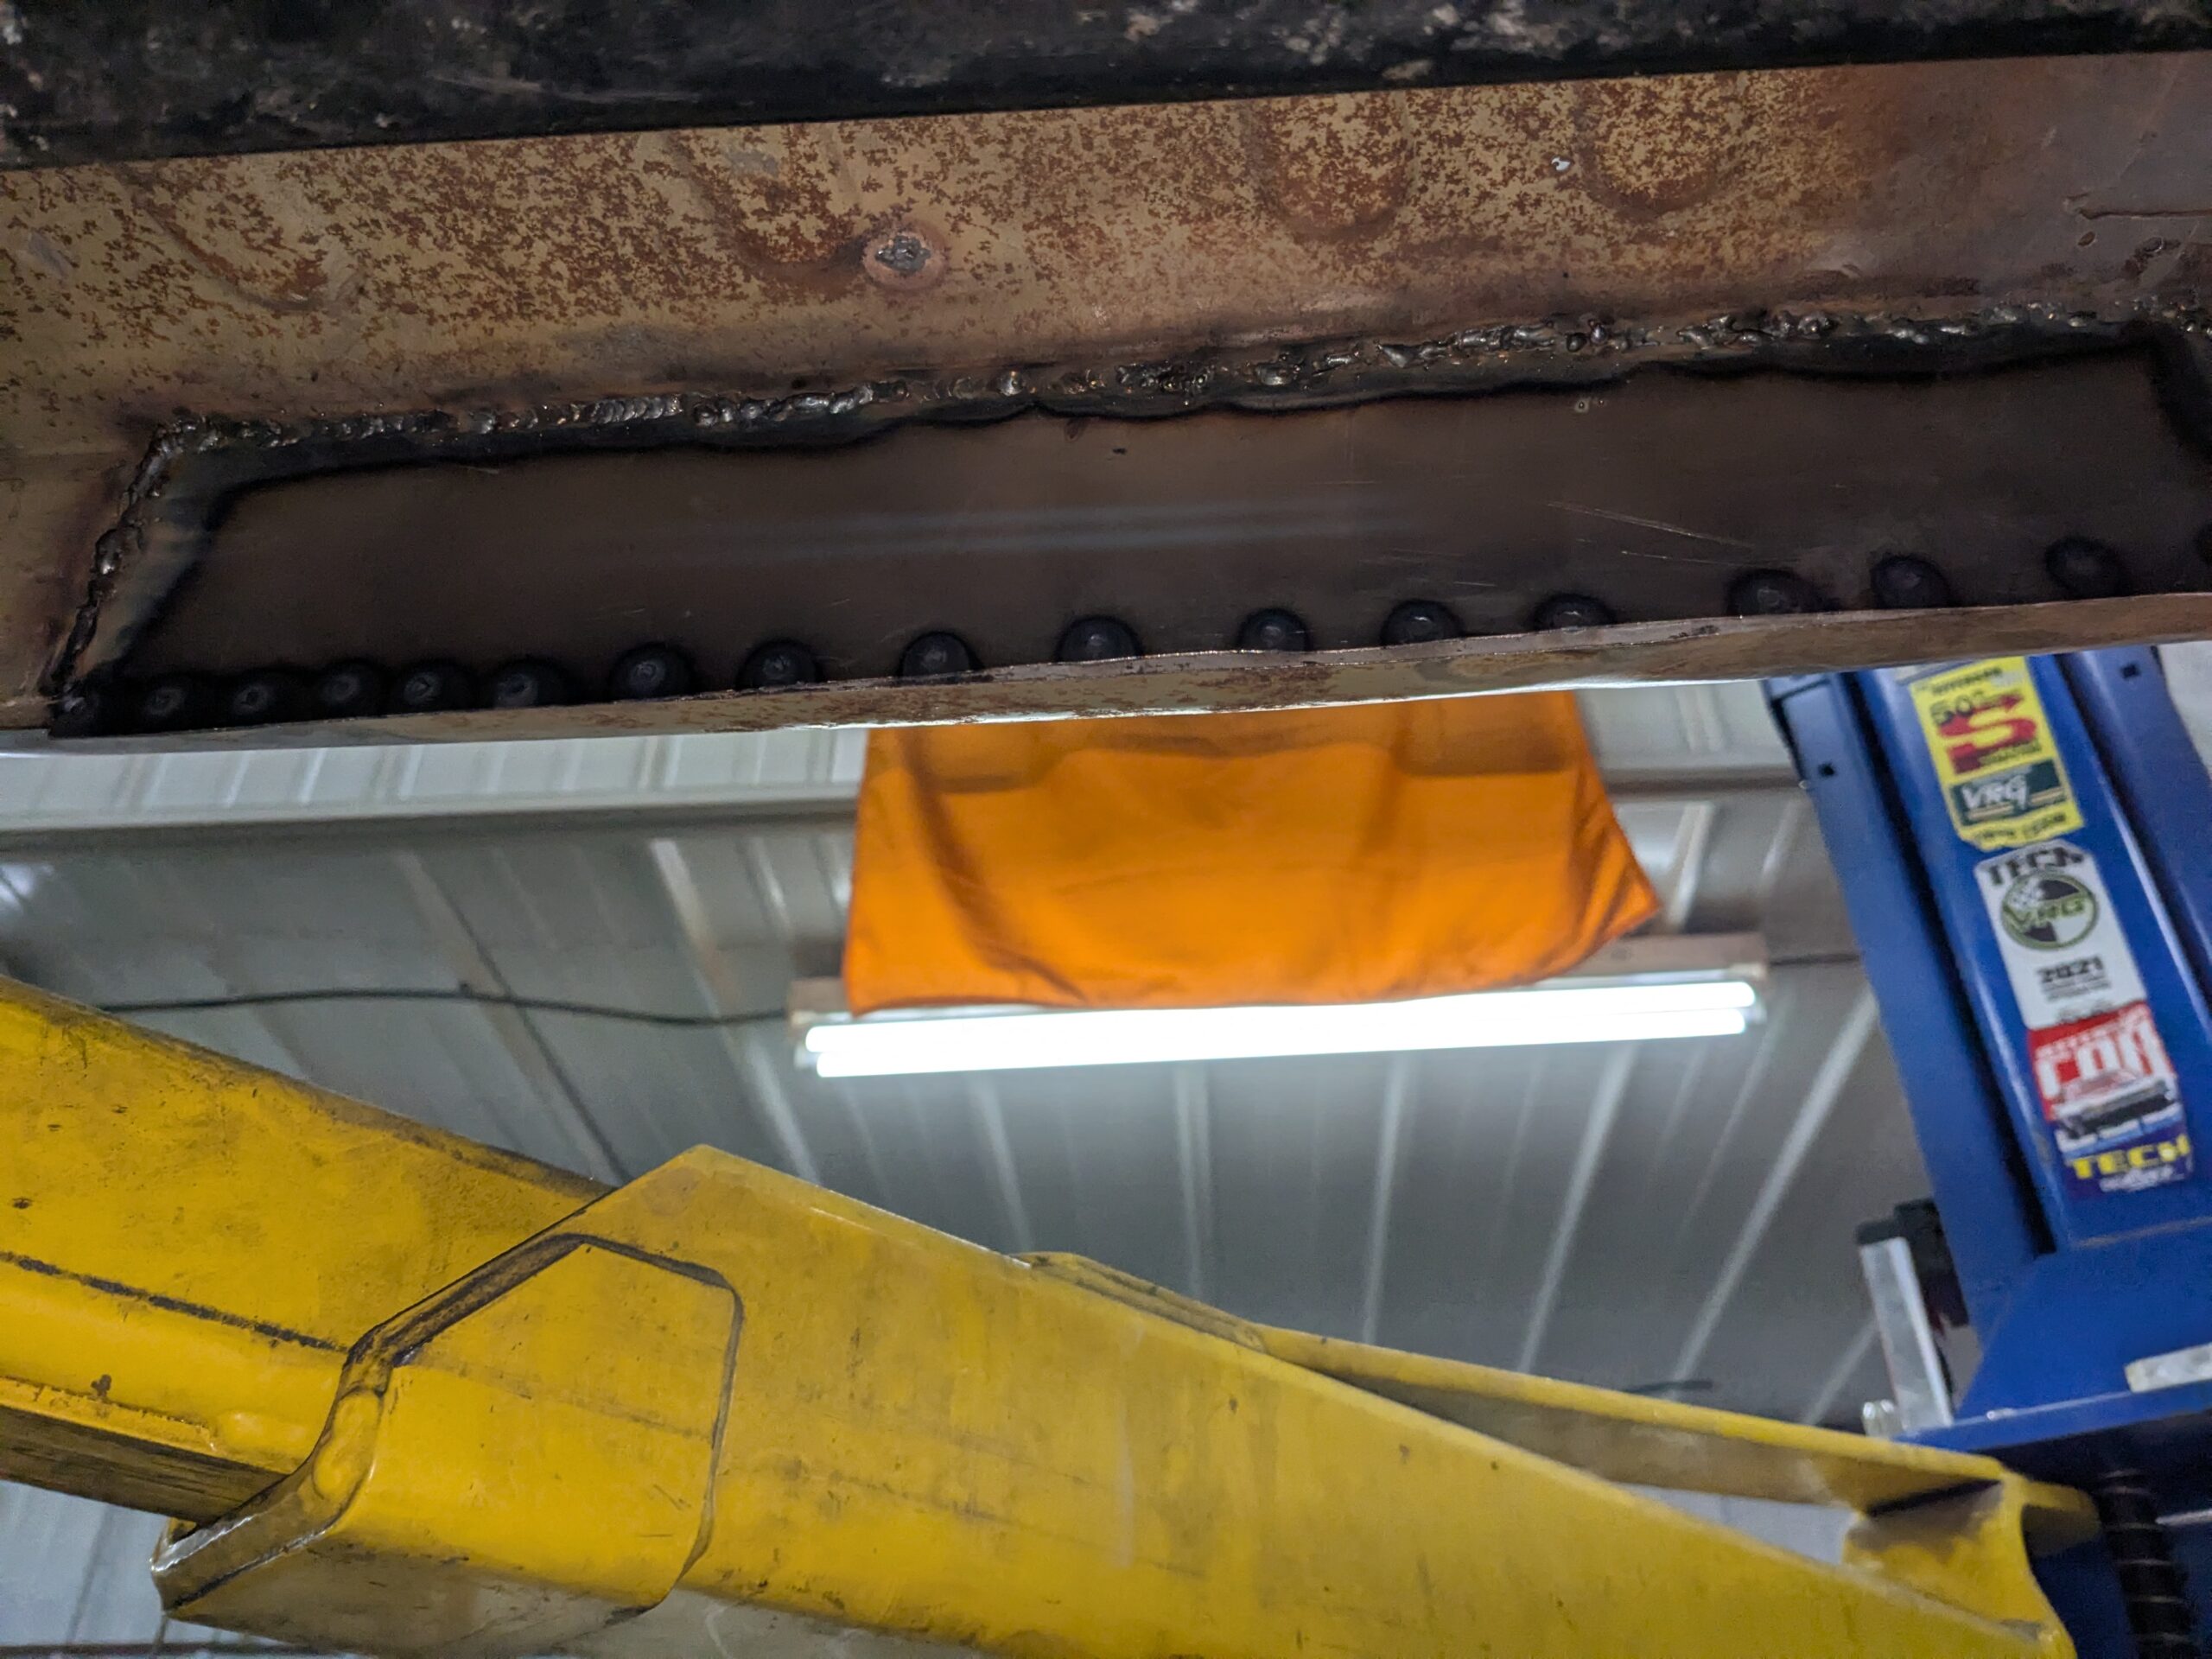
Another item of note, if I ever am faced with something like this again, I now realize I should have made the cut at the centerline of the bolt holes. Working like this so close to the bent upper edge was a bit dodgy, and I do need to elongate the bolt holes a little anyway.
I decided it was time to test fit all 4 fenders and the doors, to see how the bits are going to line up. Turns out, not well at all. I question if the rear fenders I am working with are actual OEM, or used Heritage replacement fenders. I am thinking the latter.
Not only am I trying to figure out if it will be worth trying to deal with the inner fender height, but that same fender left a massive gap as the rear of the door was closed. Lining up the fender revealed it sat a solid 1/4 inch too far rearward. You can kind of see that in the photo above.
A week passed, and I pulled another drivers side rear fender out of storage. I offered that fender up to the car and it does line up for a proper door gap. The inner fender issue is the same, but at least this fender proves the tub is not the problem with the fender not aligning front to rear, it is the fender I was using.
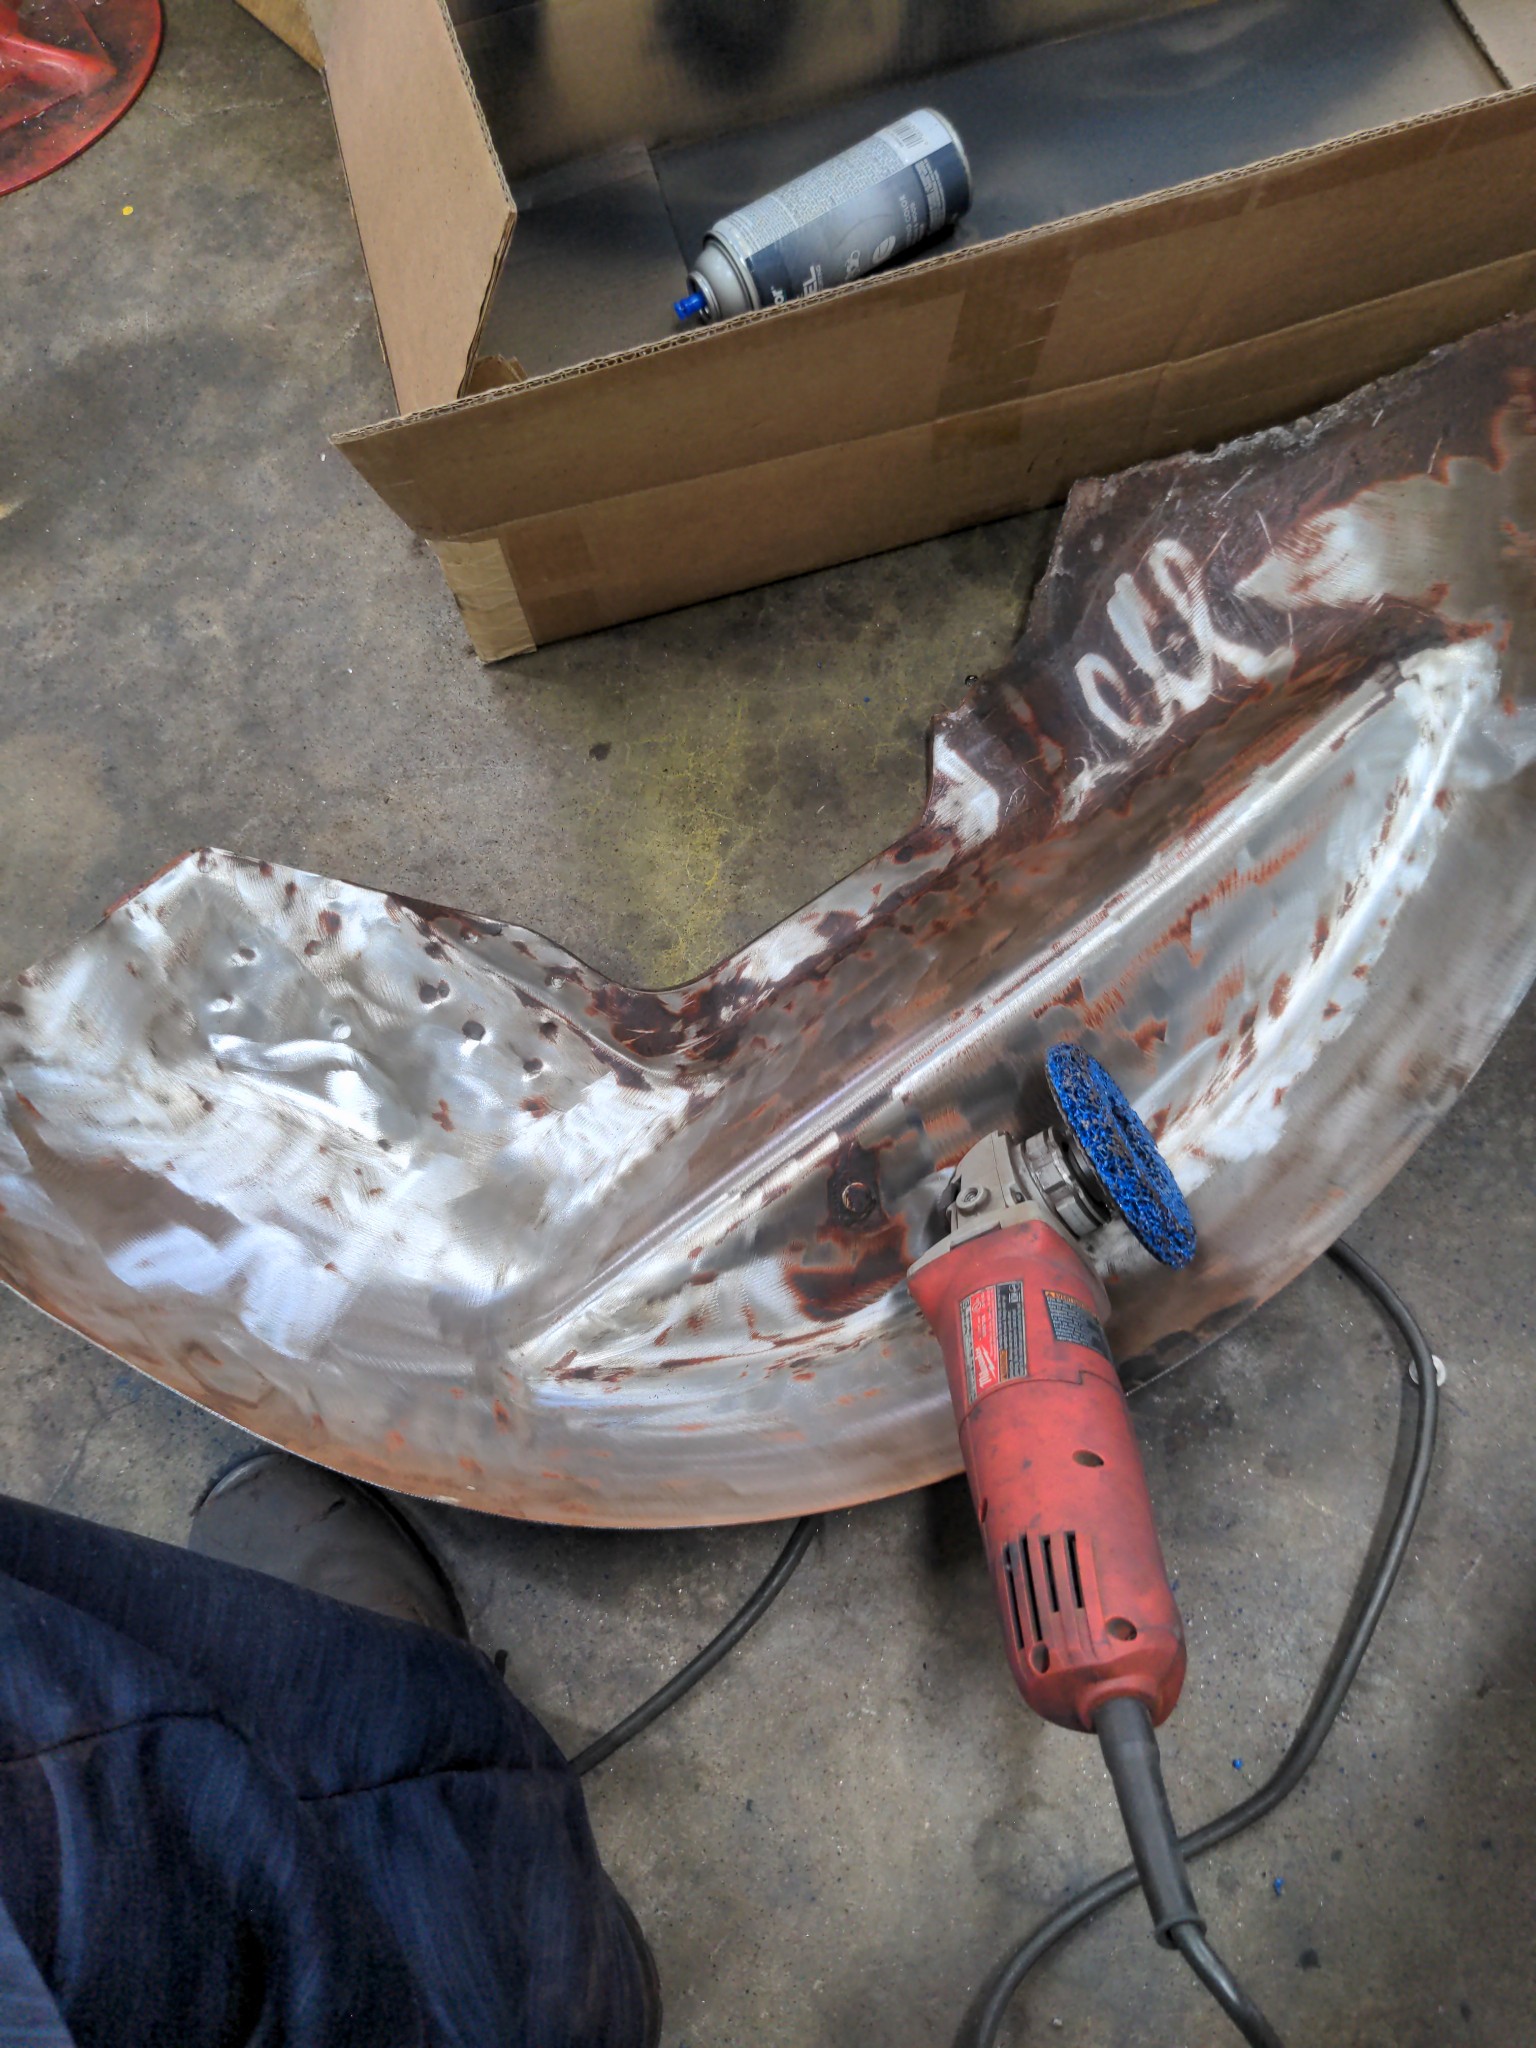
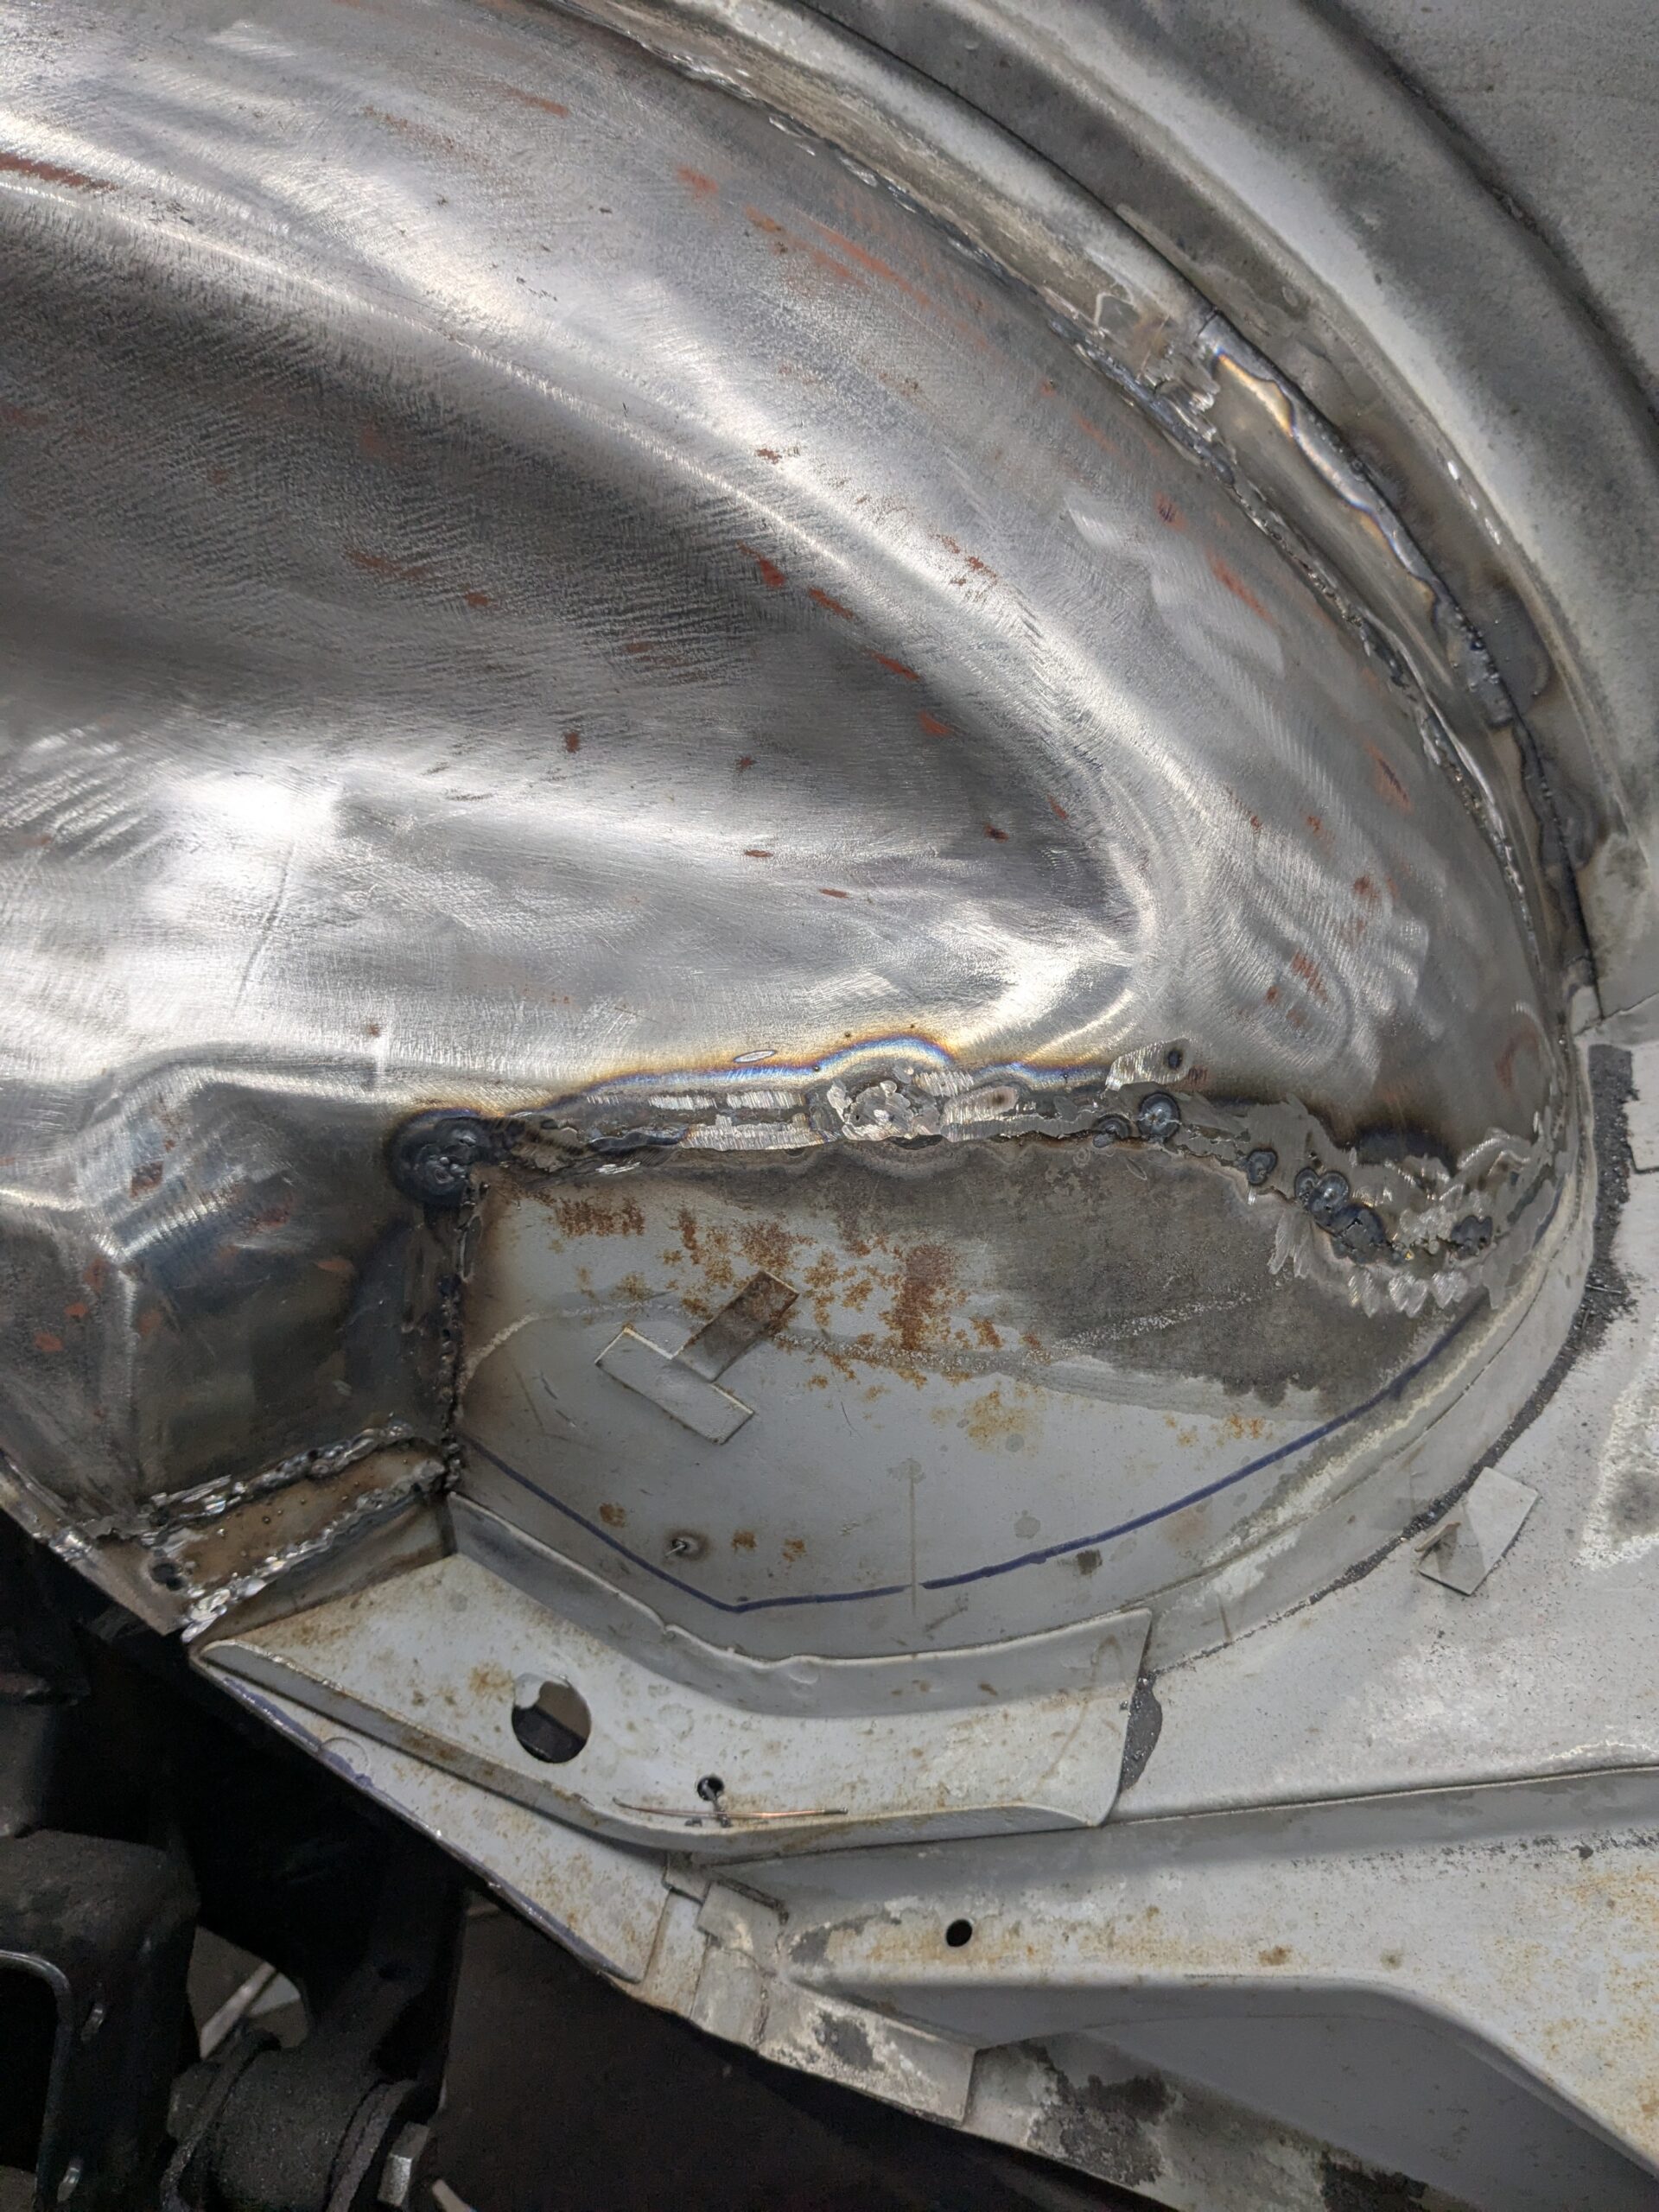
So what’s going on here? It appears the fender I was using was not built right. The fender design has a flange welded into the forward edge that nests against and bolts to the back of the B-post. That flange runs almost top to bottom of the fender, and when it sat in position, the fender was about 1/4 inch too far rearward. The next fender I tried fit perfectly in that respect. This other fender is actually not bad, so I removed the undercoating and didn’t find any additional issues, it only needs one repair, on the leading edge behind the door gap. I cut out the bad metal, and fabricated the patch.
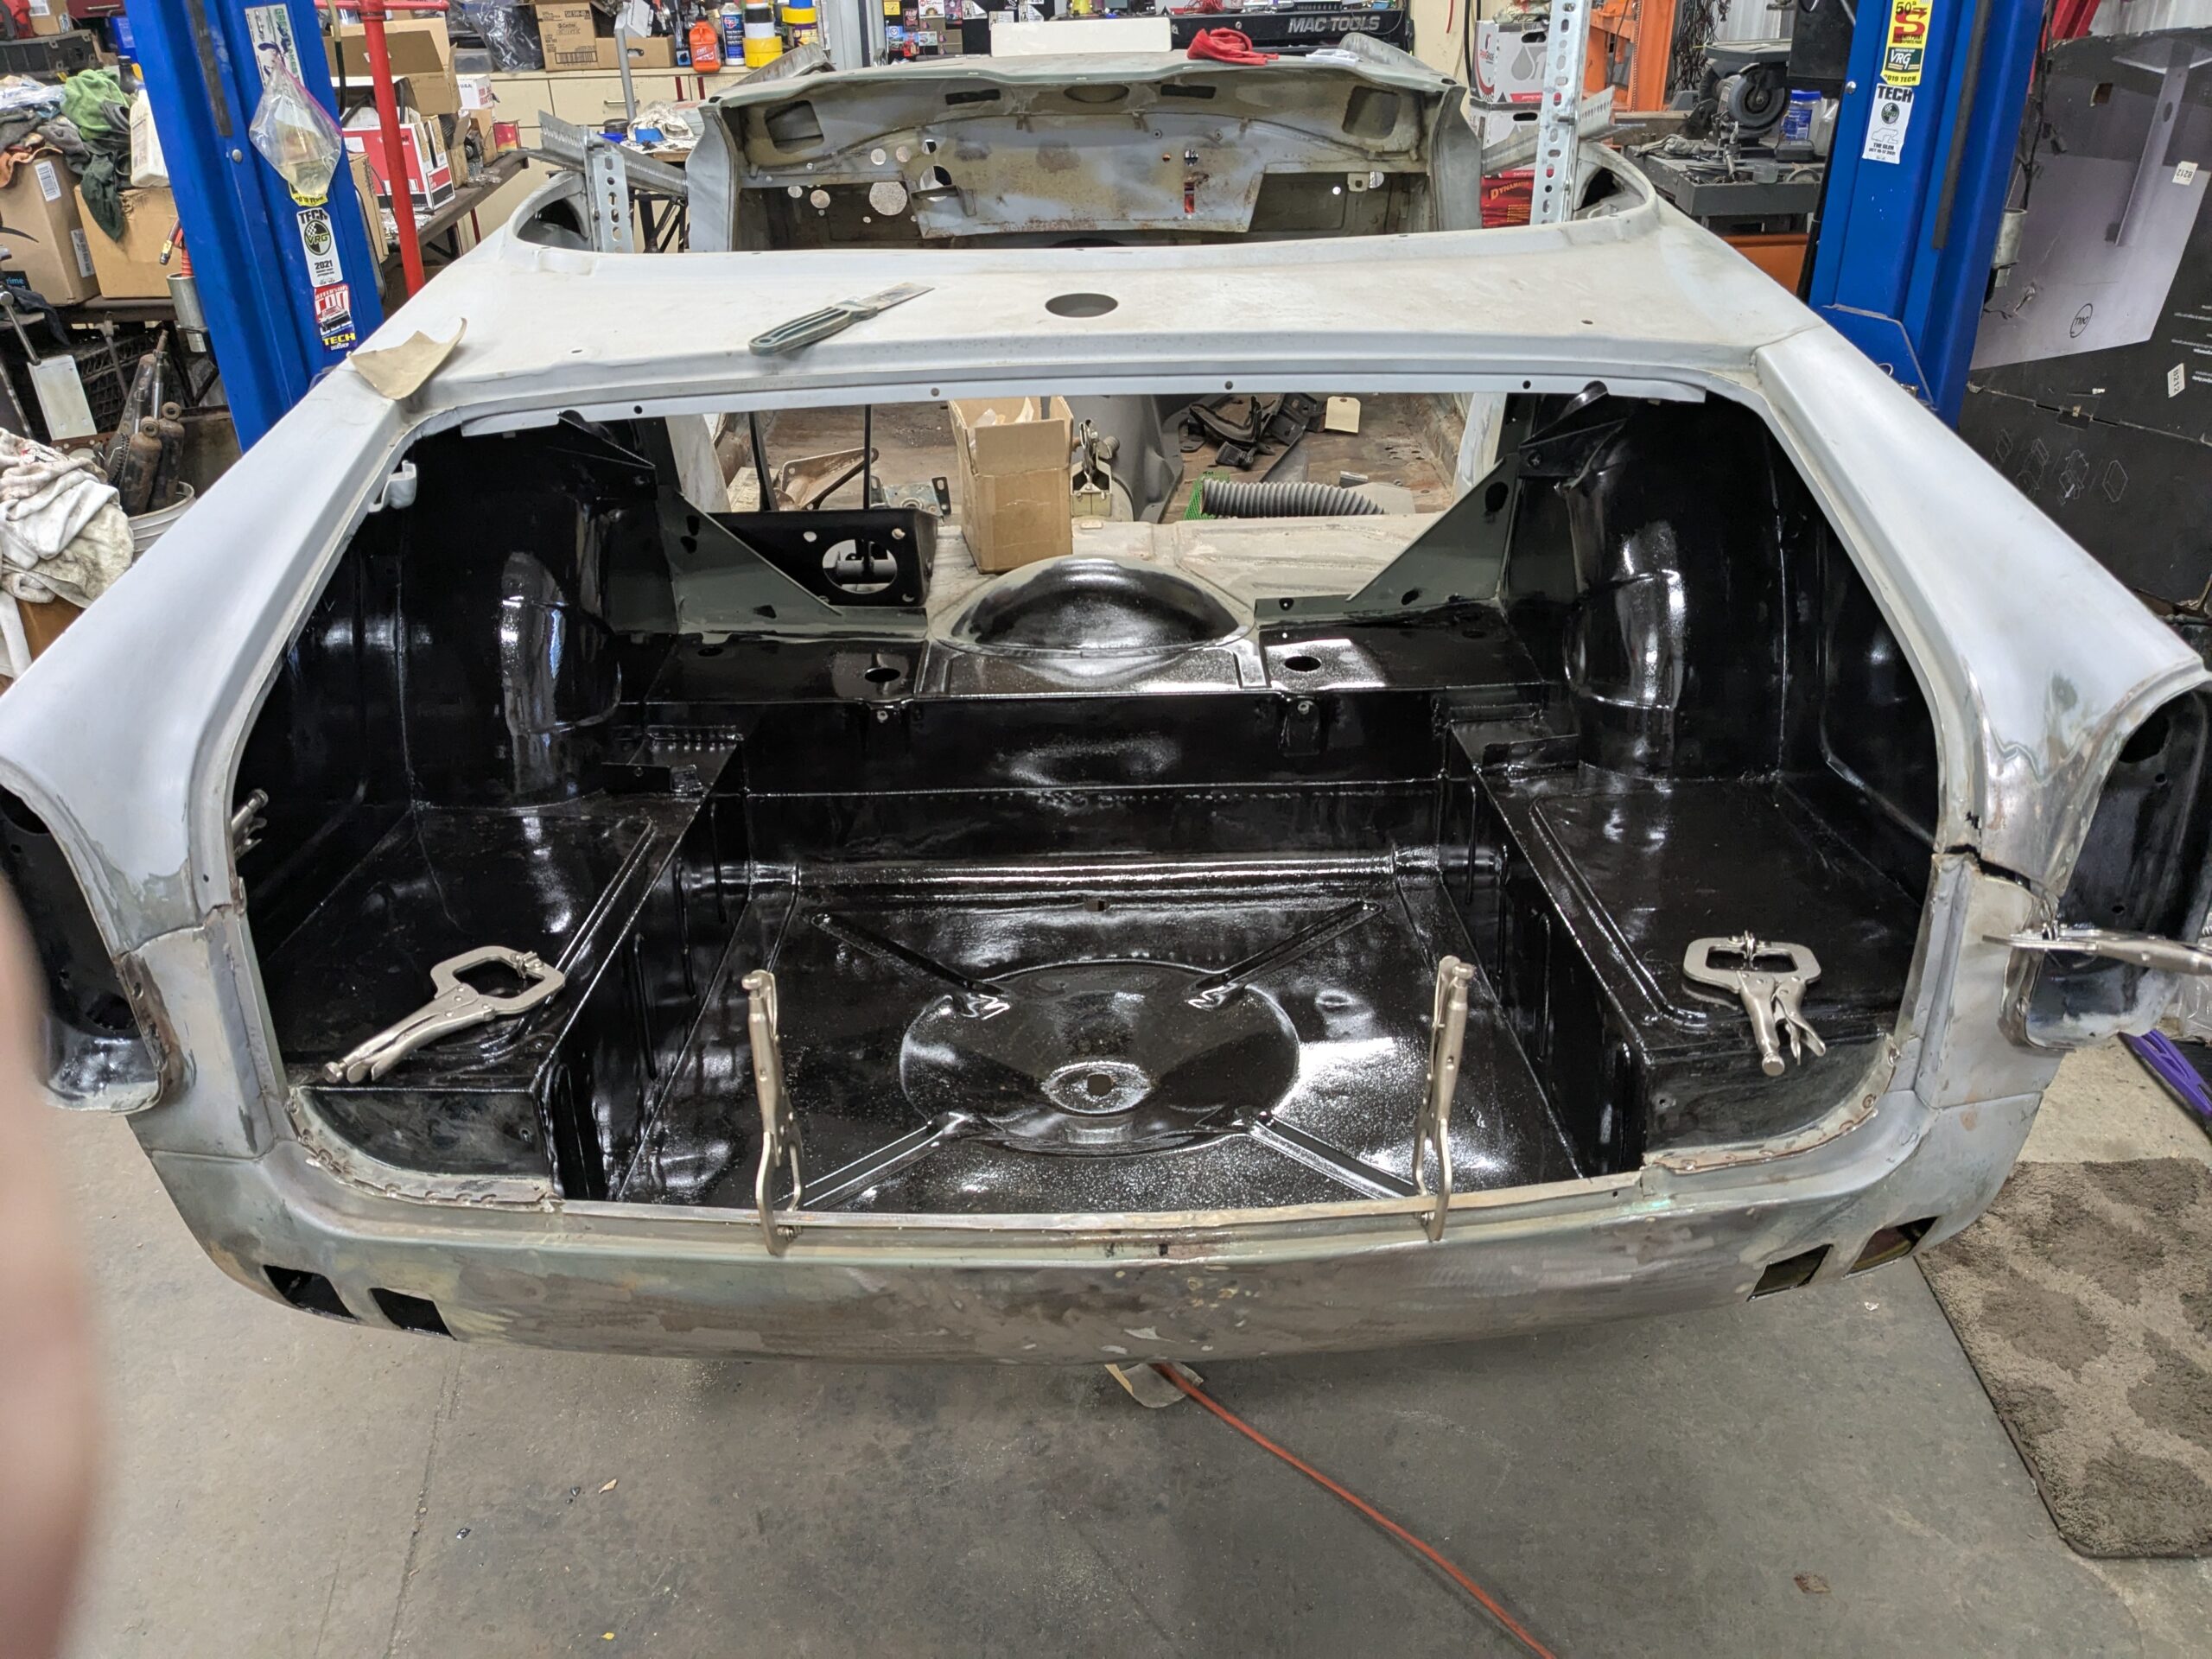
10-17-25 – While I was stewing on the rear fender issue, I decided it was time to test fit all the body panels. I pulled out a pair of boot deck hinges and installed the boot. The only issue is the bottom edge of the boot lid seems like it was pushed in at the centerline of the car. I gave it quick pull and did get better. The boot lid fit around the fenders and front edge is good, this will take a little more tweaking but will be good.
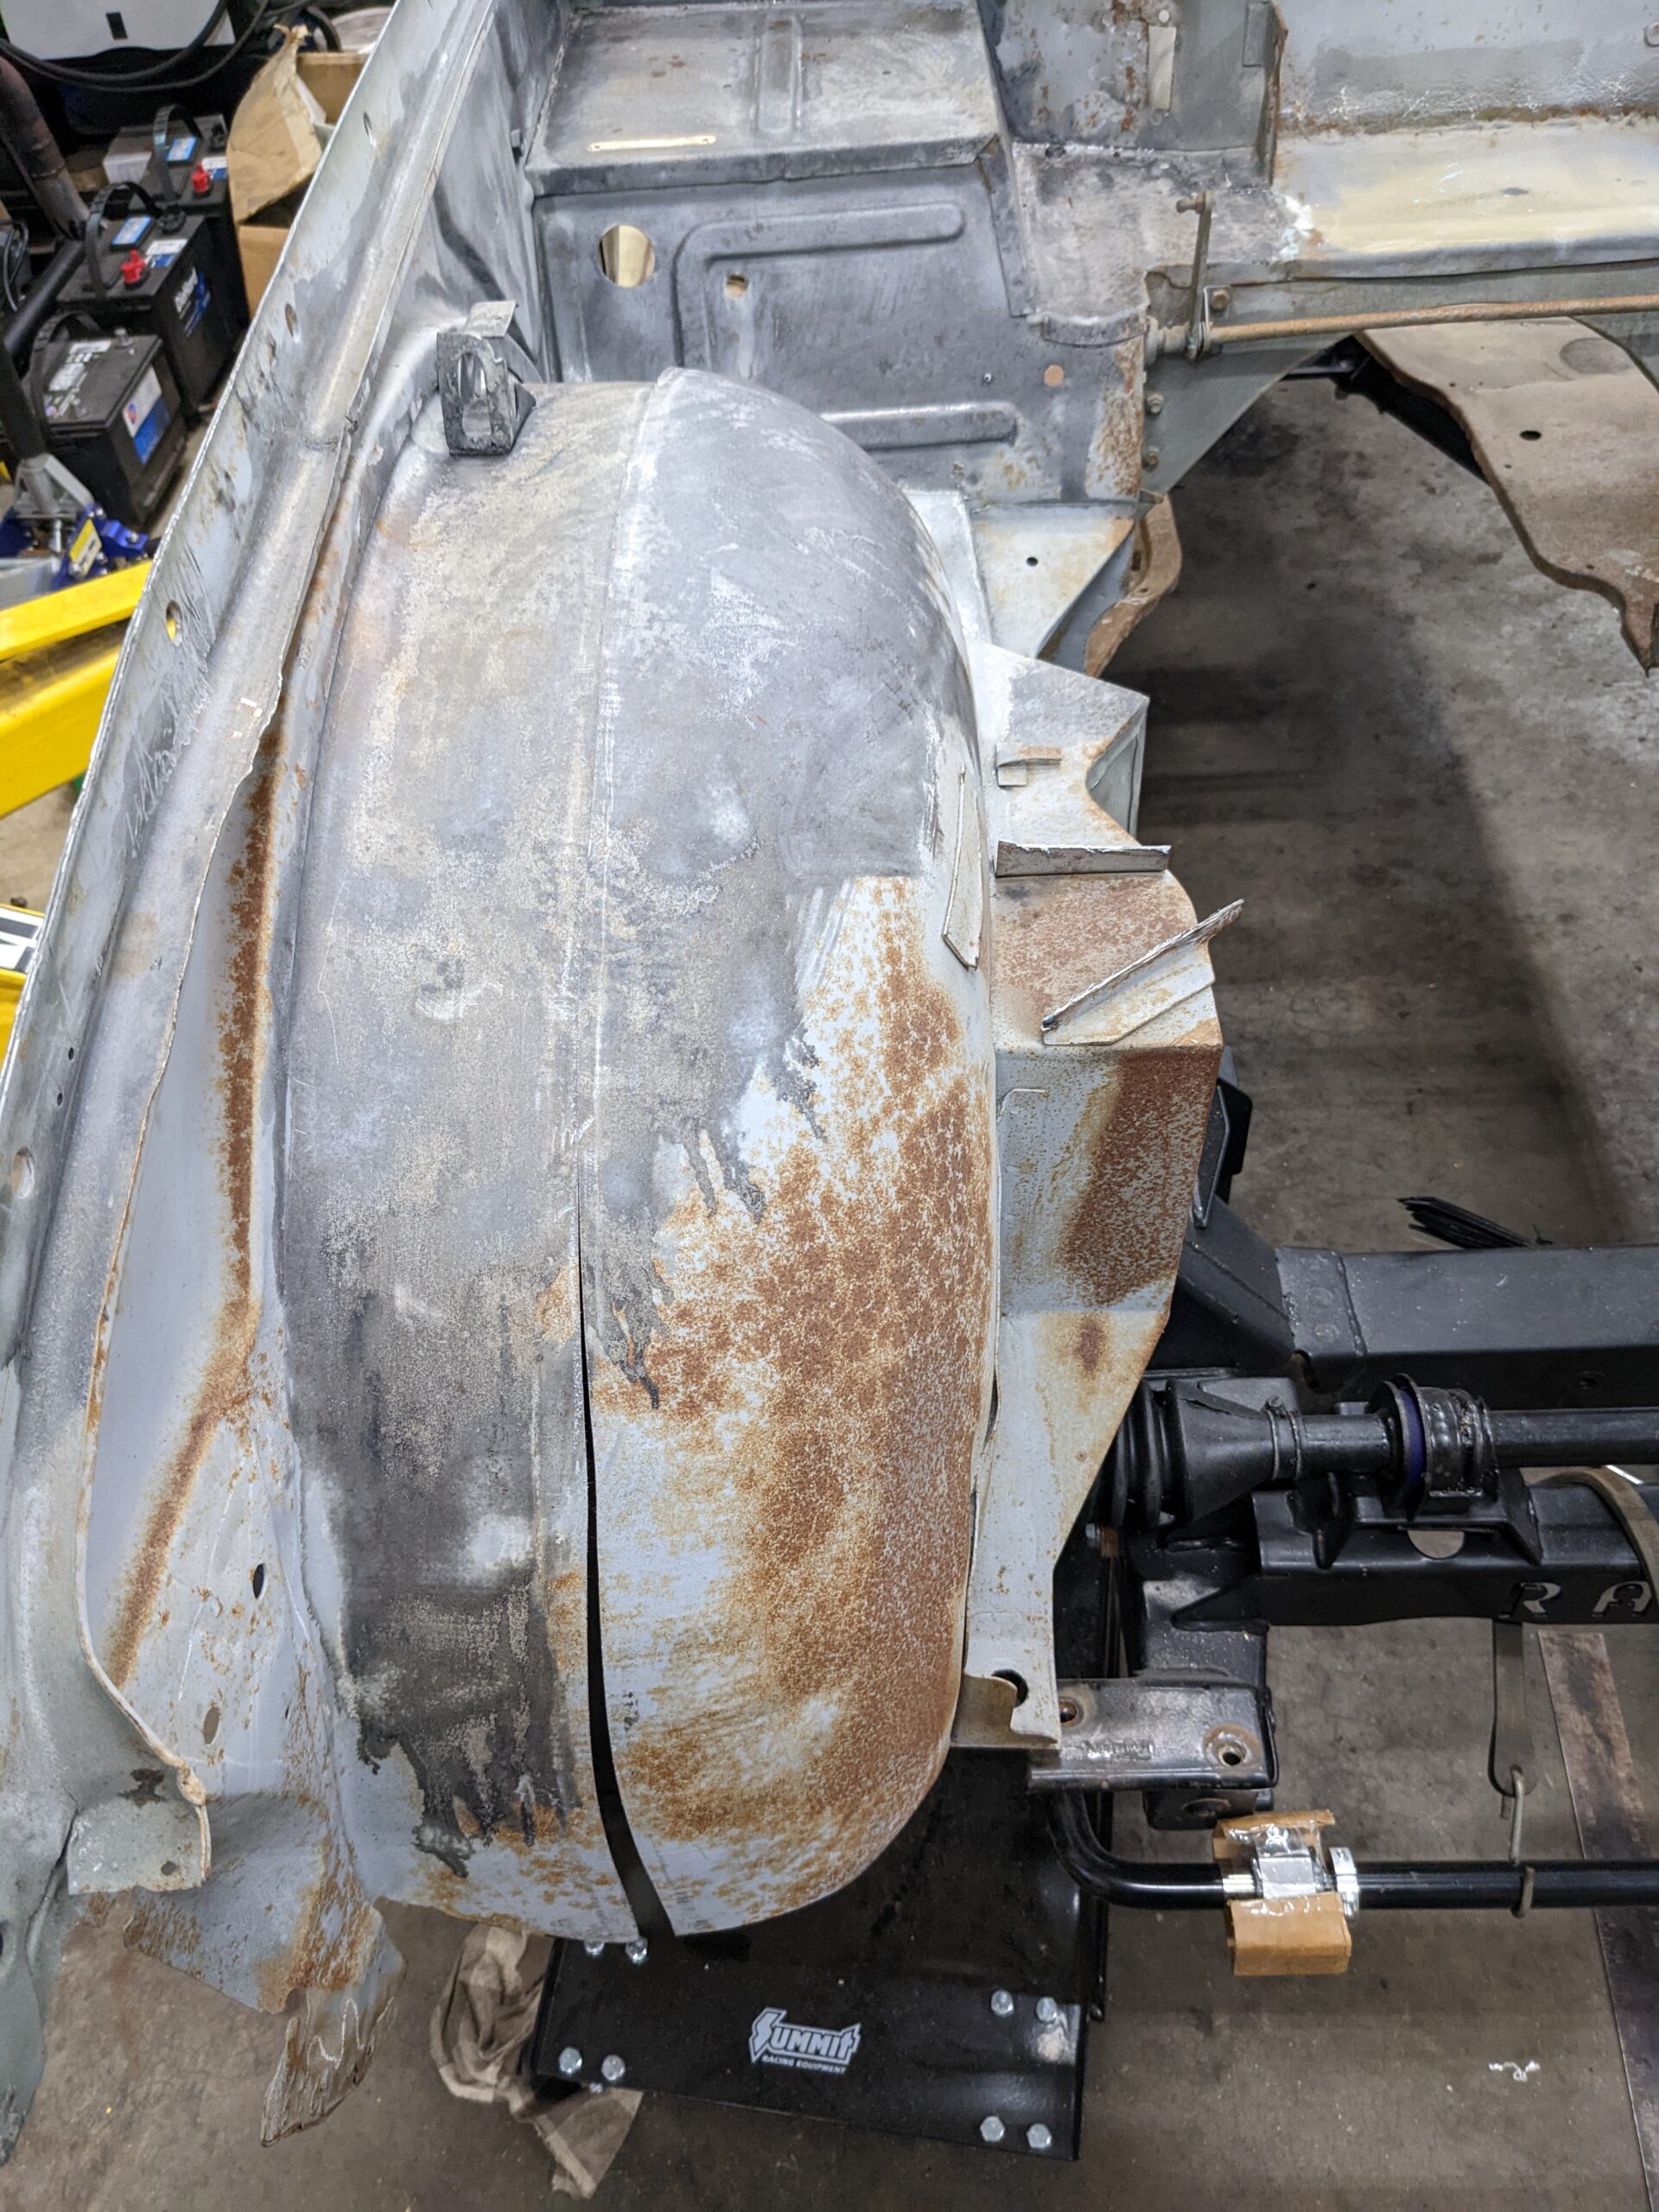
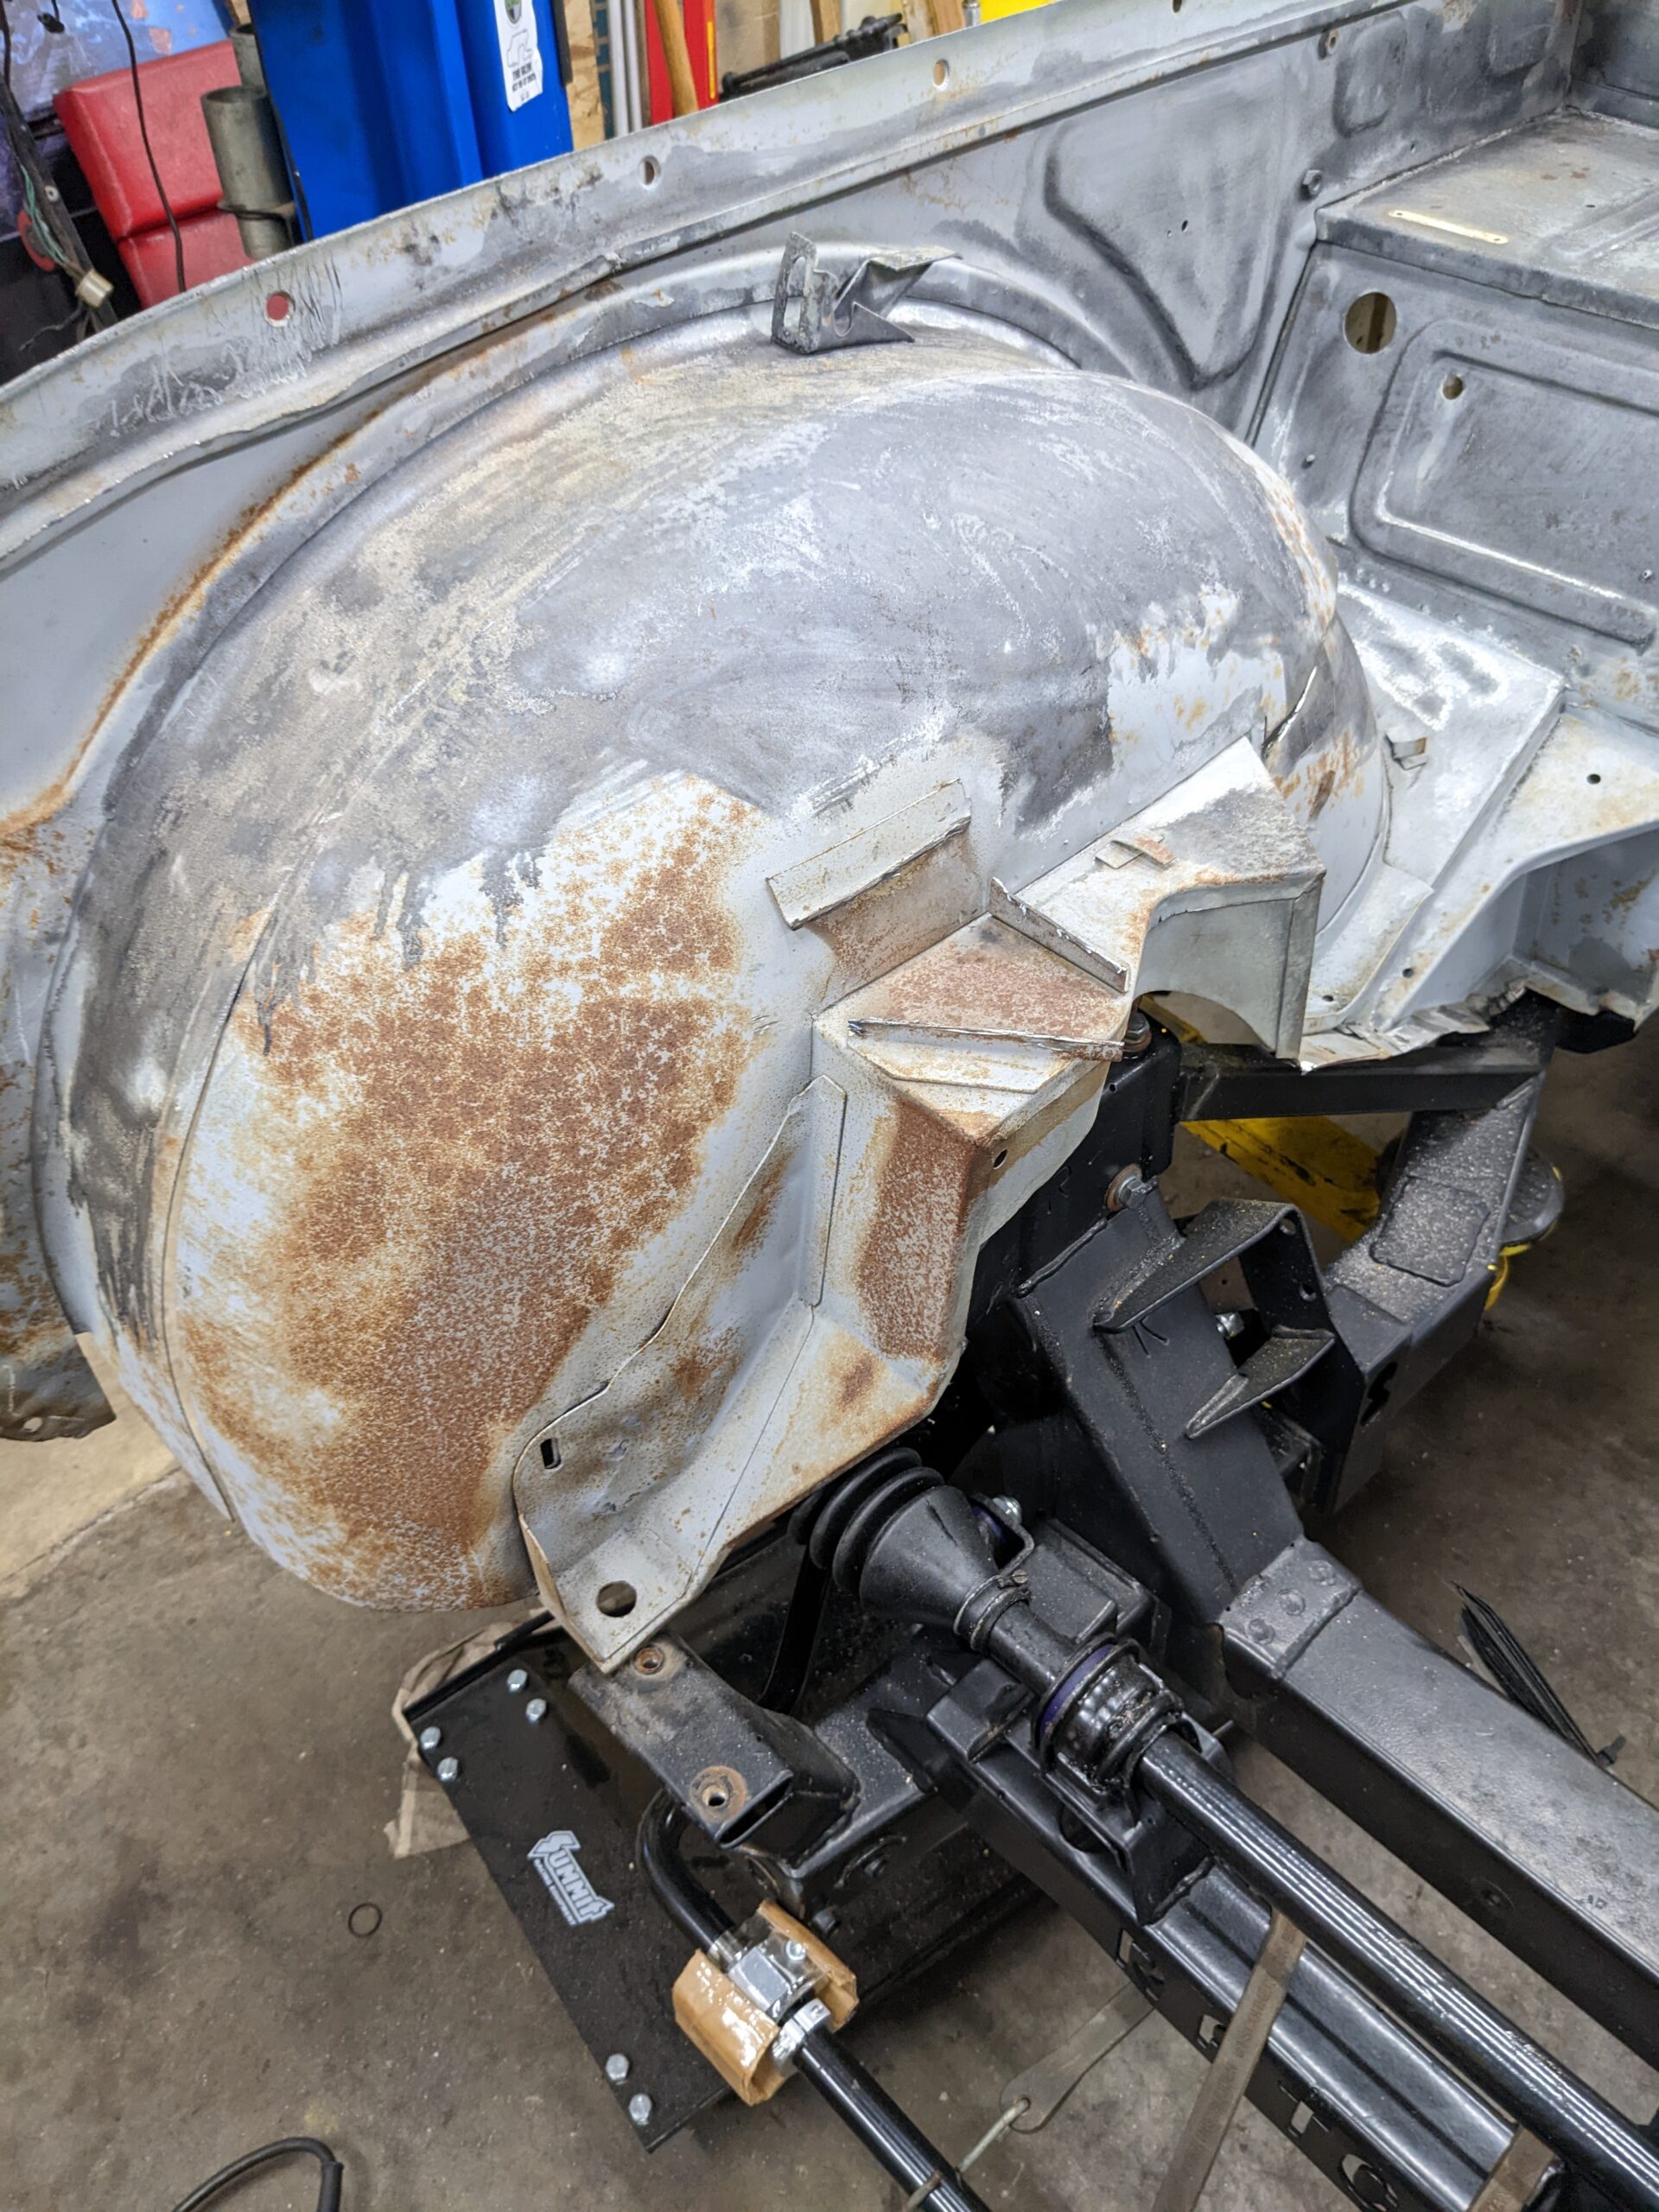
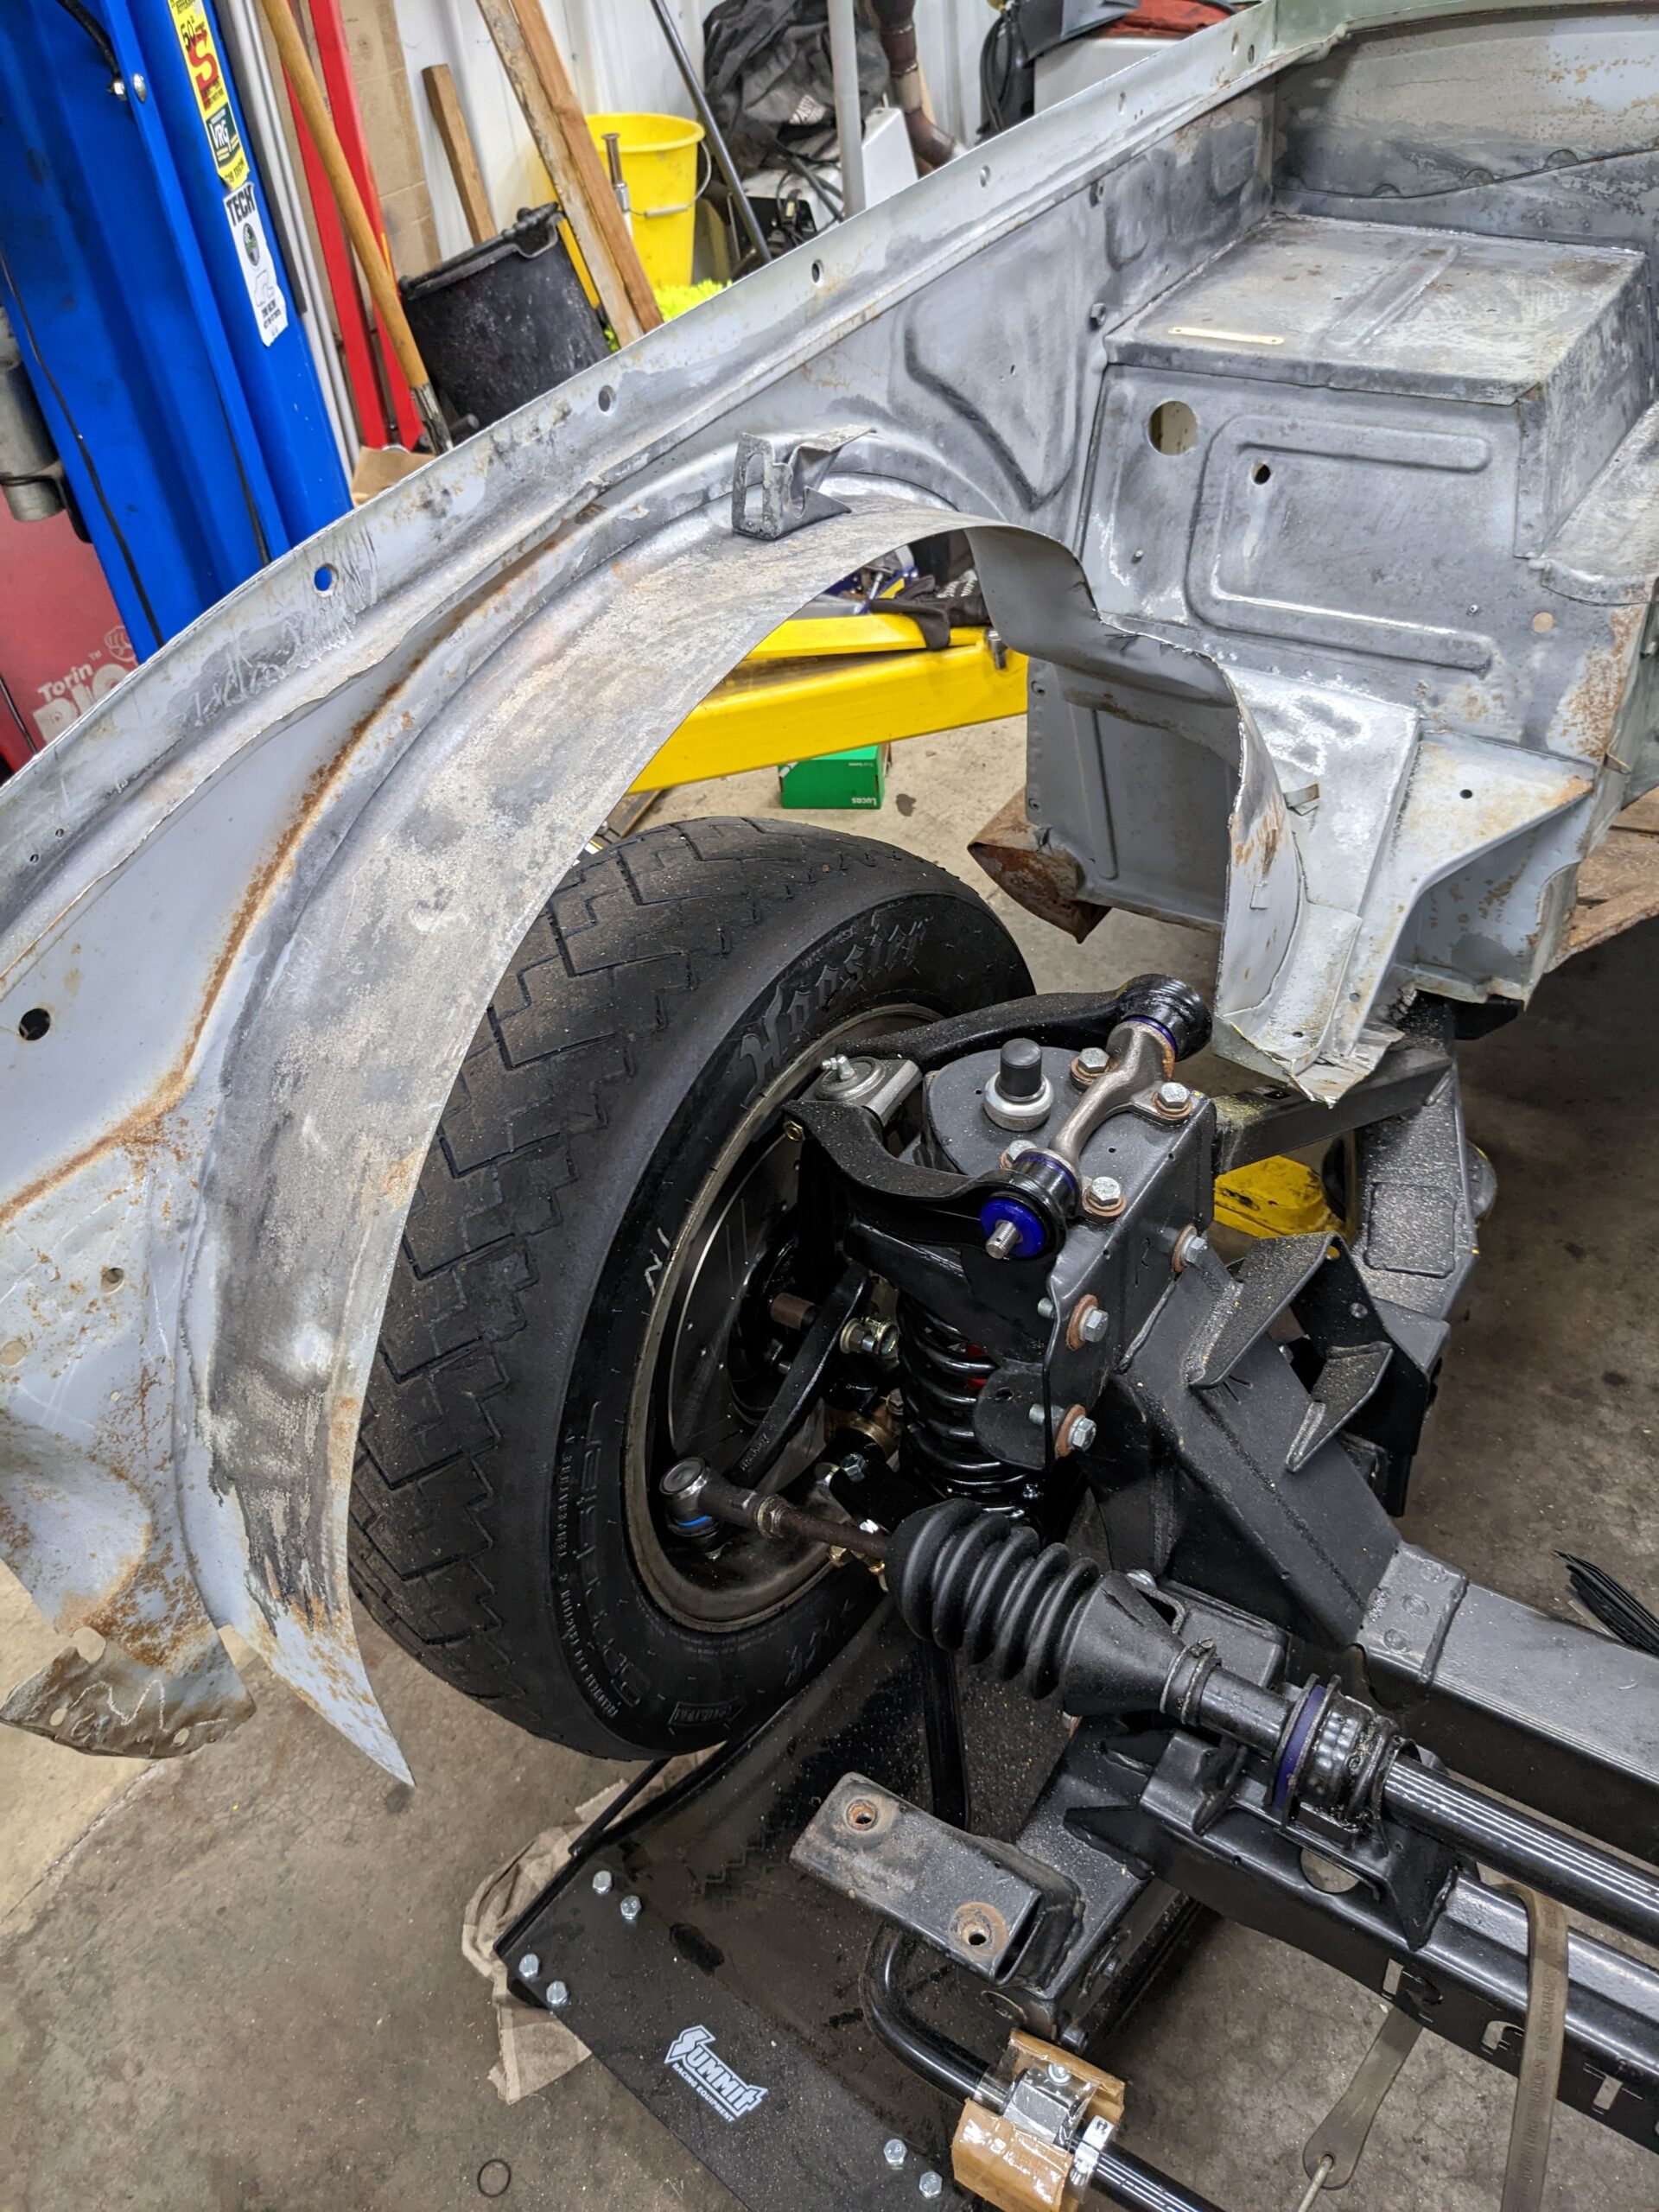
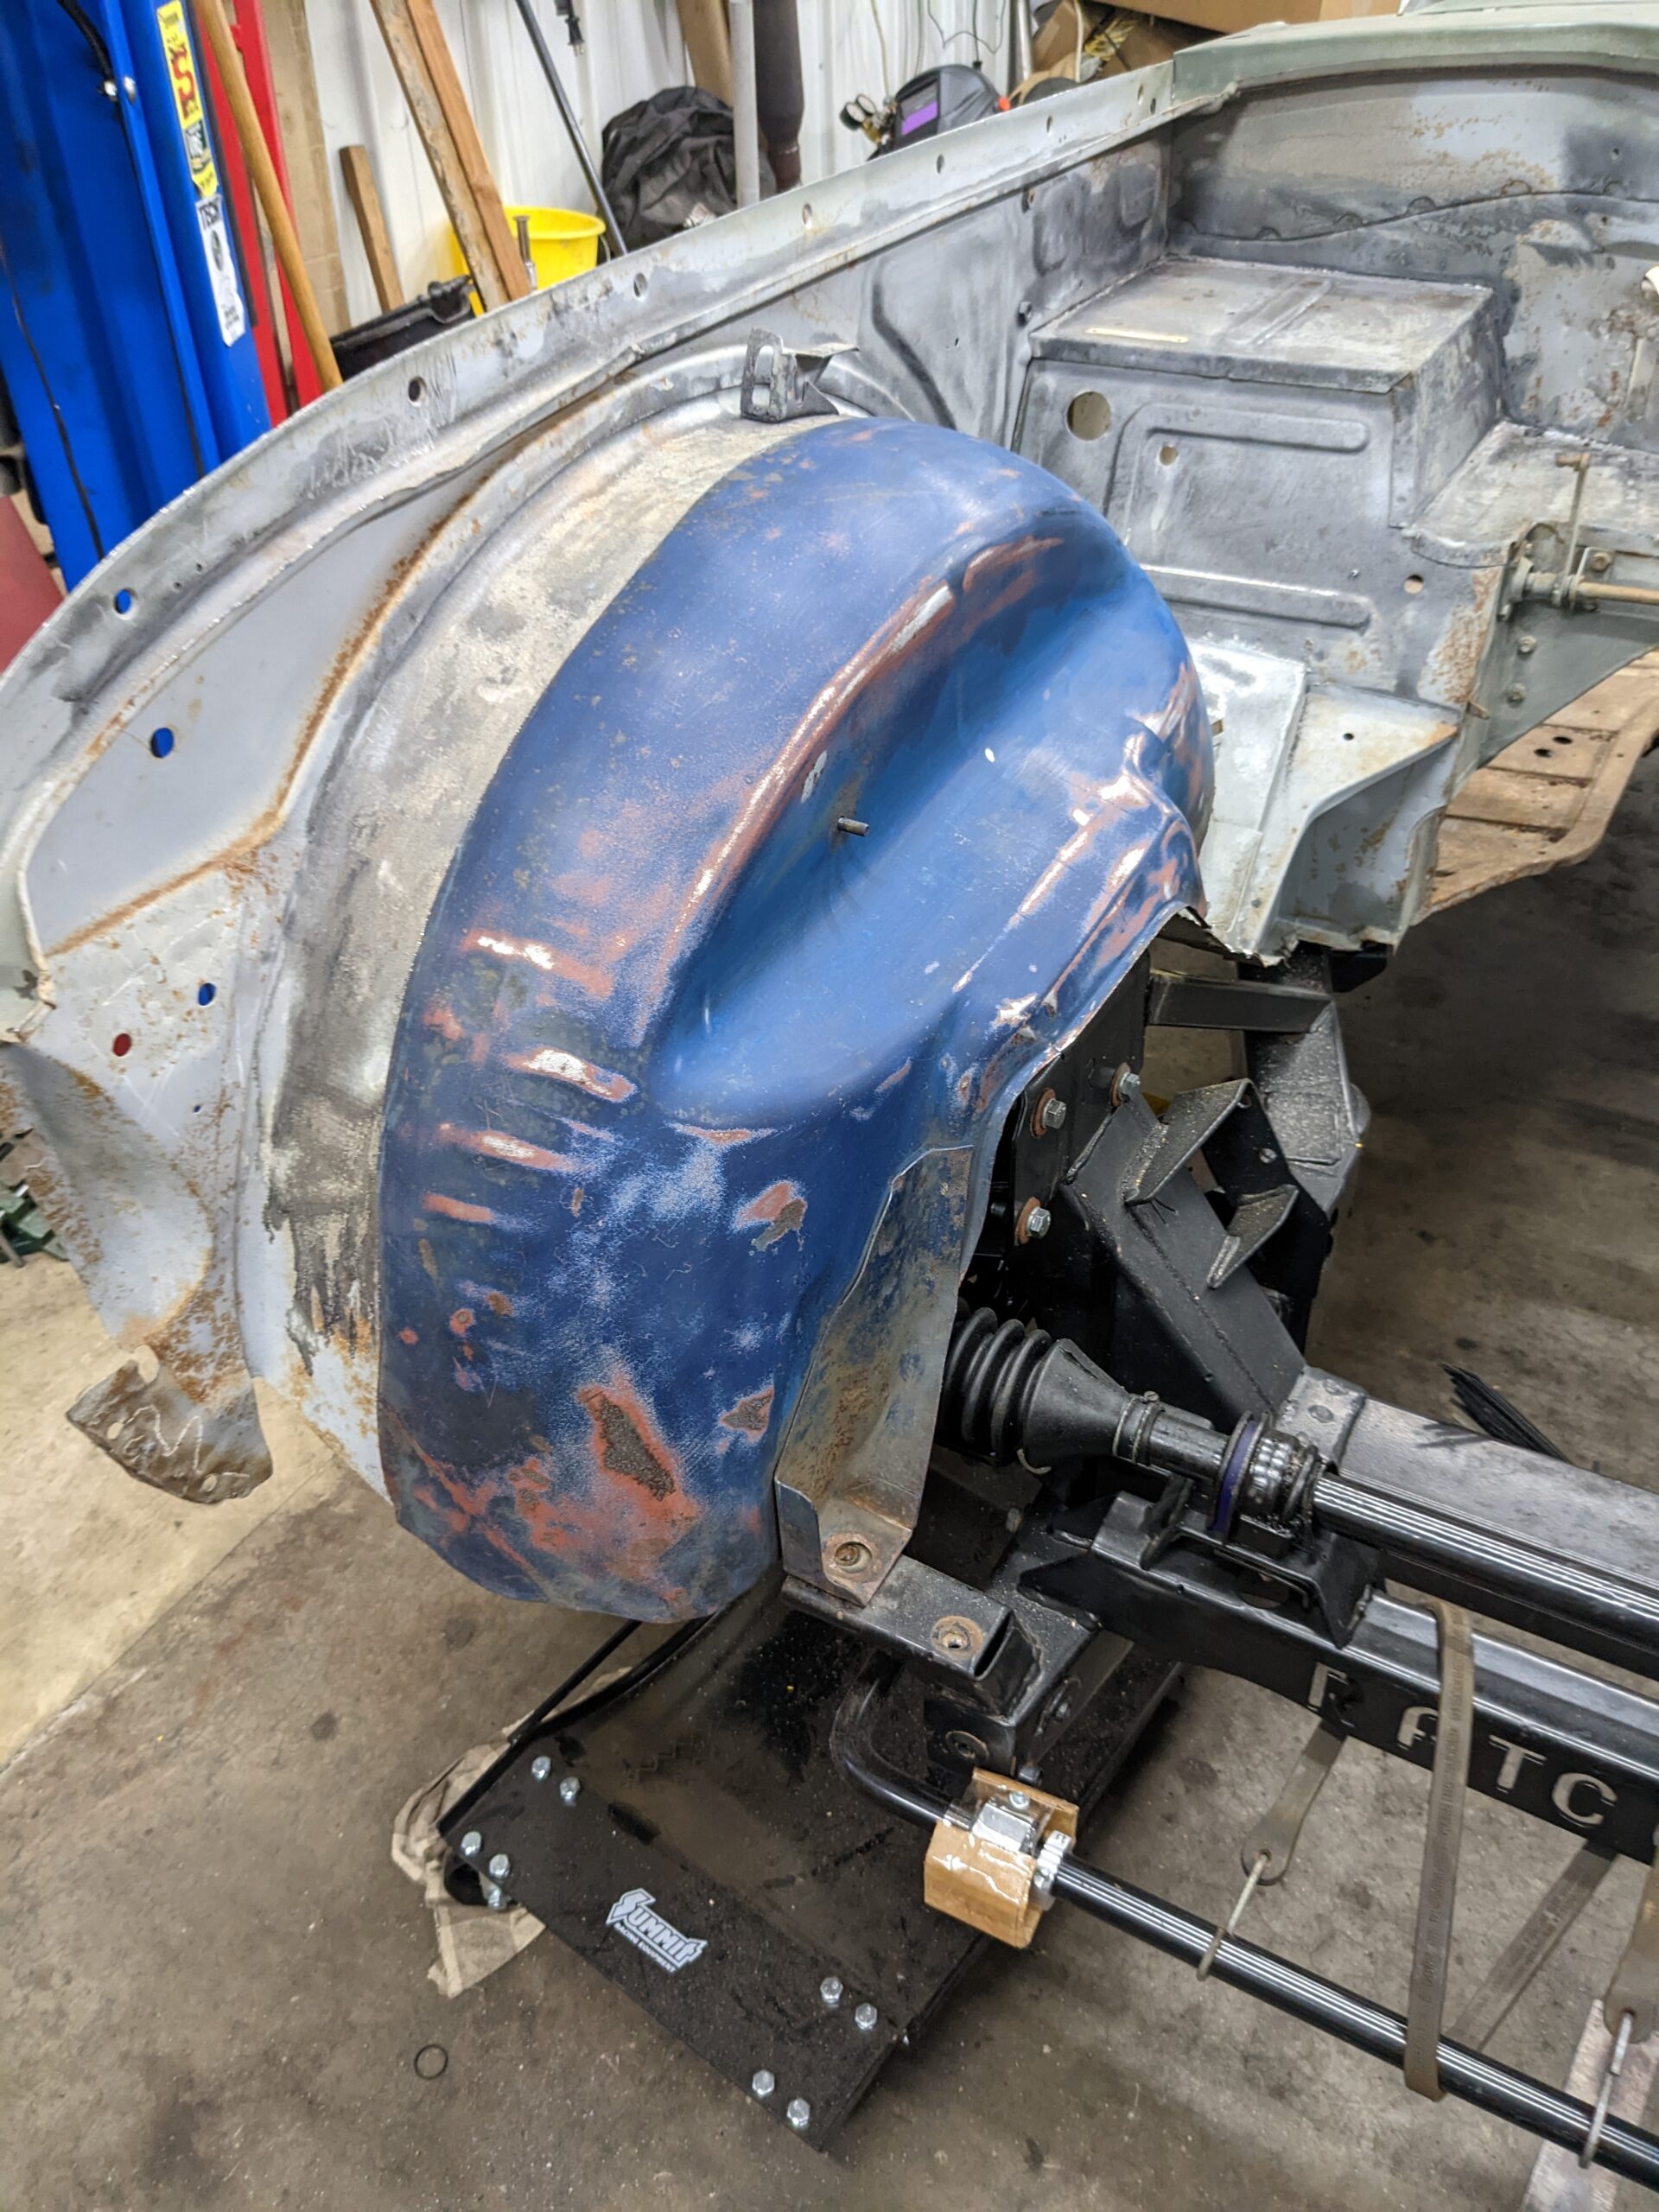
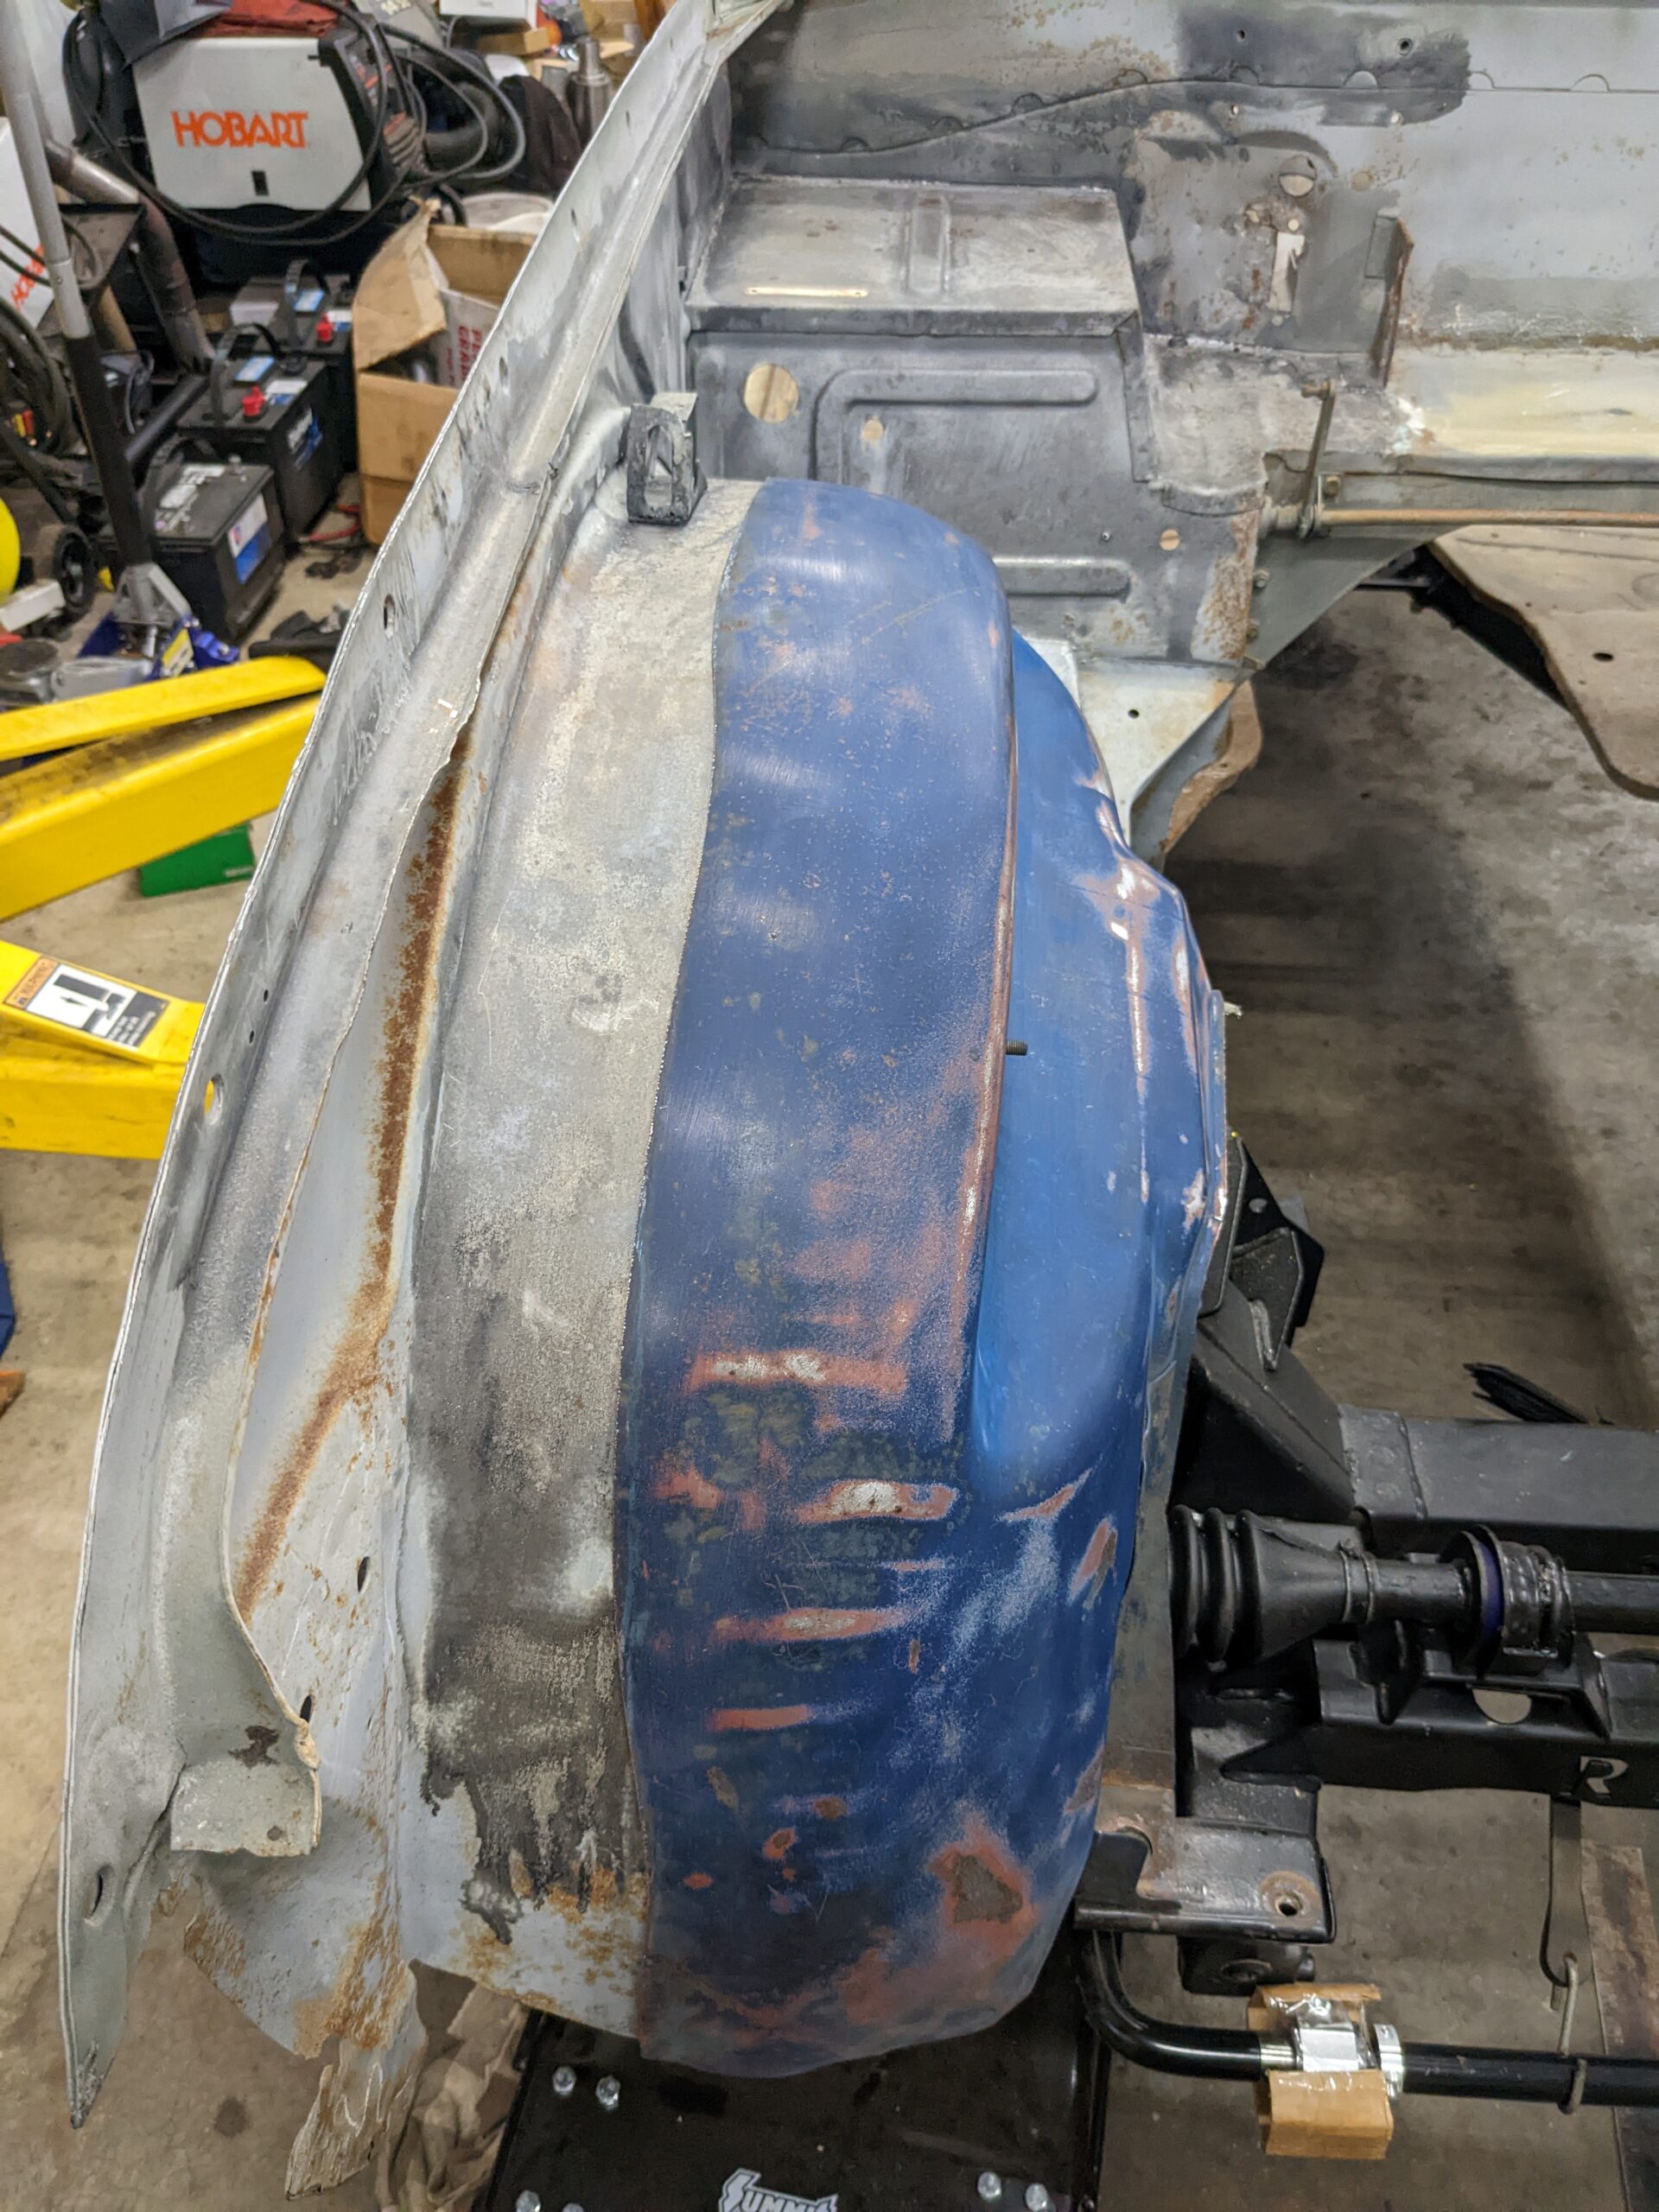
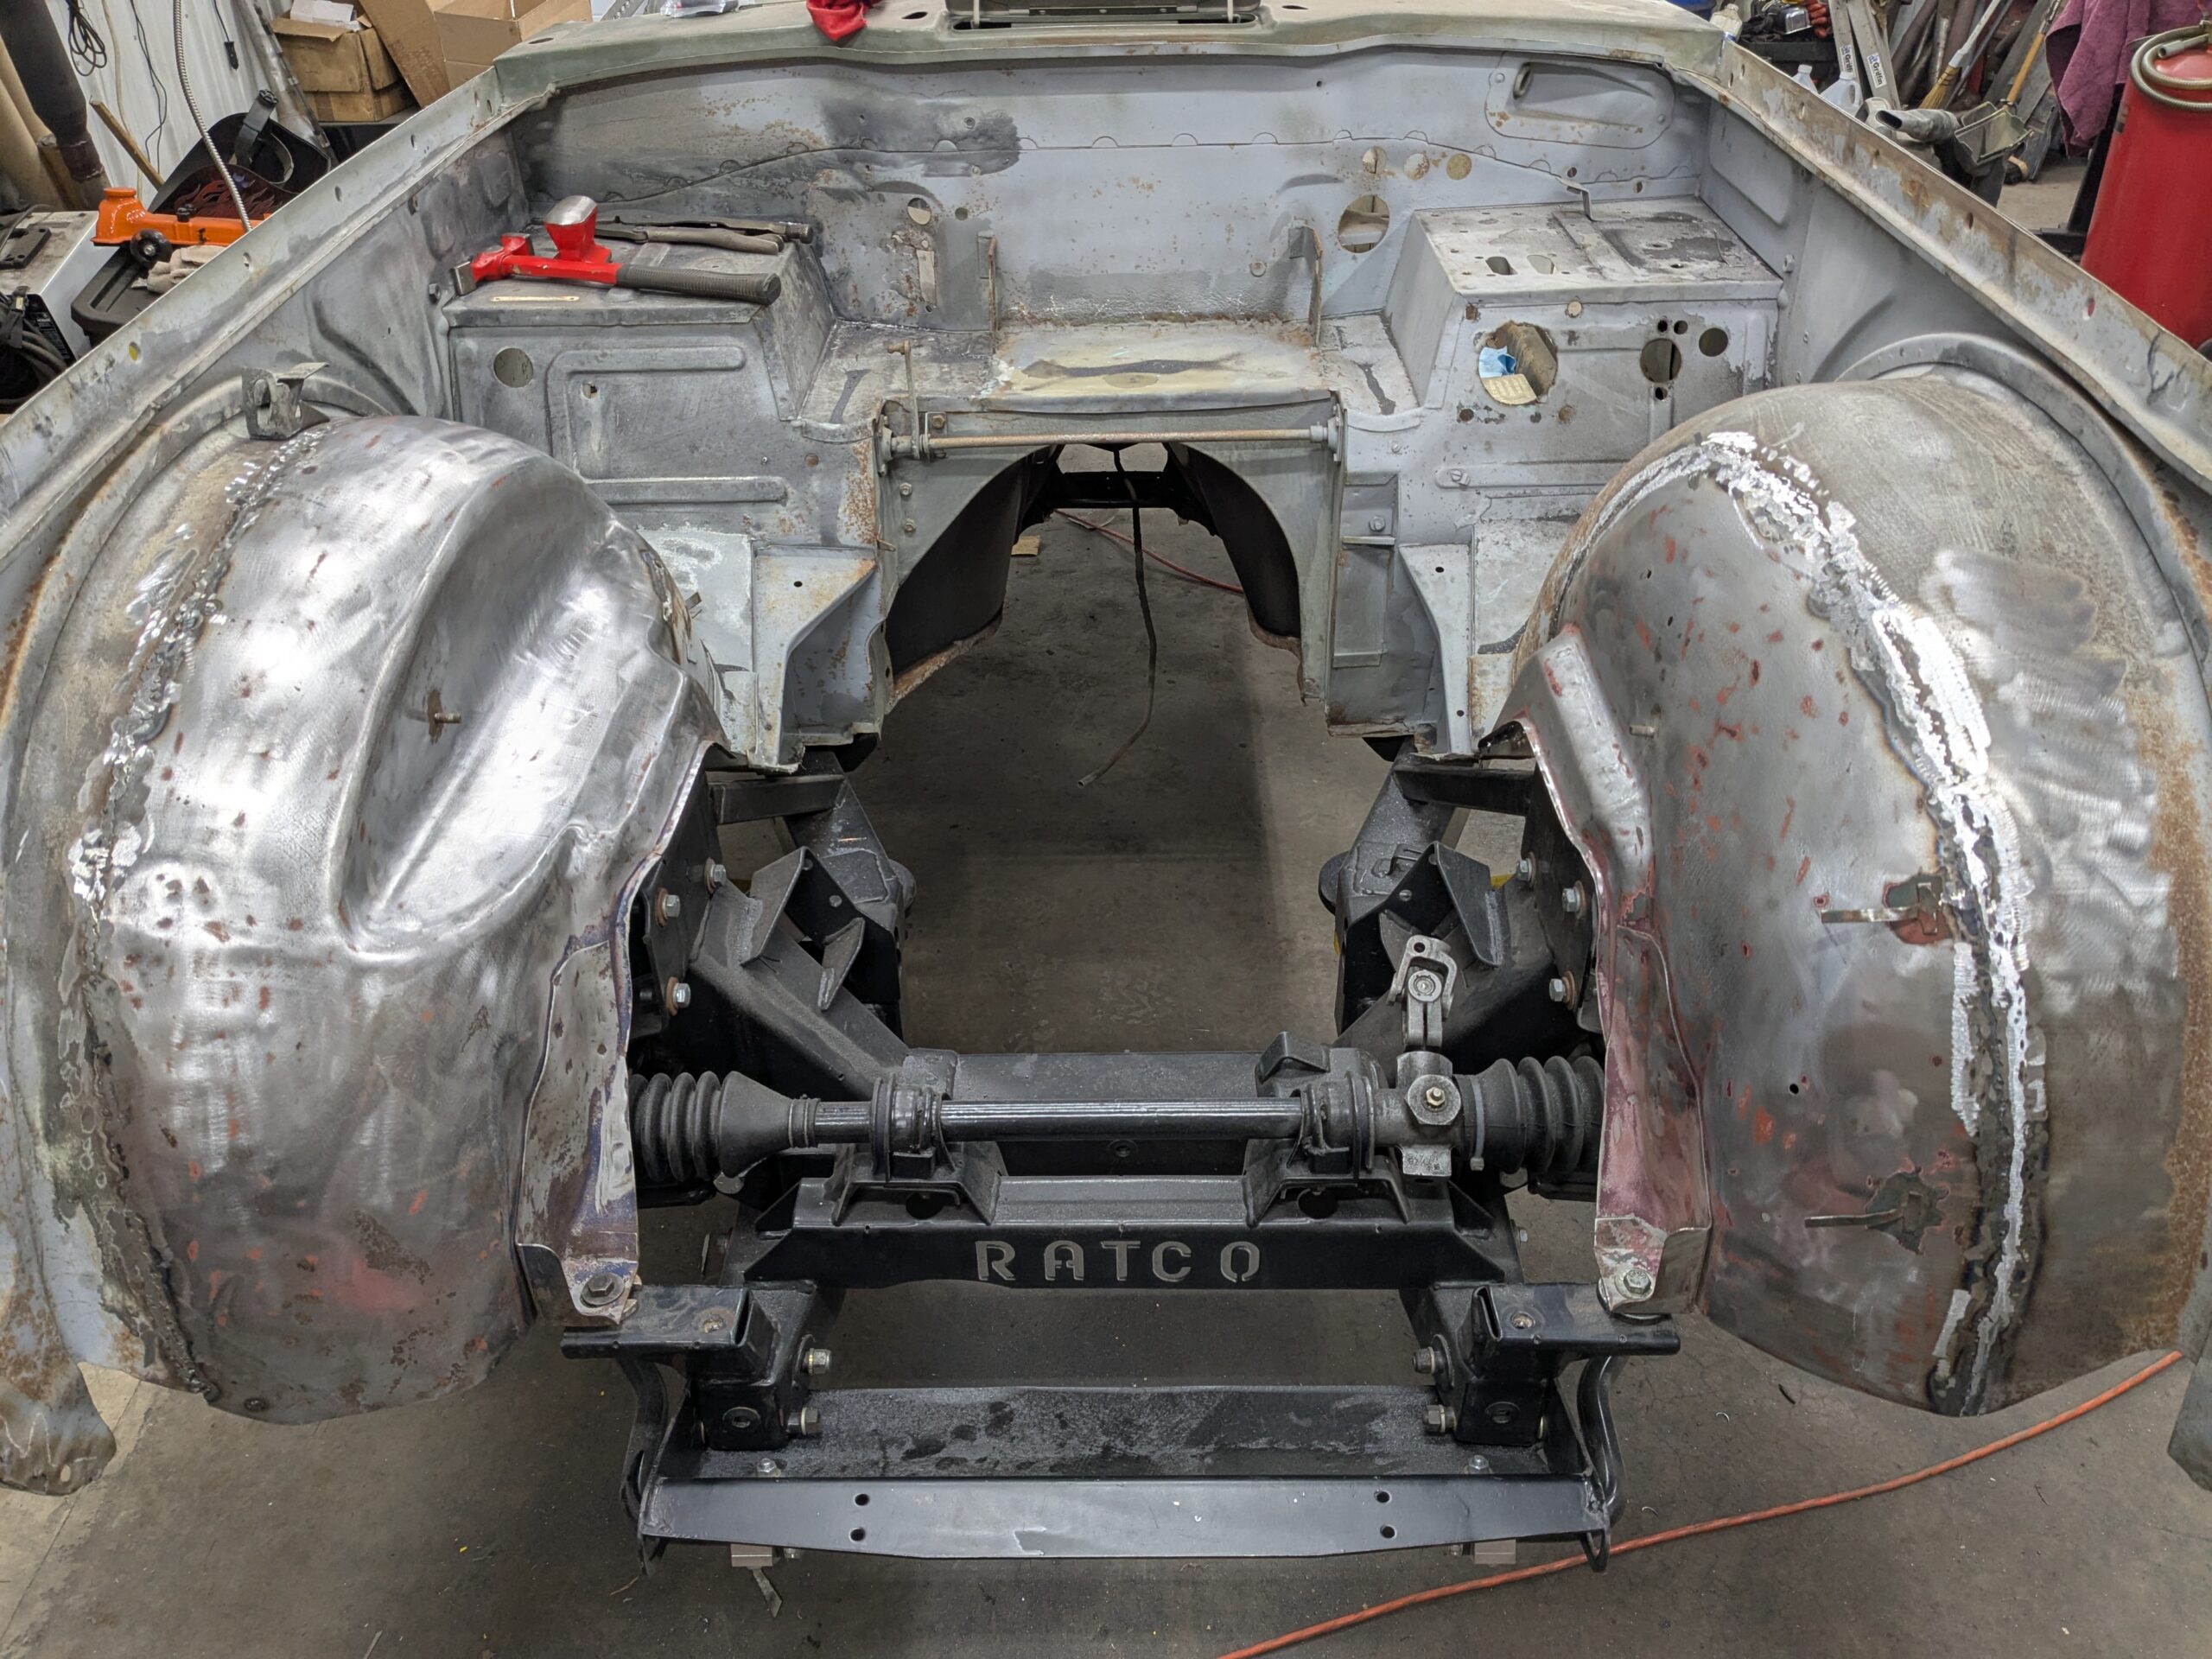
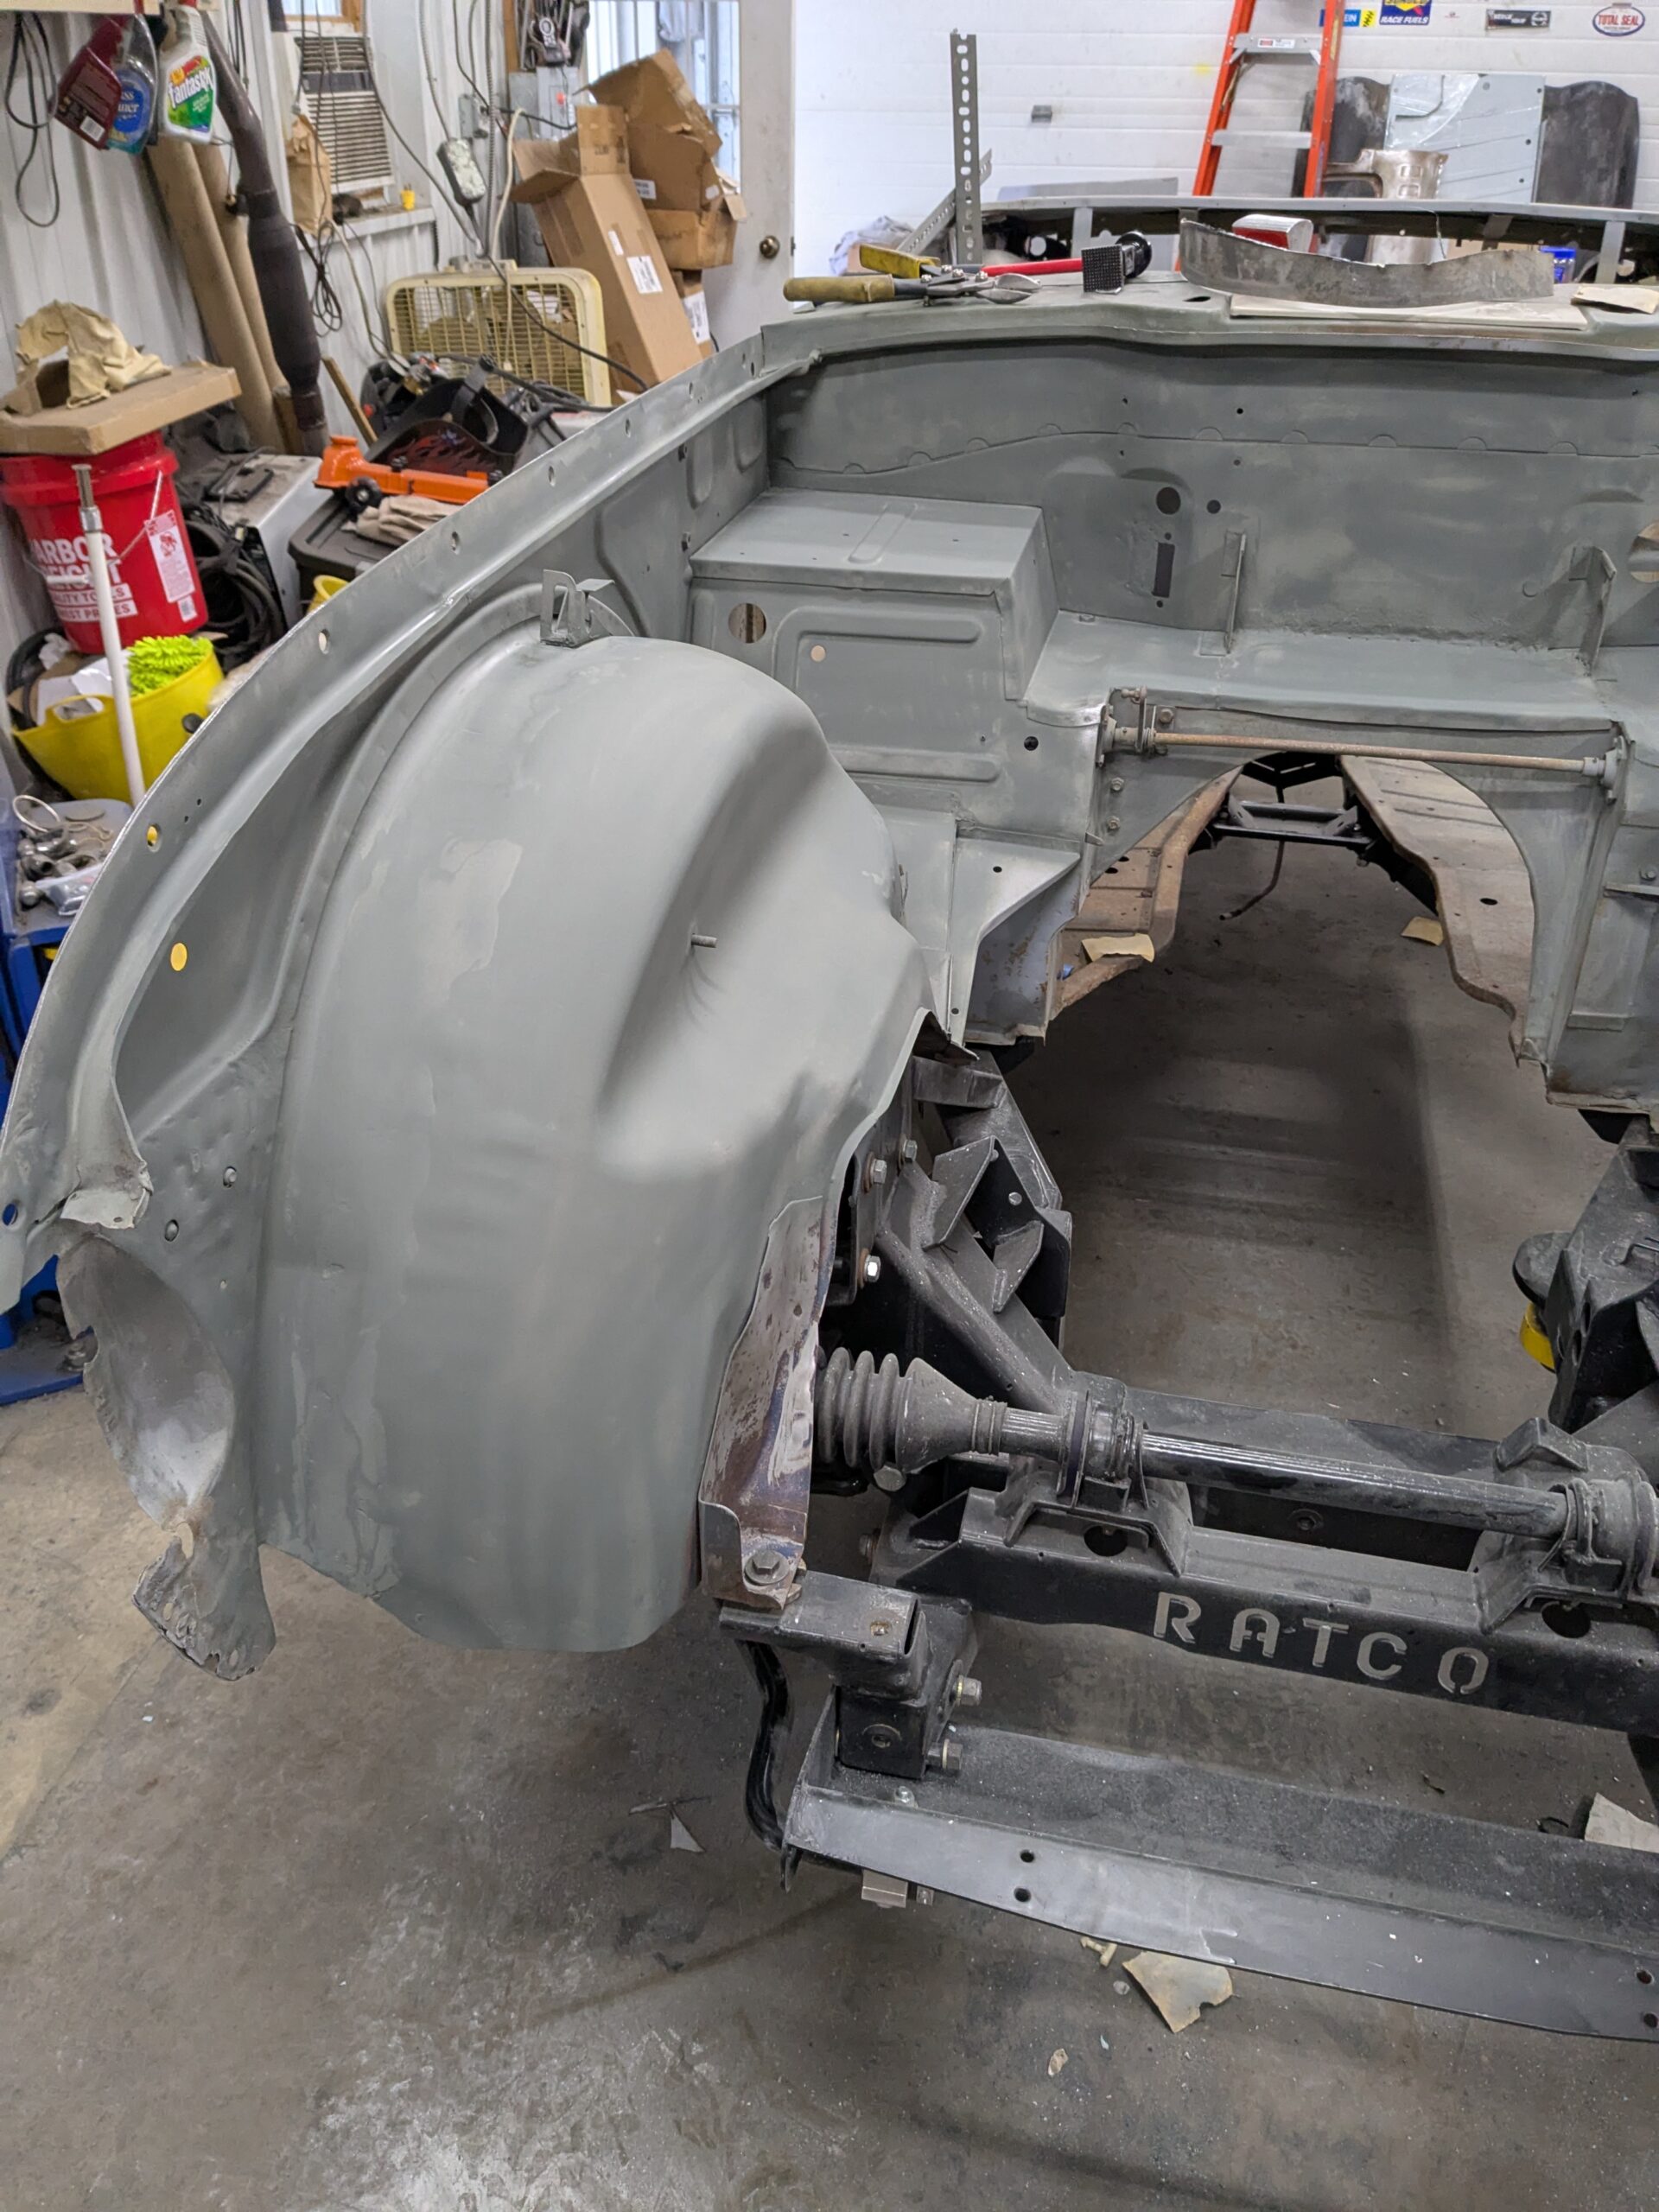
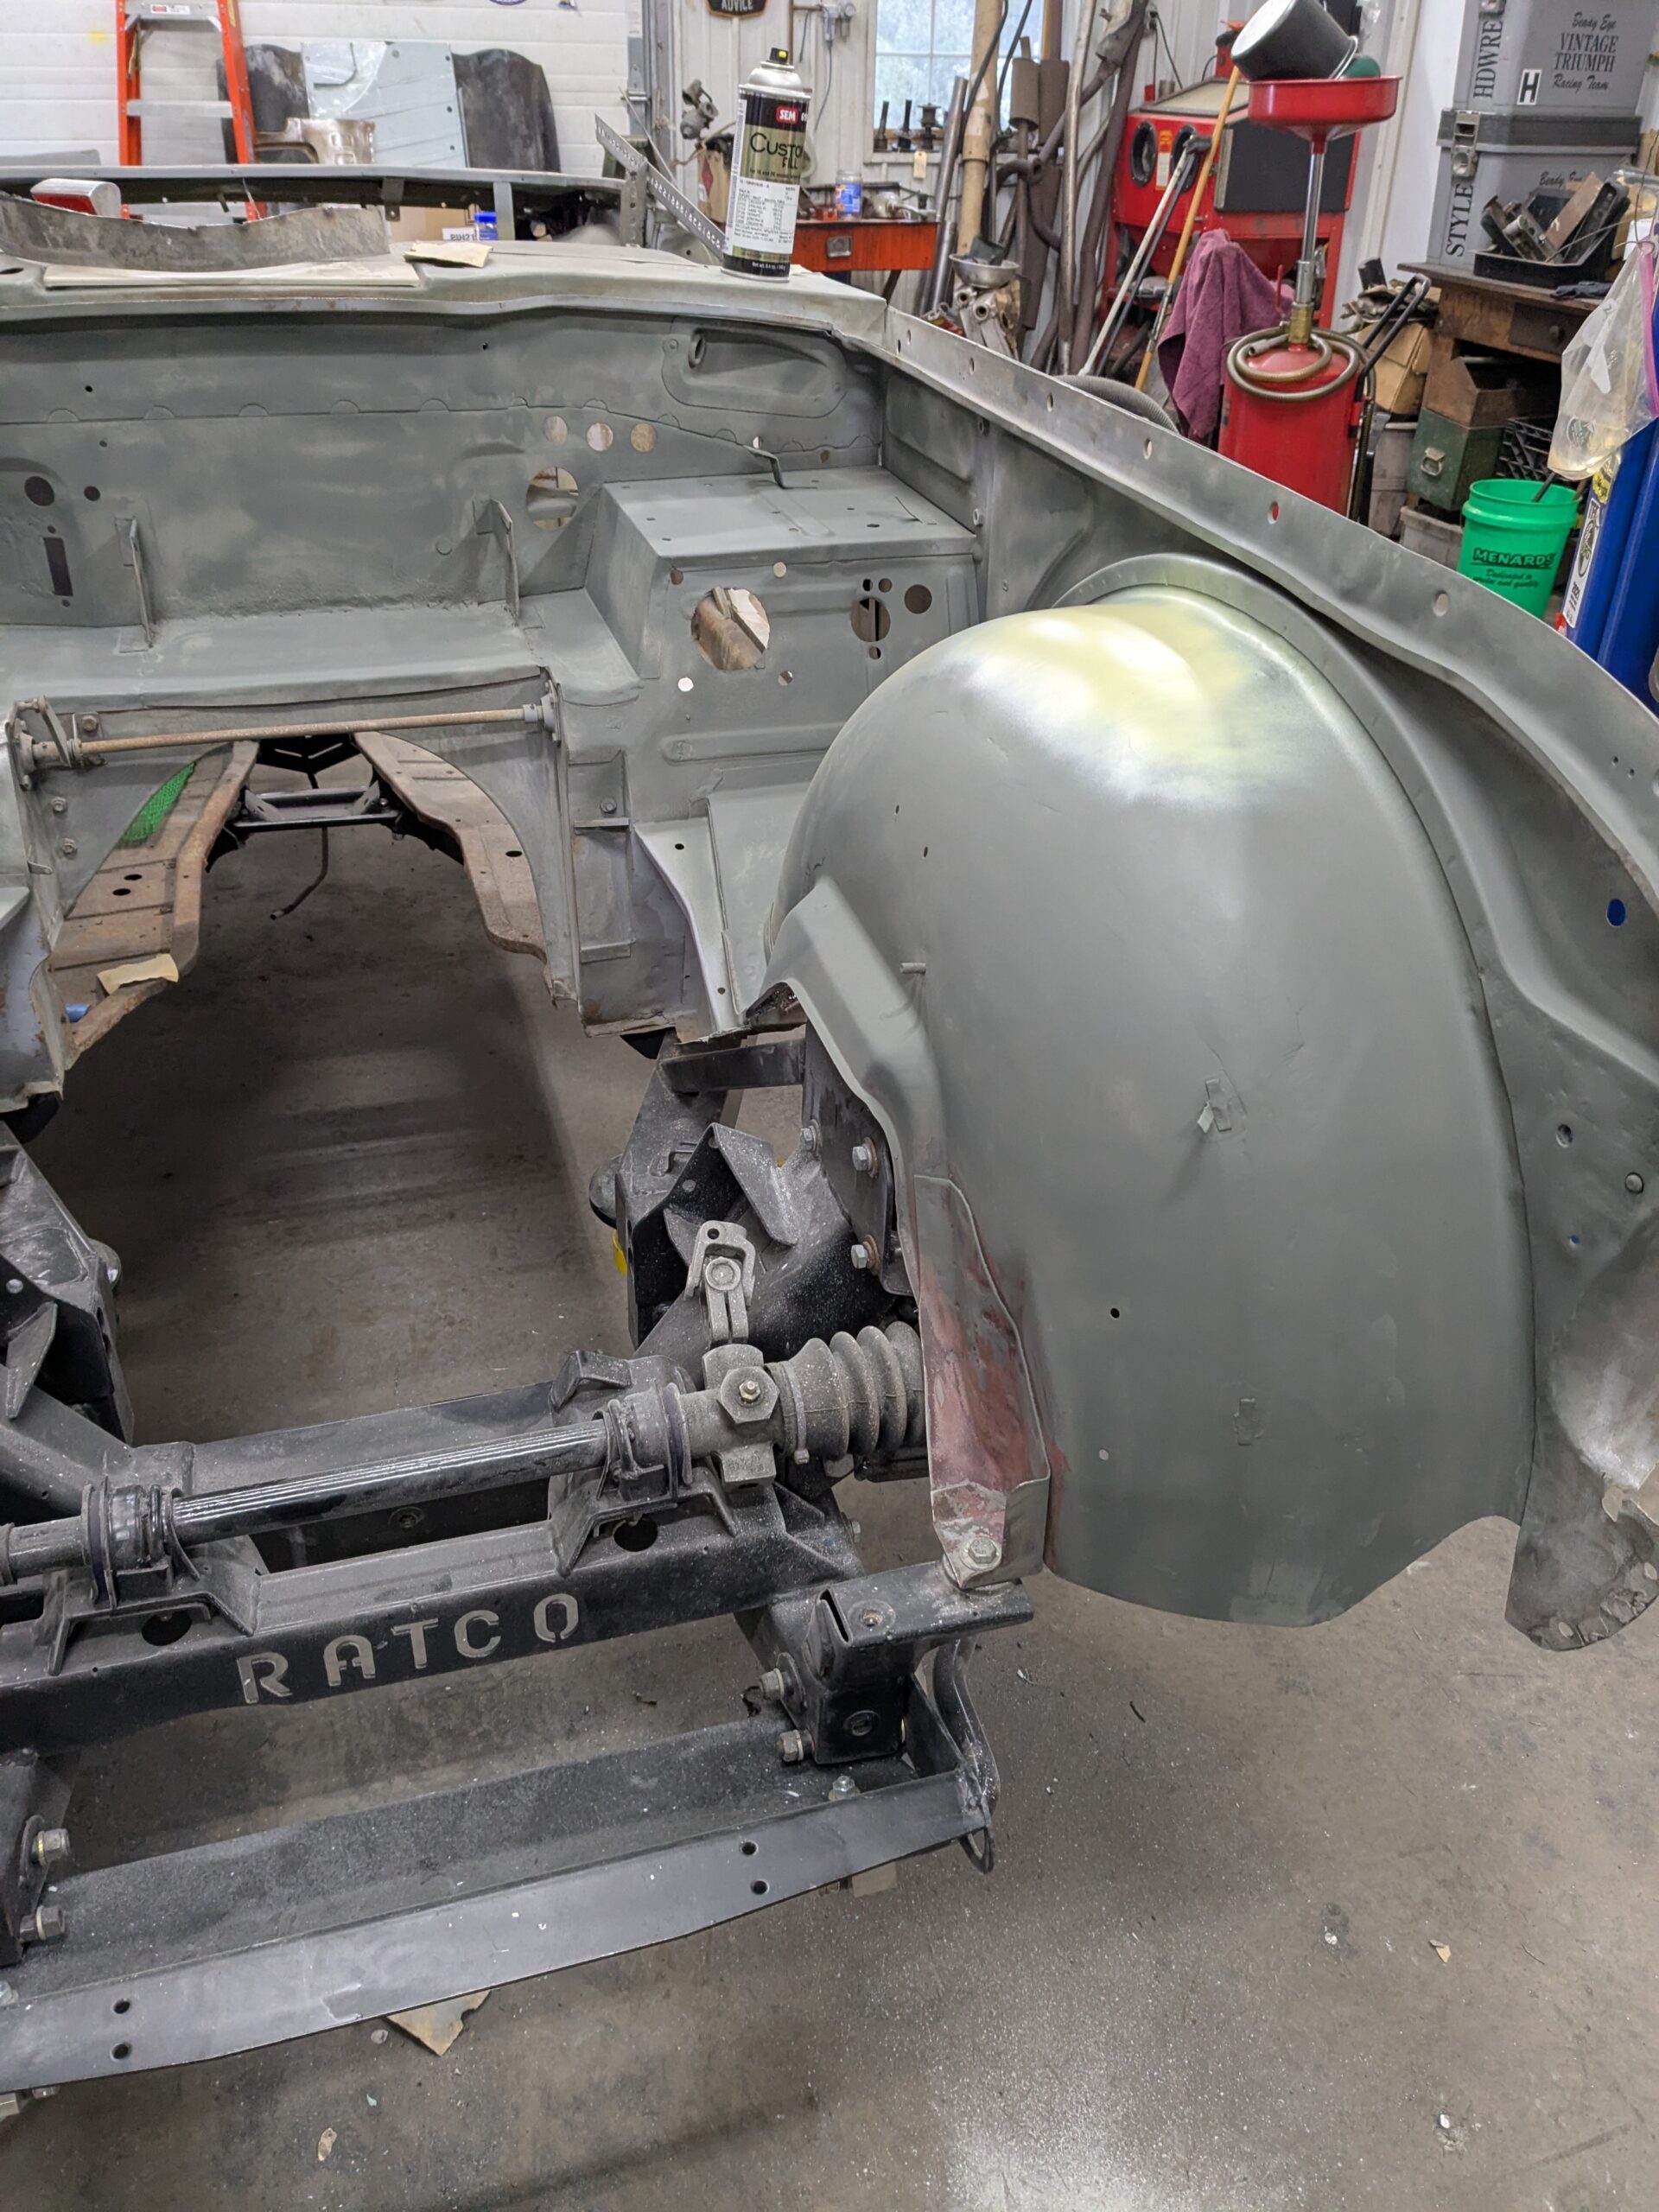
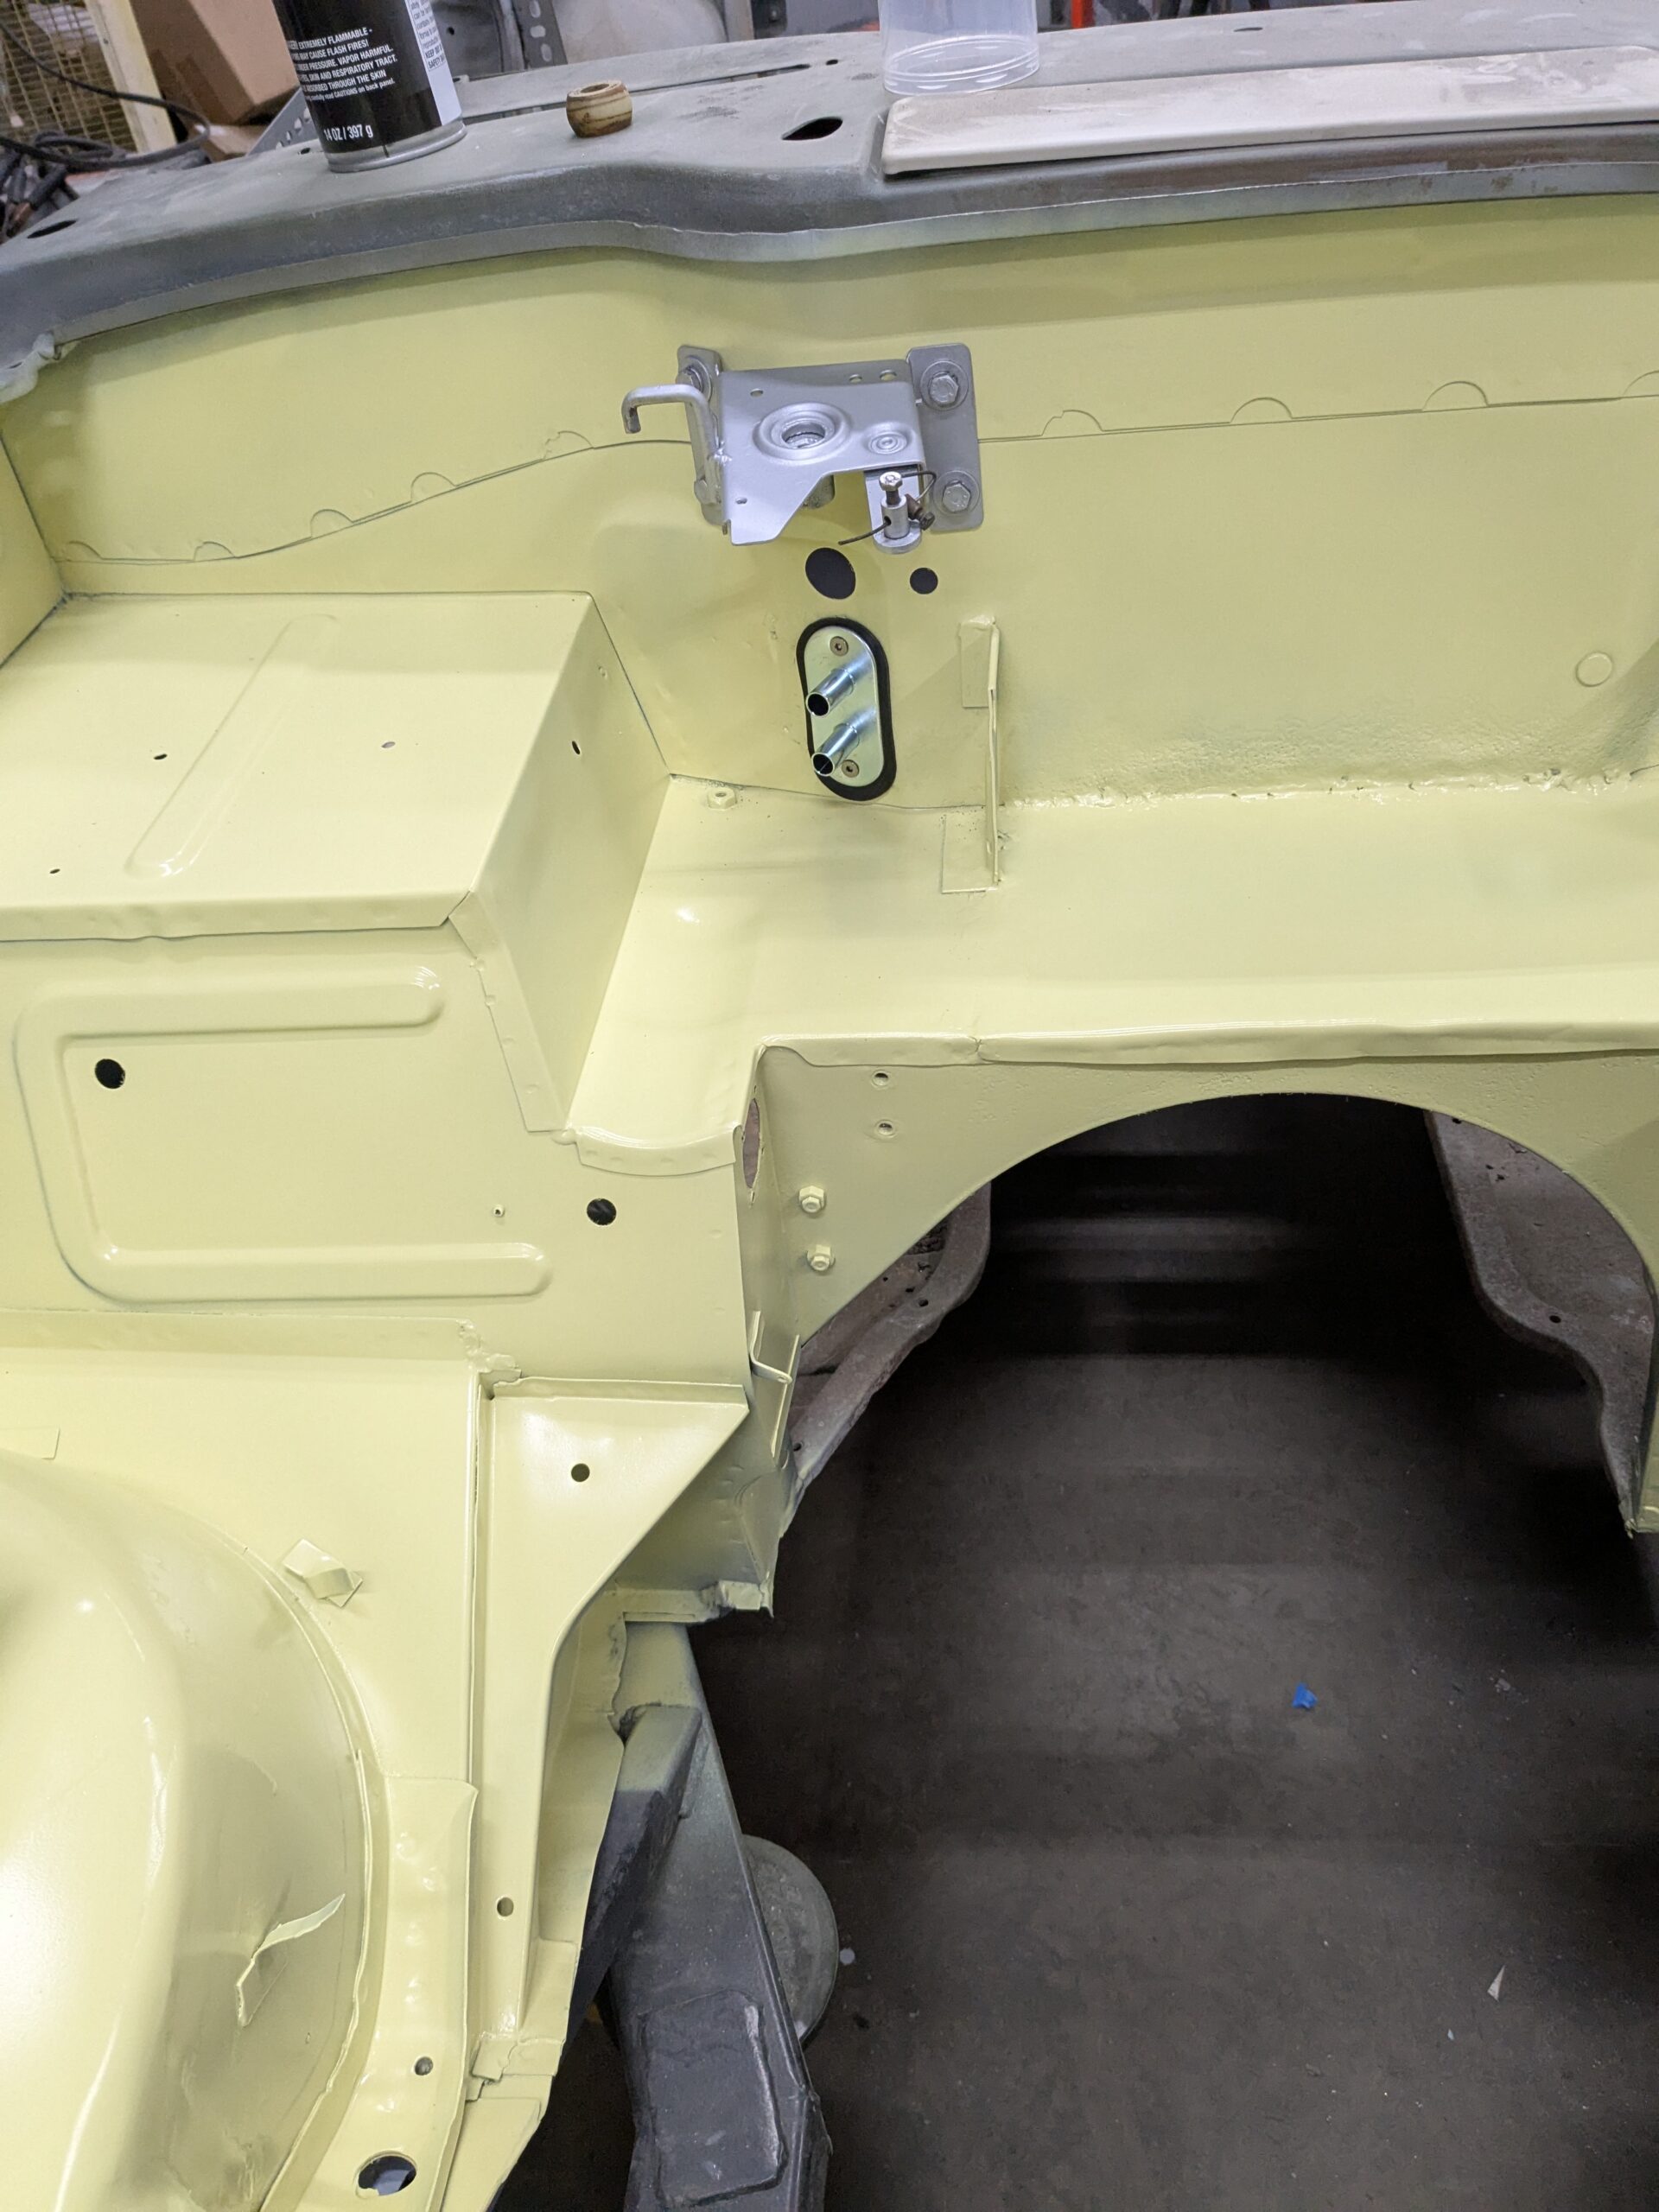
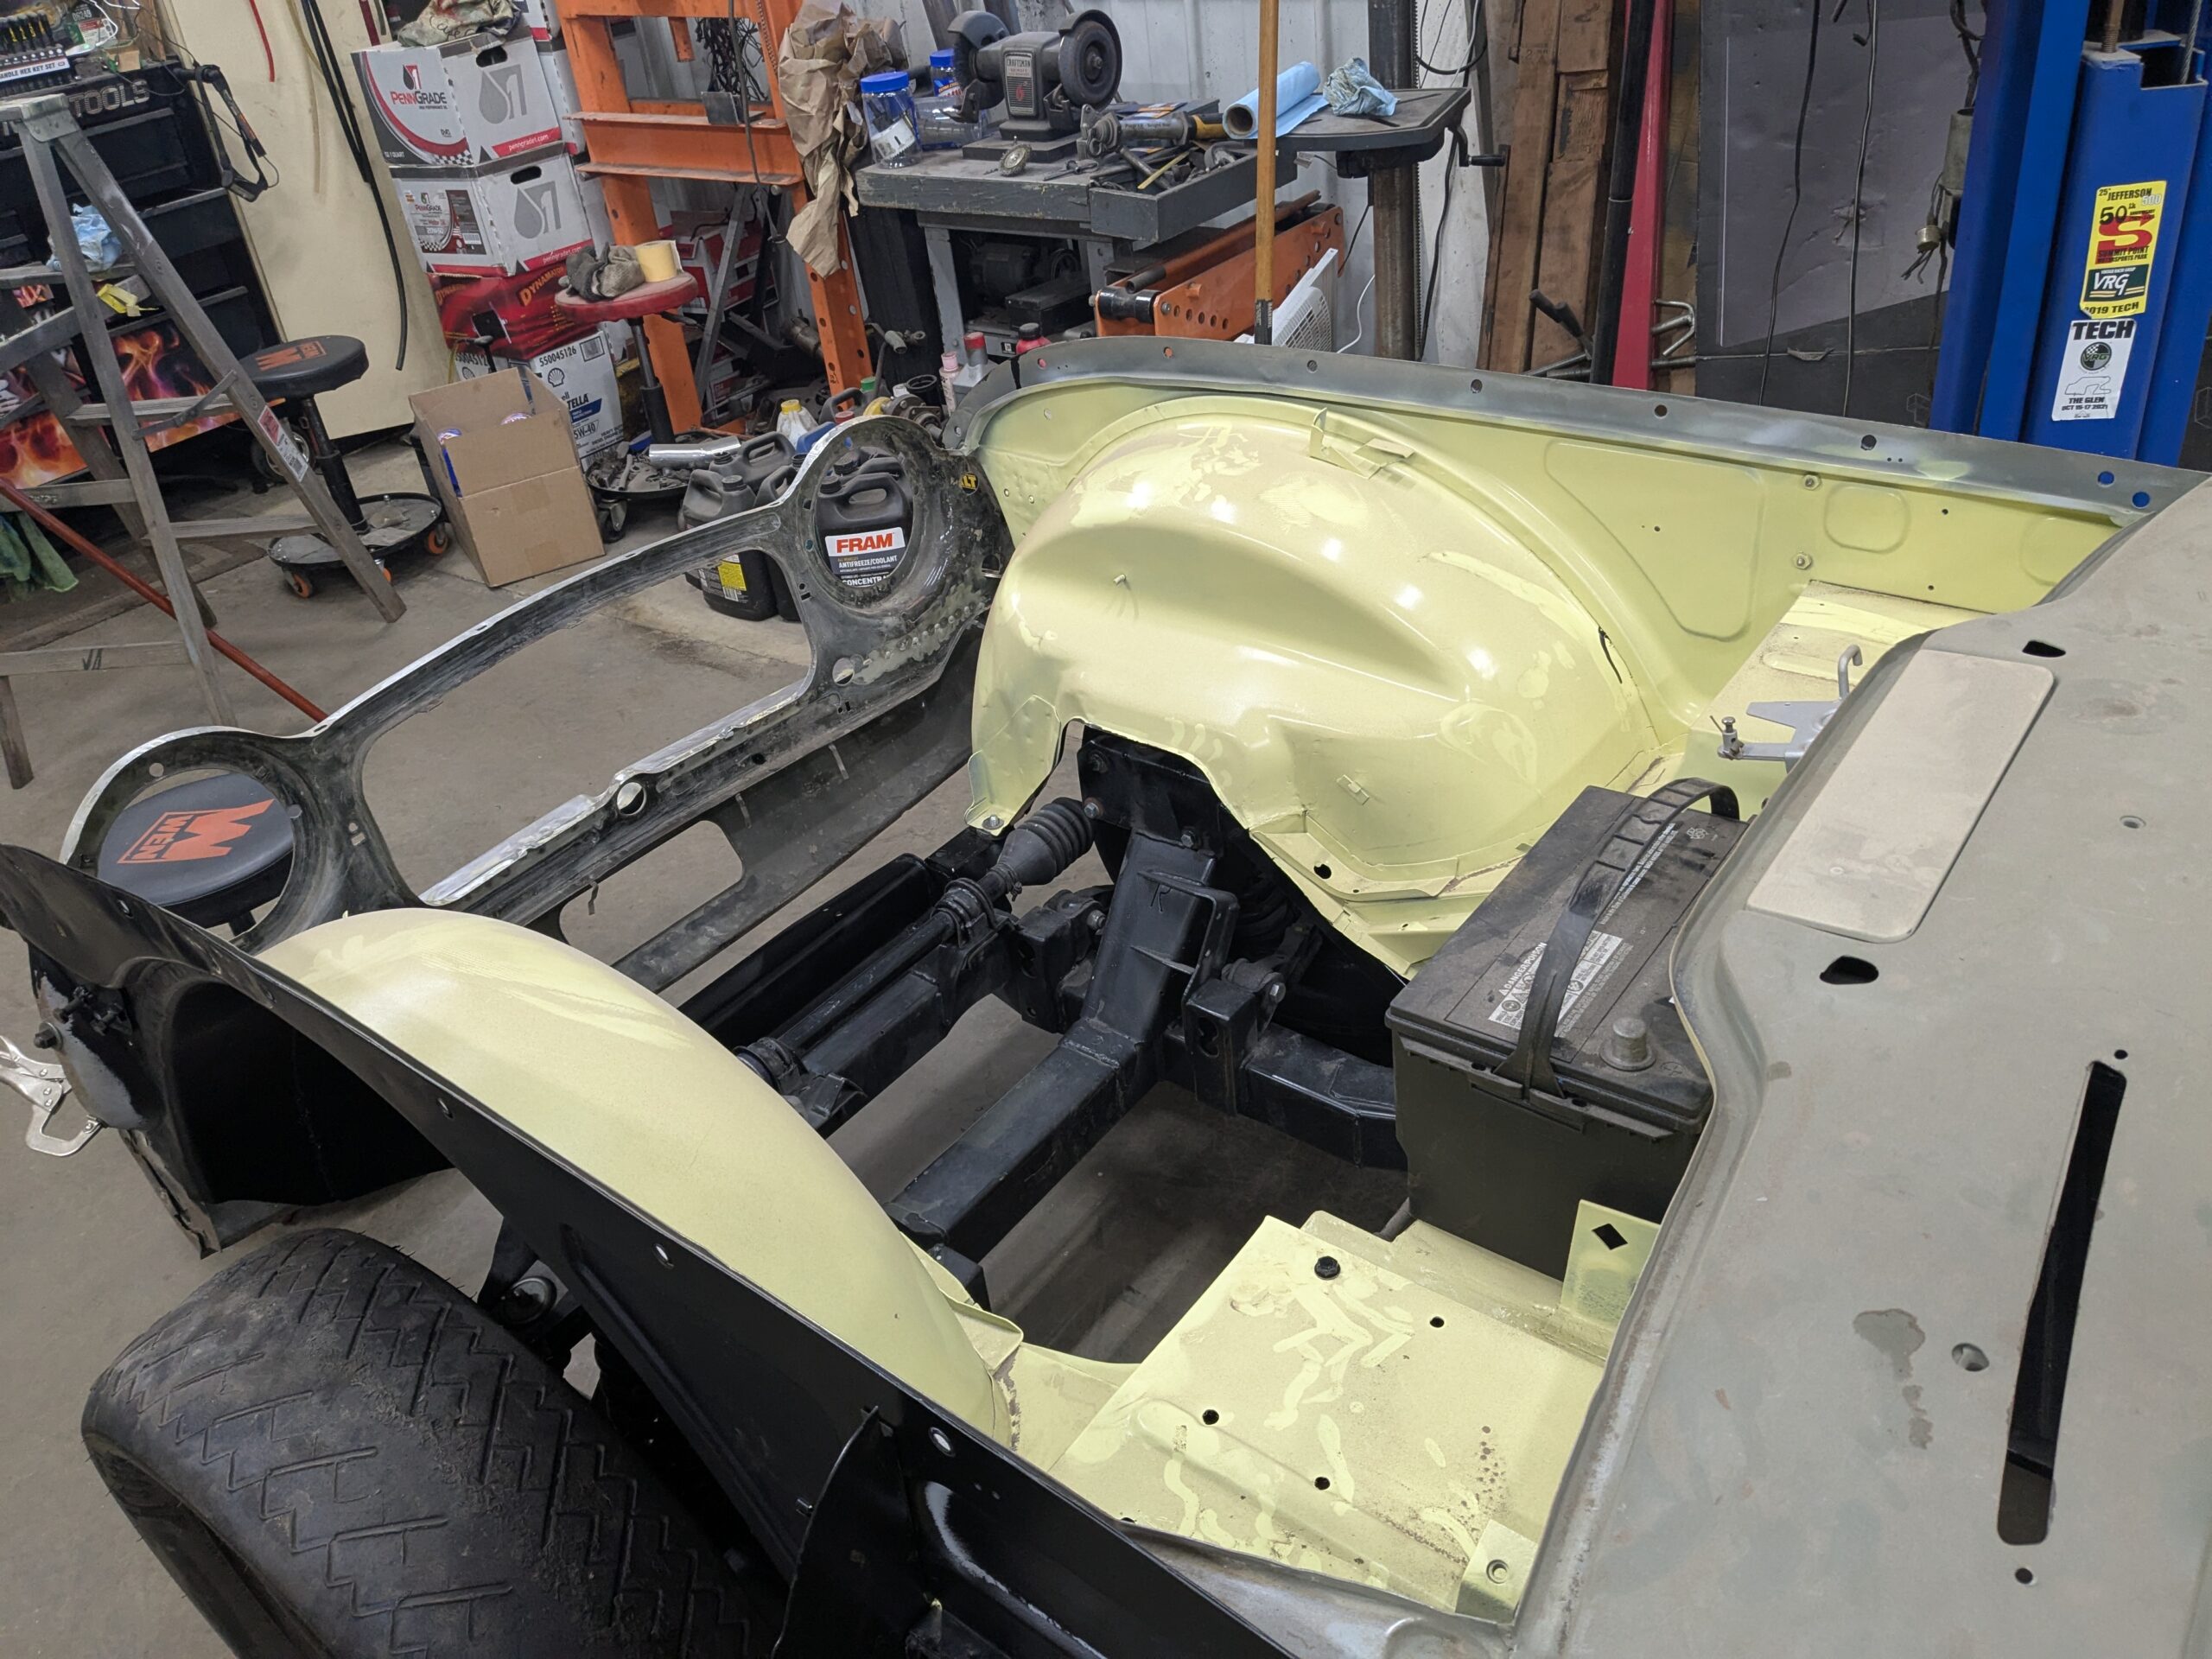
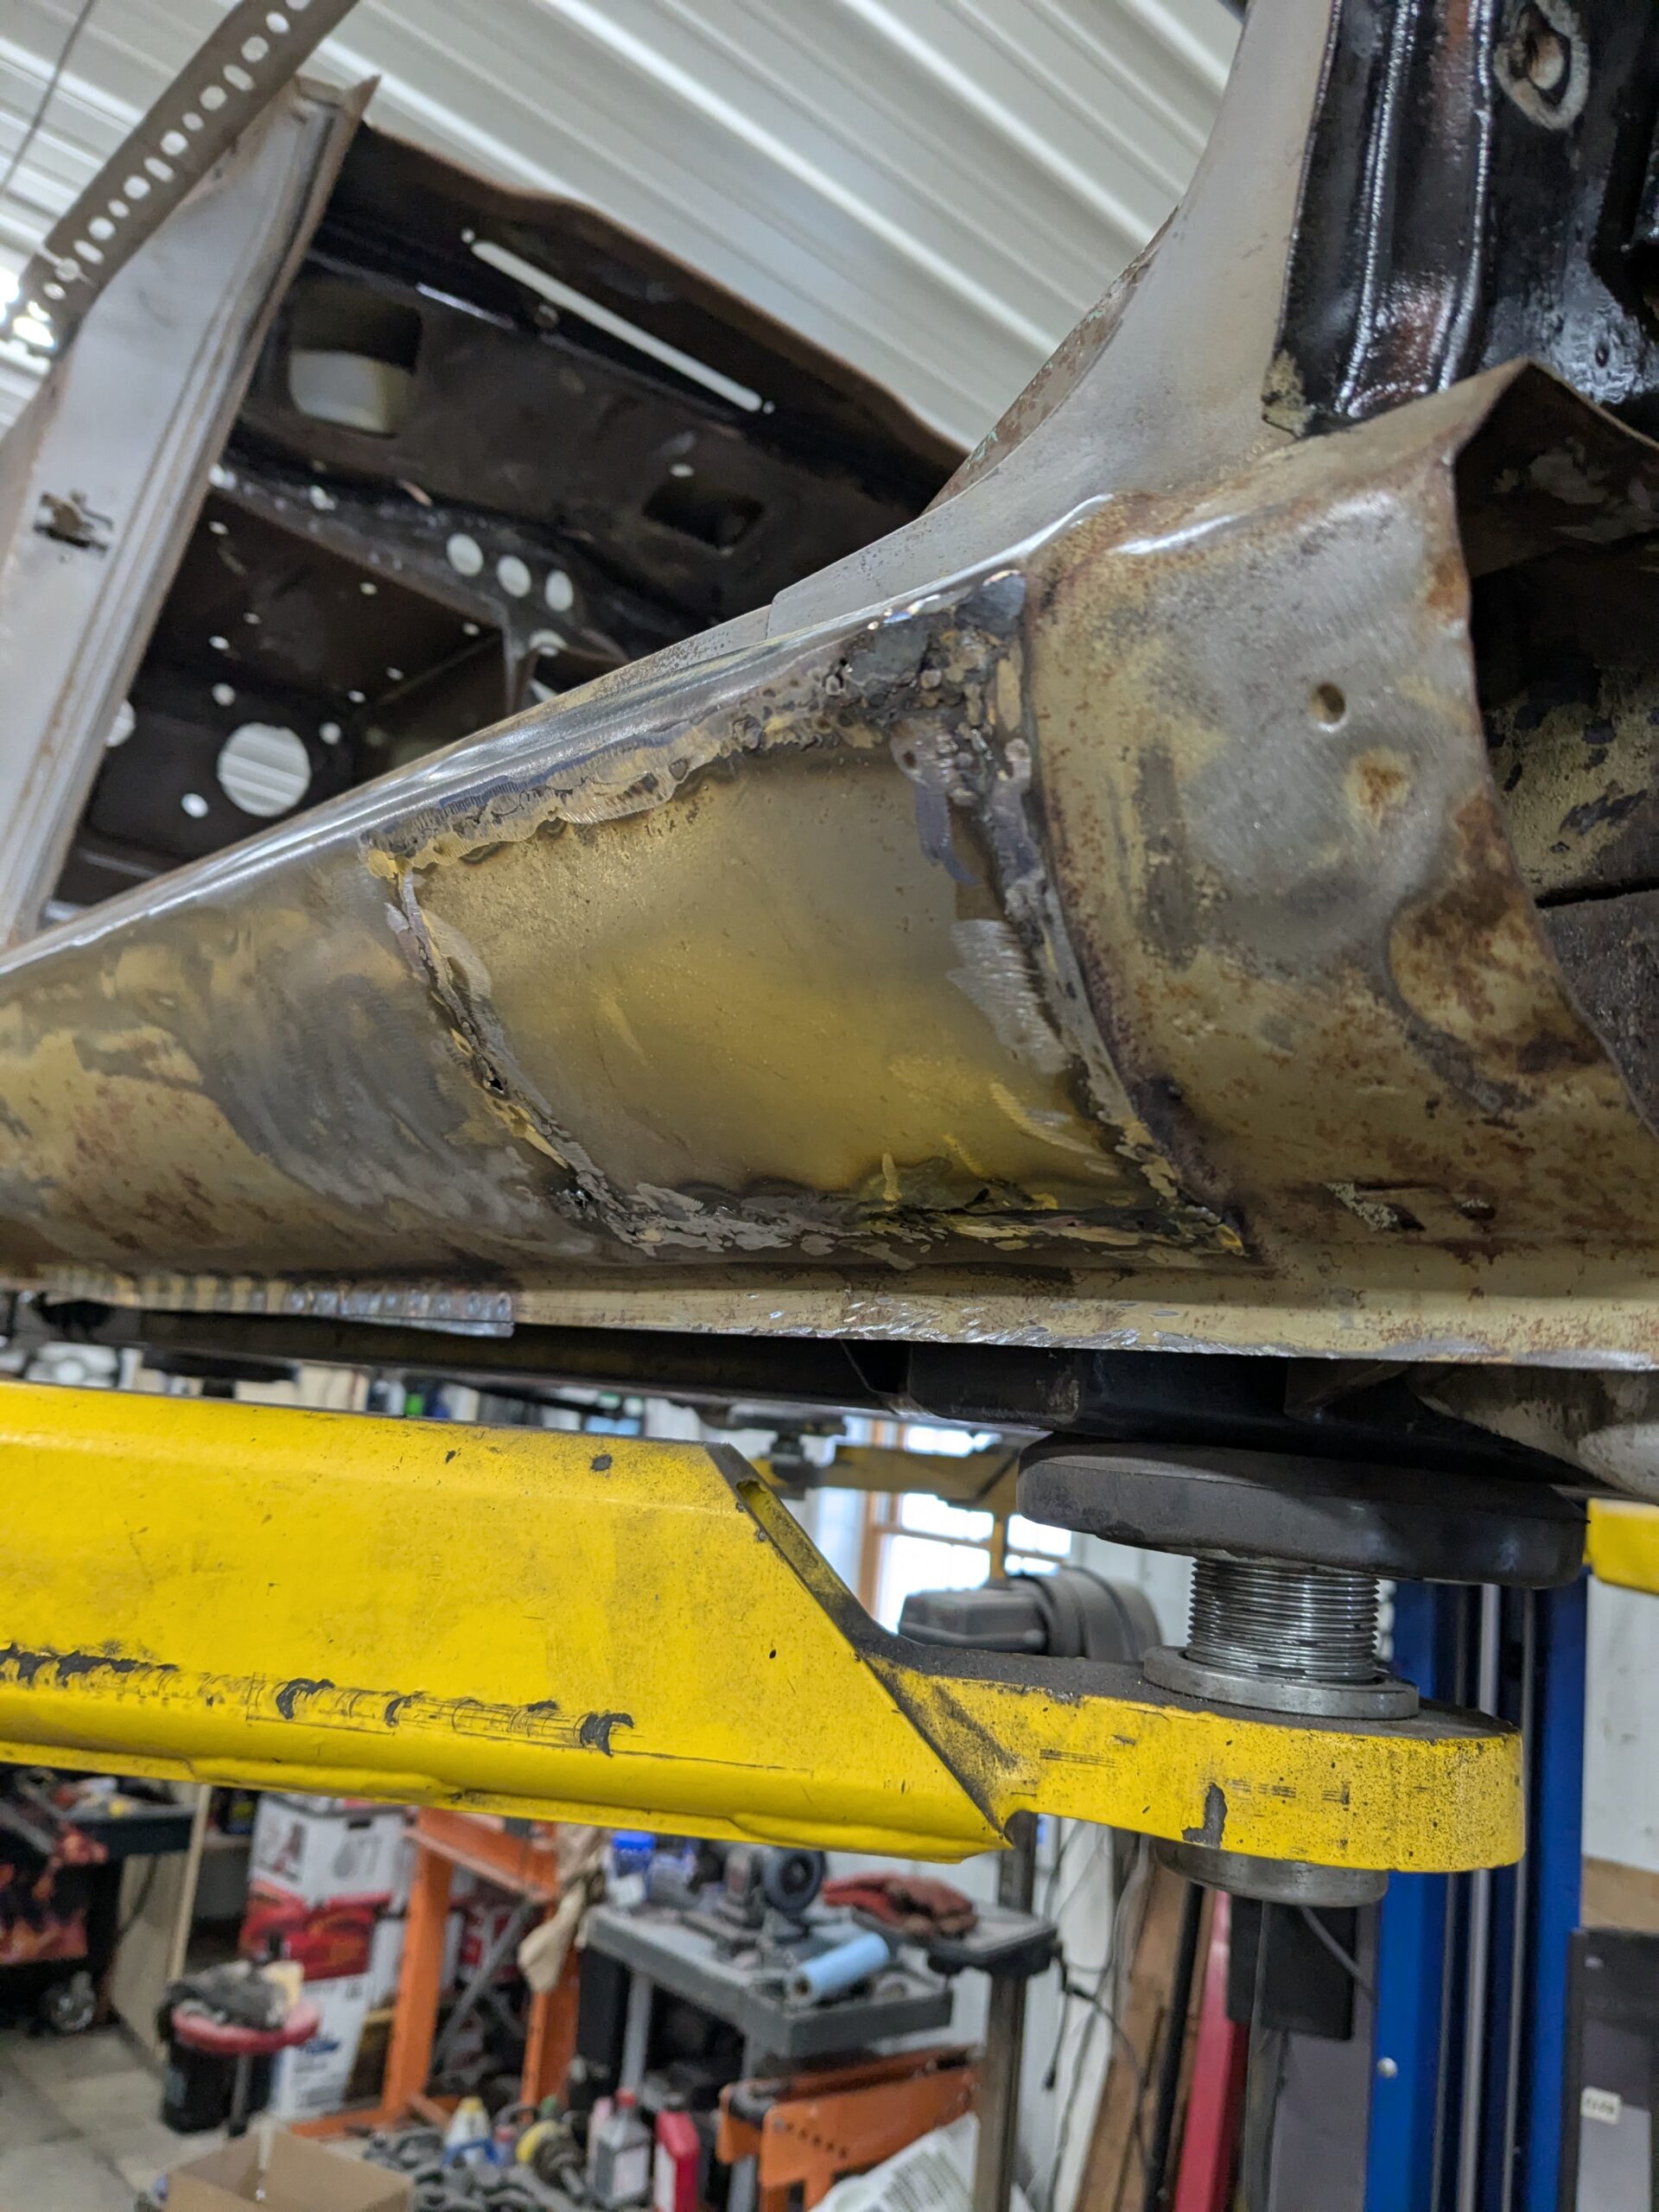
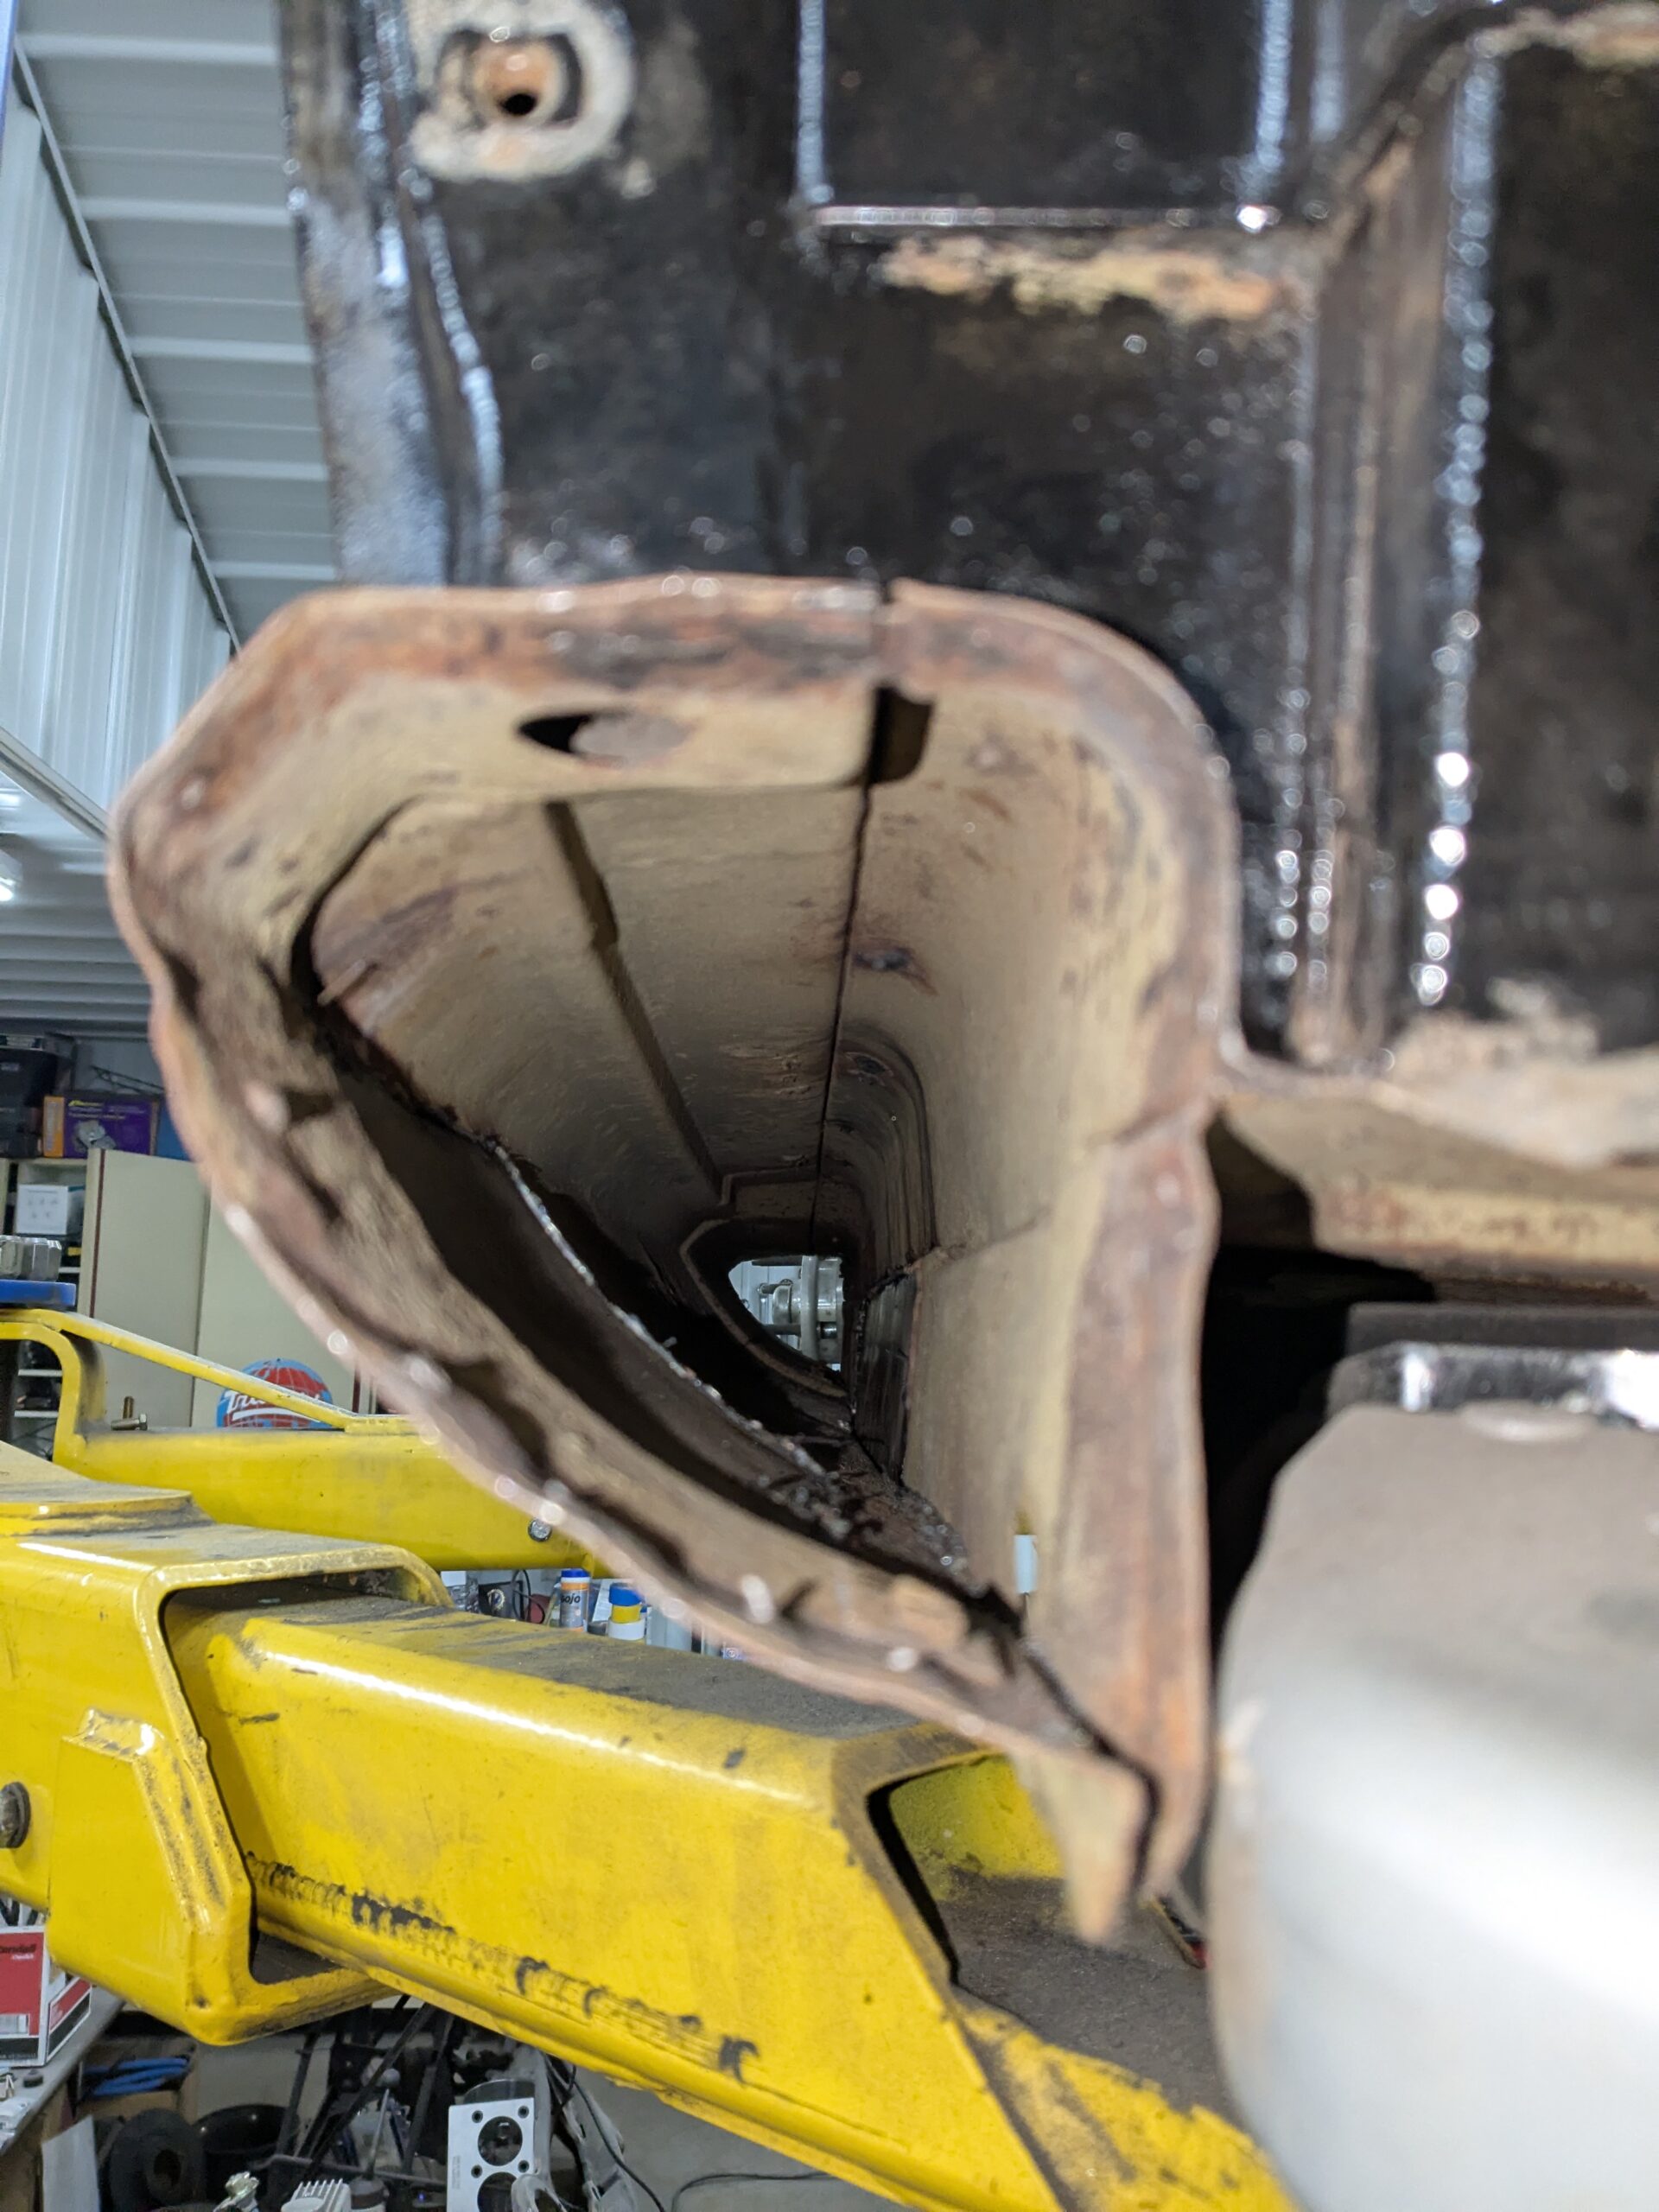
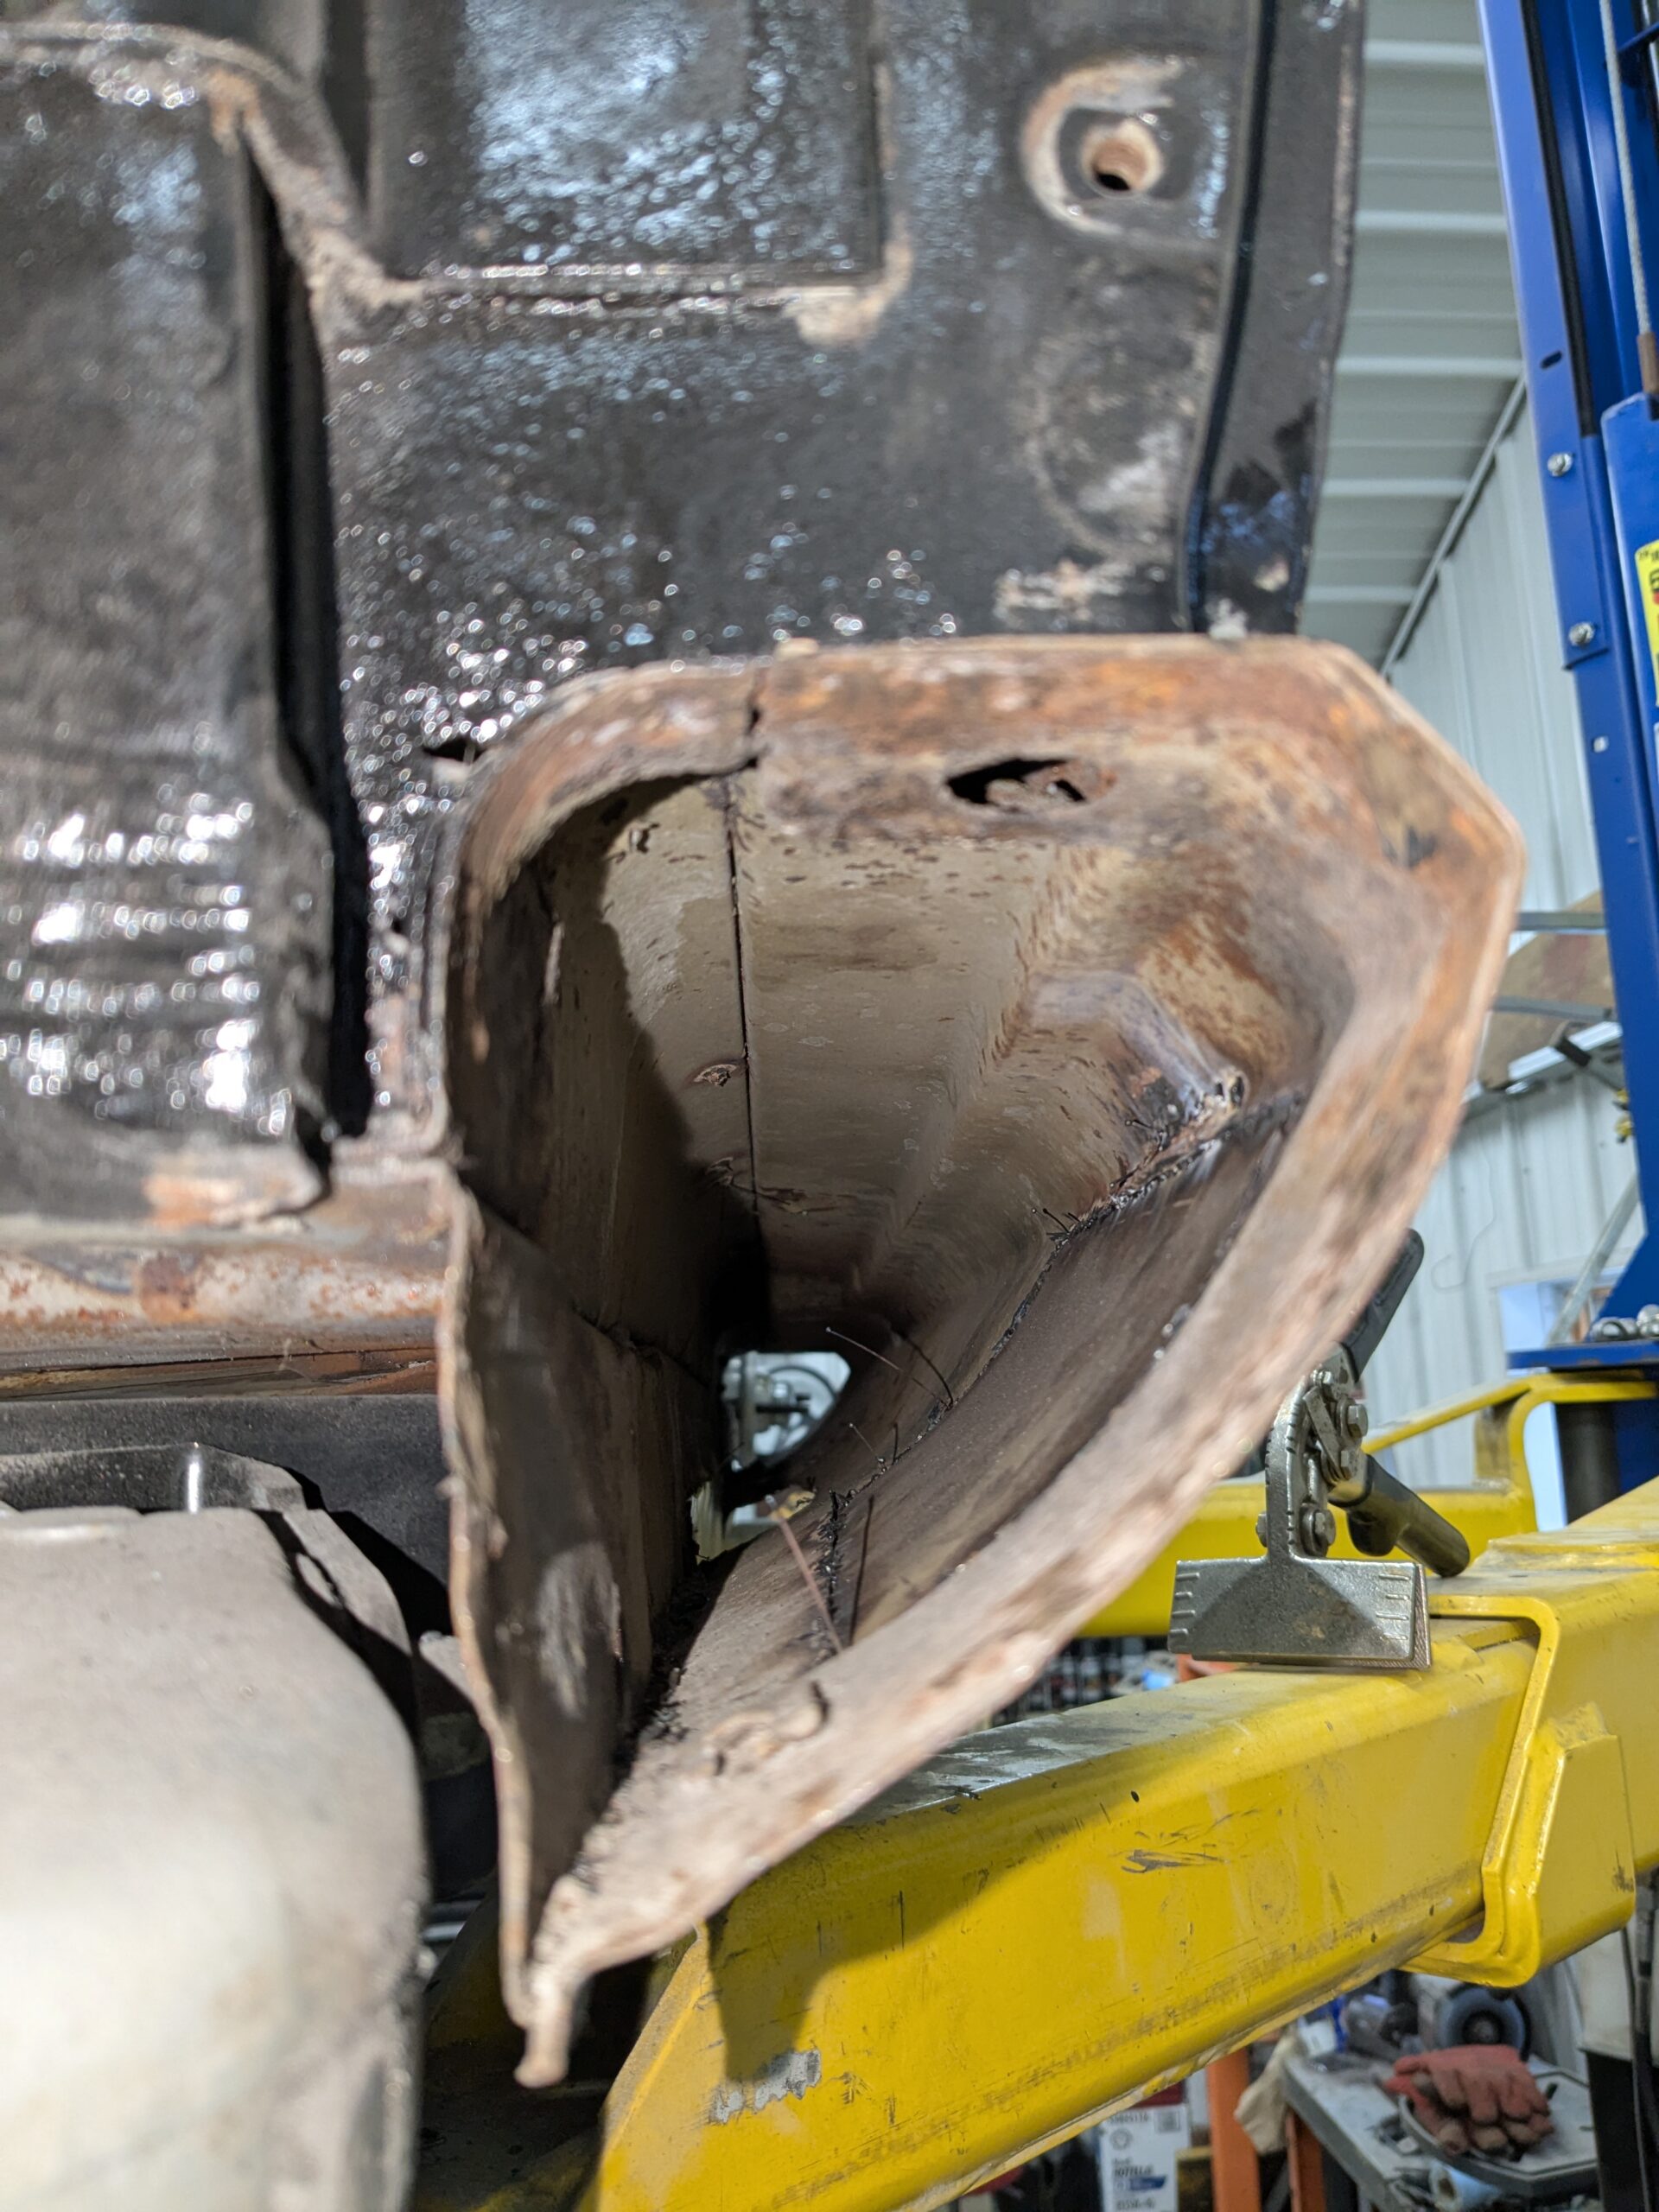
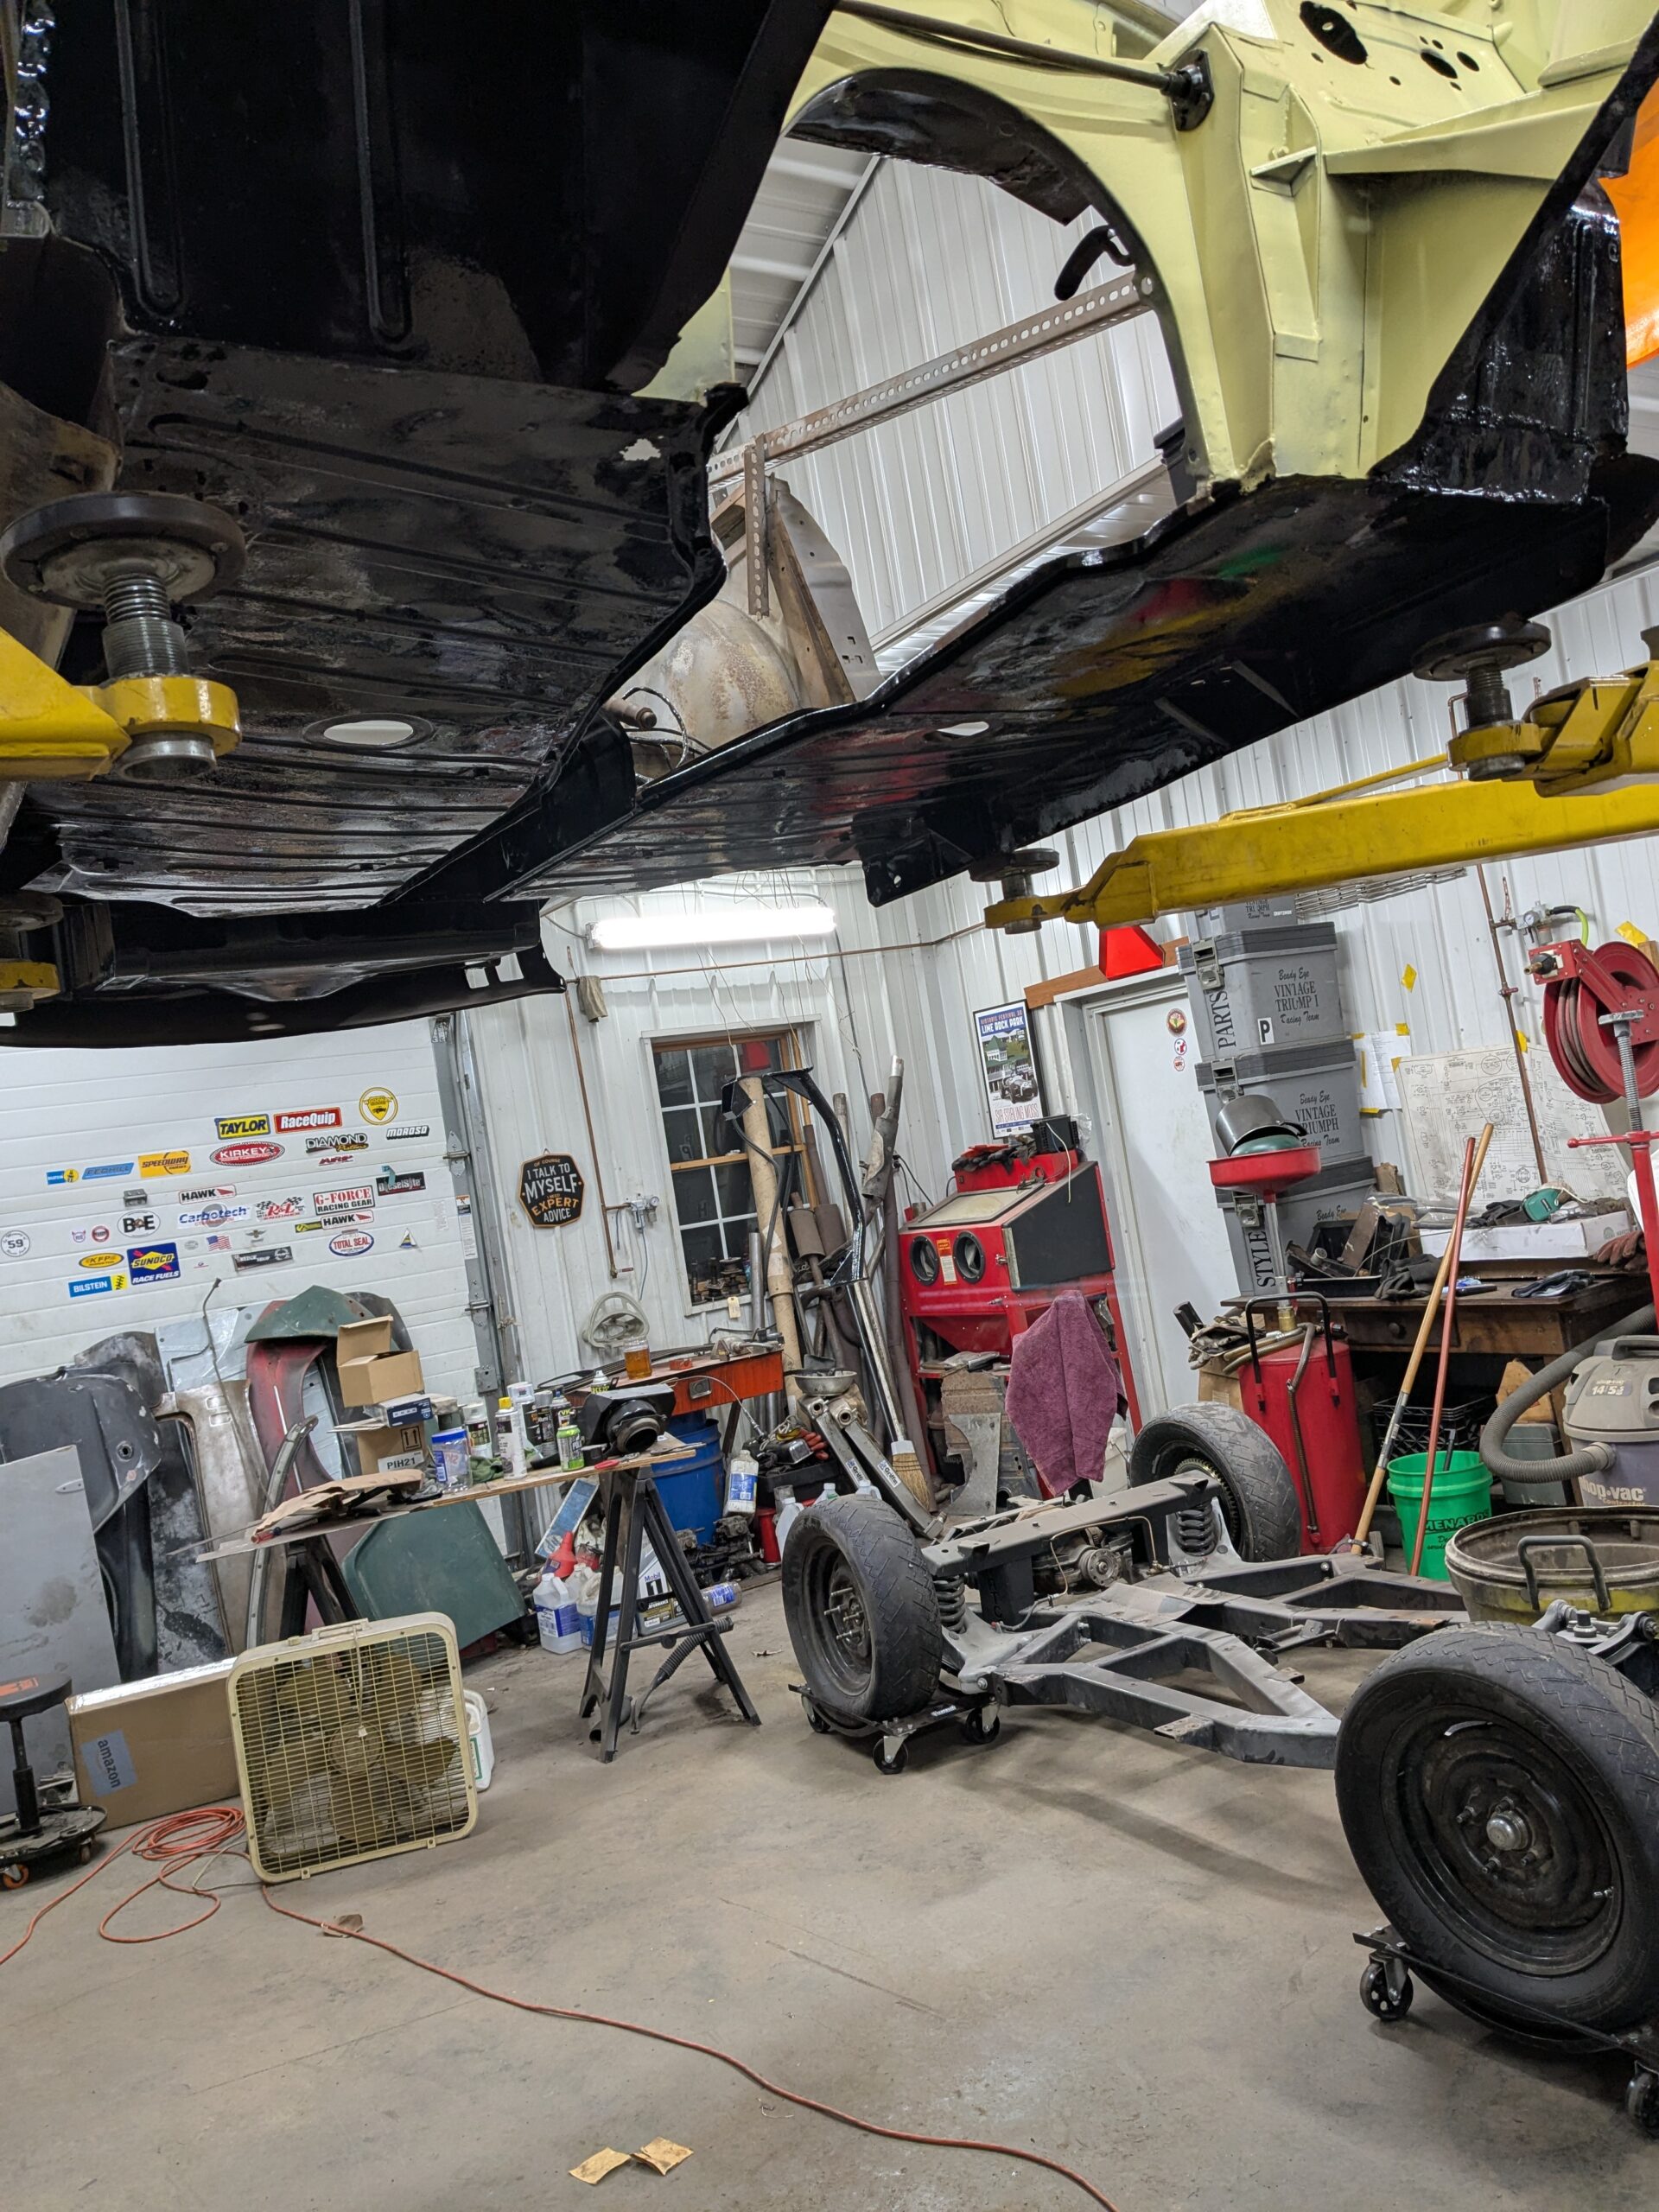
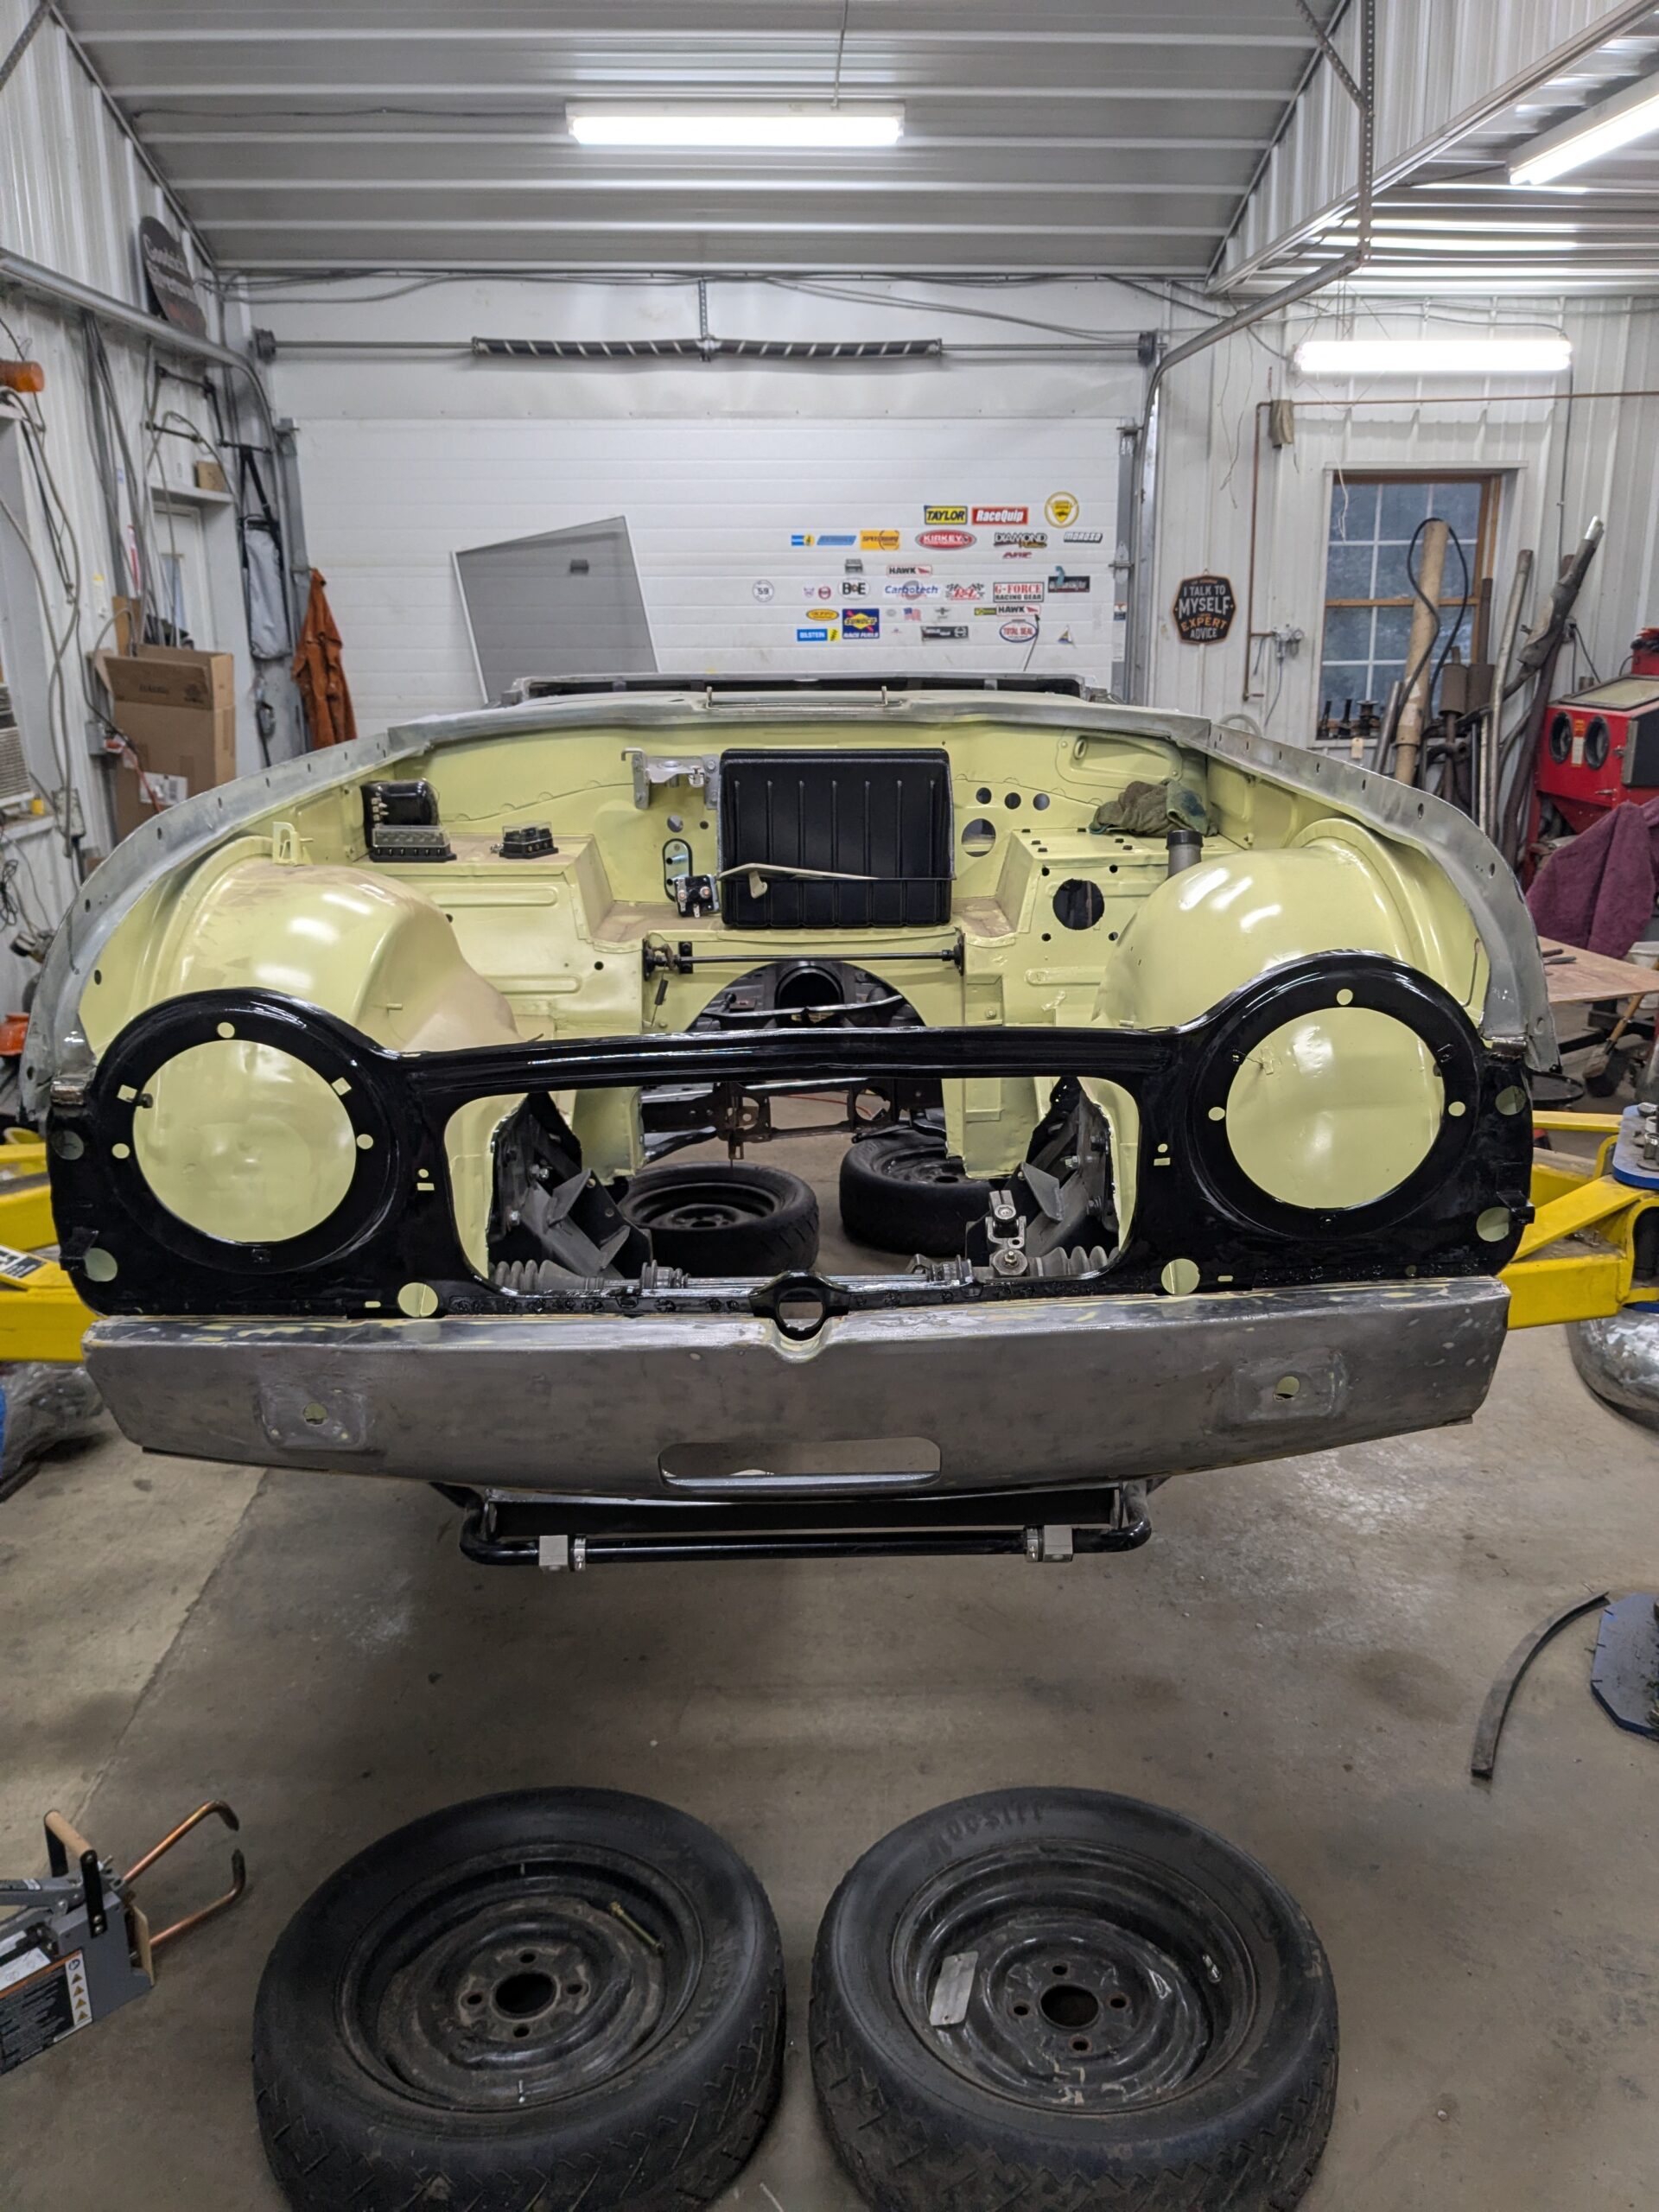
The bonnet fit was not going to be nearly as easy. The car sat in the barn up in Maine with no front valance installed. The tub was just sitting on the frame, but not bolted down. This leaves no structure to keep the front inner fenders aligned. To make matters worse, both inner fenders showed signs of some sort of shunt, like something fell on the front of the car in storage. It you look at the pictures of my work replacing the front inner wheel arches, you can see what I am talking about. The shots were taken after I spent some time on both getting them close to straight. Neither side was perfect, but I kicked the can down the road until I was ready to drop the bonnet on and figure out where things needed to be.
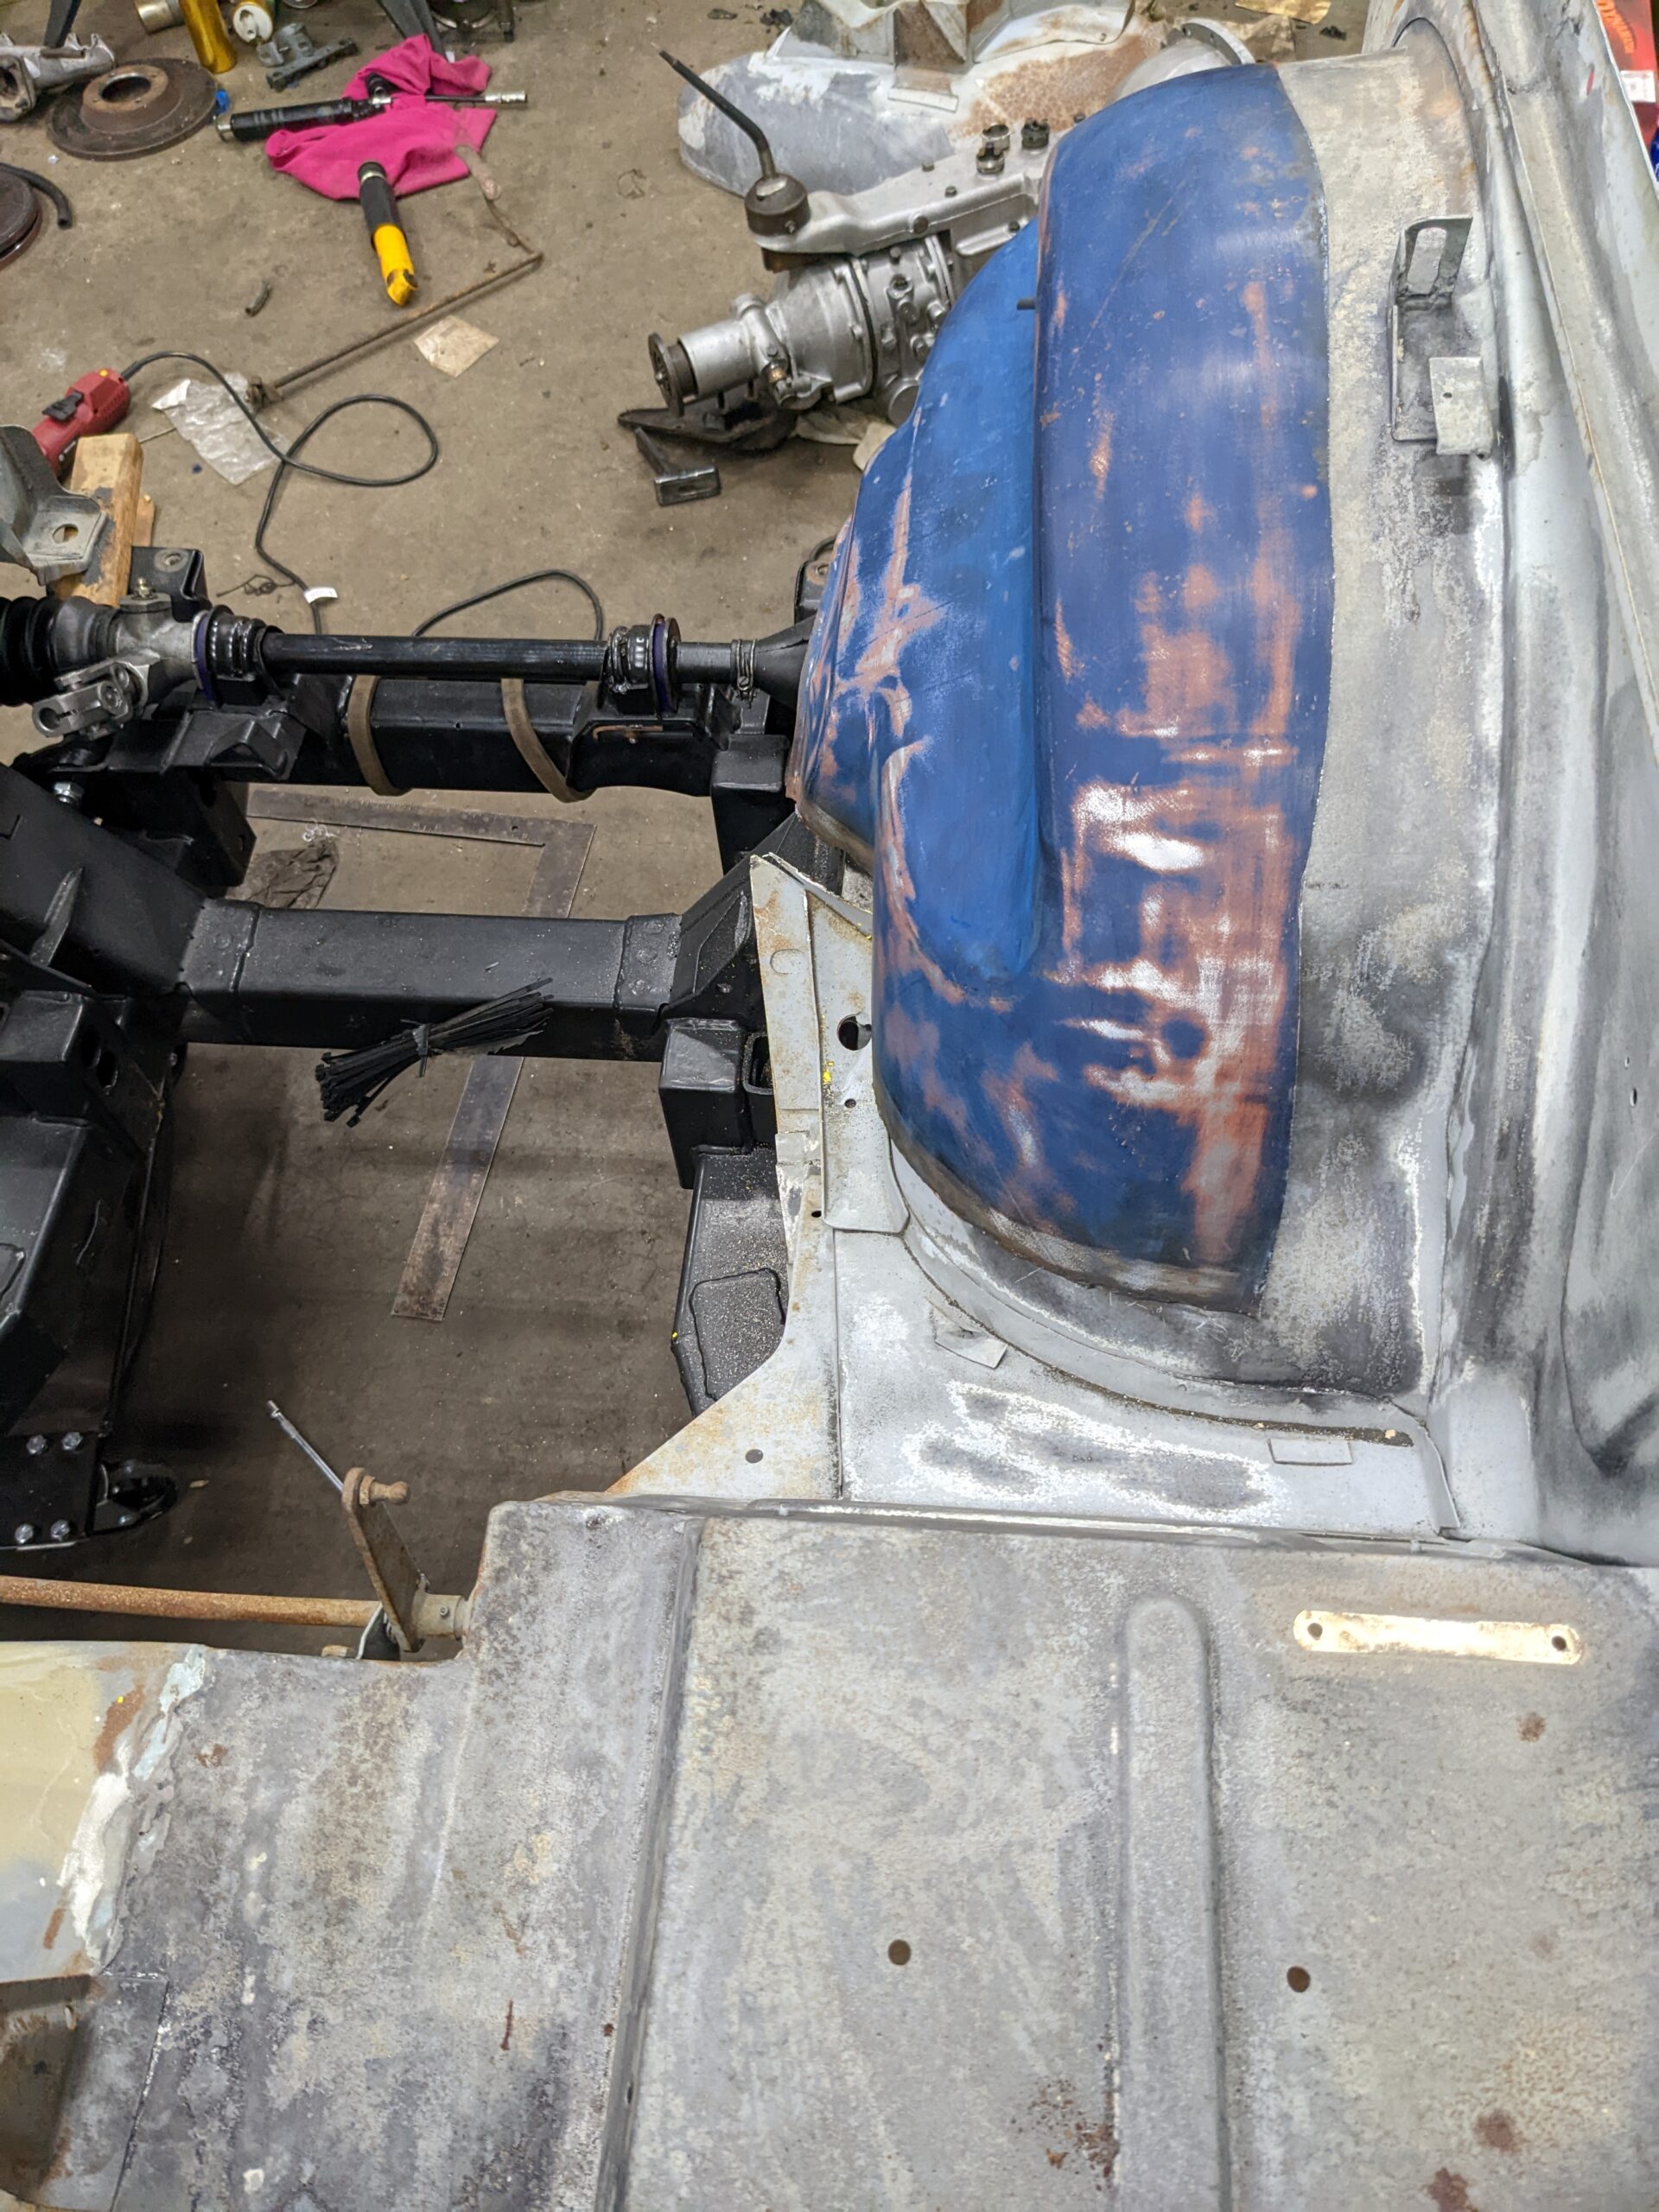
The bonnet opening was too narrow for the bonnet to fit, so I pulled out my Porta-Power, a tool that is essentially a hydraulic ram with a bunch of different length extensions and various feet to get hold onto what you are trying to spread apart. I assembled the bits to sit on the top of the wheel arches and applied outward pressure on both sides equally. Knowing I needed to overextend the opening so it didn’t just spring back, I went slowly and tried not to freak out when the bangs and pops occurred. I got it in the ballpark, and was thinking I needed to push in different positions to get it right, but after that first cycle of stretching, we dropped the bonnet into place and it actually fit pretty good. So next we bolted up the front fenders using all the fasteners this time, dropped the bonnet in place again, and bolted up the bonnet hinges. With a little more tweaking, the bonnet fit will be just fine!